Problem rebuilding struts with super beetle strut bearings

Discuss with fans and owners of the most luxurious aircooled sedan/wagon that VW ever made, the VW 411/412. Official forum of Tom's Type 4 Corner.
User avatar
wshawn
Posts: 209
Joined: Thu Dec 27, 2007 6:36 am

Problem rebuilding struts with super beetle strut bearings

Post by wshawn »

The rebuild has reached the point of assembly now. All parts have been machined but there is the small problem of the cone on the bottom of the super beetle bearing in the strut mount.

The problem is simply that the cone touches the top spring plate instead of the bearing touching the spring plate. Would a suitable spacer be the way around this? If not what do we do to over come this? Surely cutting the cone of will weaken the how the bearing sits in its mount?

Any way a few pictures of the progress, sorry if they are not that clear but I took the wrong camera...

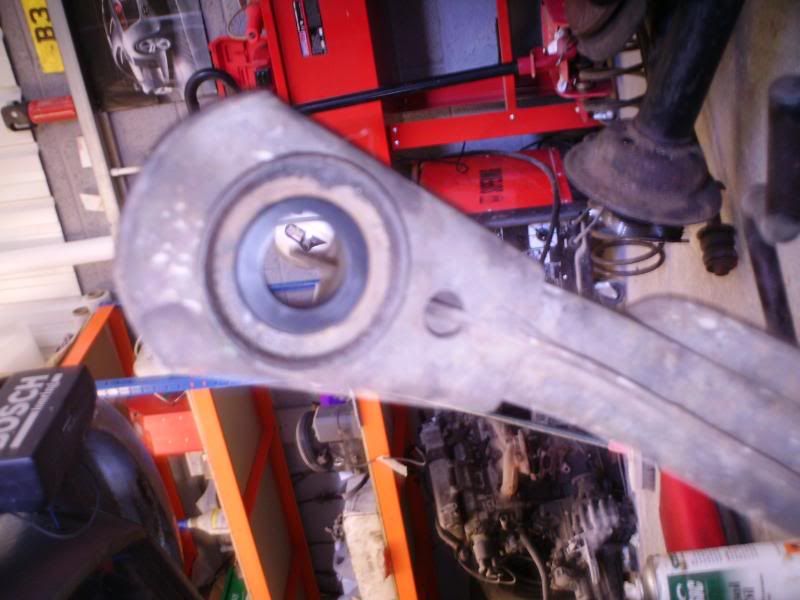
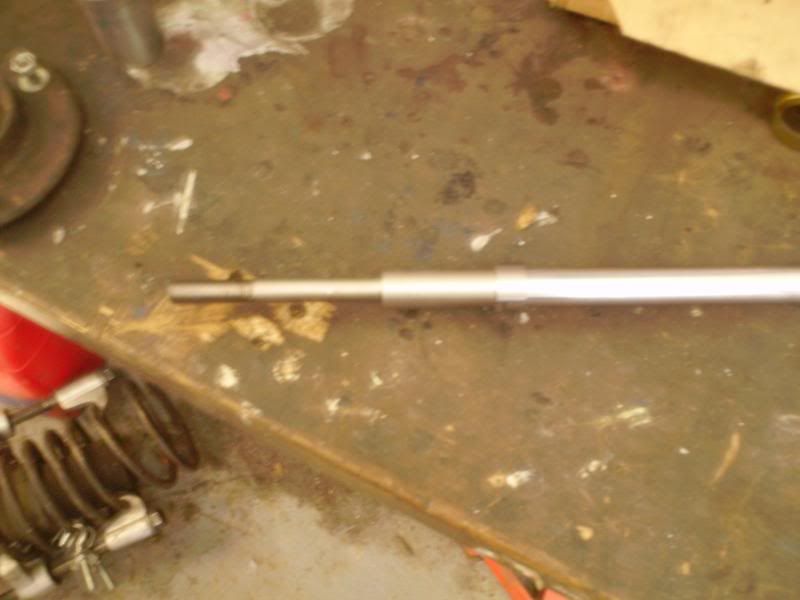
The first one is the strut insert adaptor fitted to the new insert

Image

New delrin centering ring in place

Image

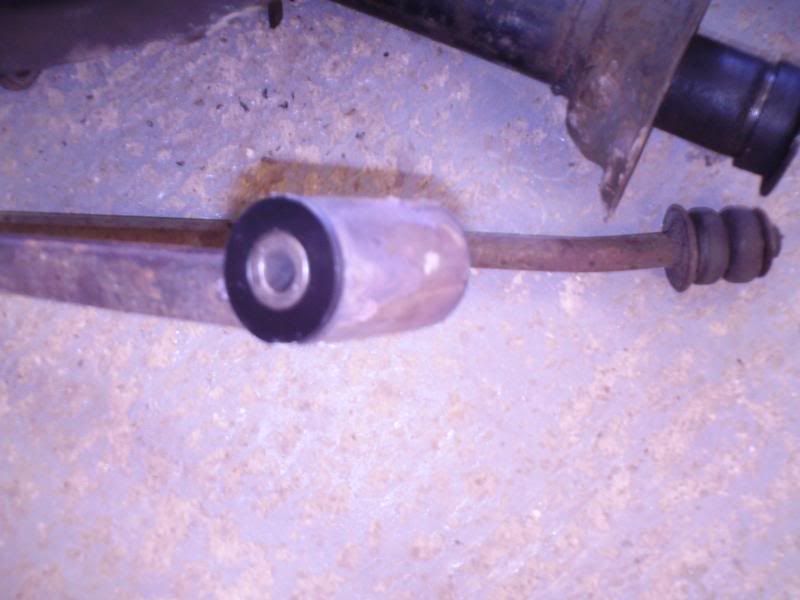
New delrin bush in place

Image

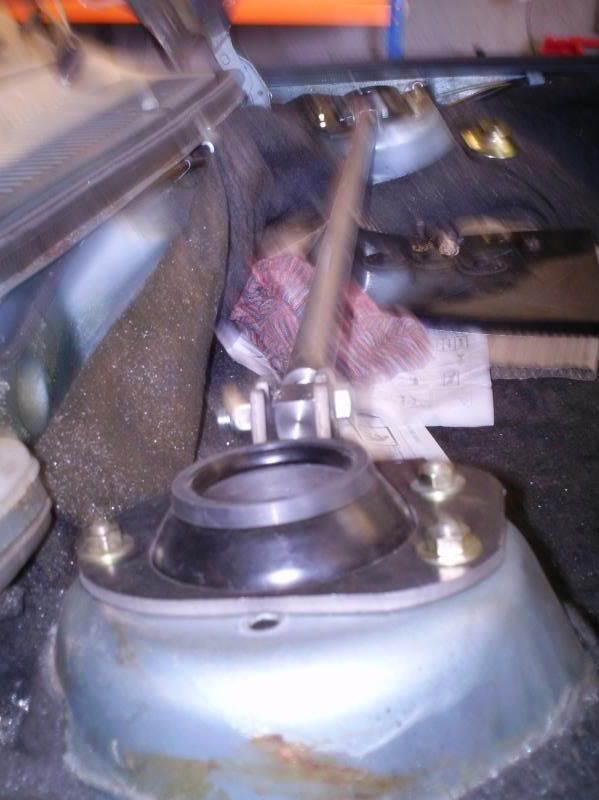
and finally if you tilt you head sideways the strut brace and new style strut mounts in place

Image
User avatar
raygreenwood
Posts: 11906
Joined: Wed Jan 22, 2003 12:01 am

Post by raygreenwood »

Ah...Yes. You are speaking of the cad plated (usually brassy looking) bearing cartridge on the bottom side of the strut mount. The object of that skirt around the bottom is to act as a spacer . What it does is suspend the plaste that comprises the bushing housing just enough above the top spring p[late that it does not rub or grind. It will not hurt to grind it down some. I taped the beraing areas of and ground mine down about 1/18" if memory serves. This got the bearing plate closer to the top spring plate but not on it.
Also...you should...put shims underneath the bearing cartridge inside of that cone...just enough to be "exact" in thickness so the bearing is not heavily loaded.

There is one mod for this that I have done on my car that fixes this that I have not really heavily gotten into.

Its like this: On our cars, the strut rod has "ledge" on it that comes up against the underside of the upper spring plate. The stepped down rod....like what you made on the stub adaptor goes through the hole in the plate and then through the bearing.

The is decent, but relatively unadvanced compared to some late model cars.

Back in 2001 I changed the struts on a 96 mazda. It had the most unique, simple and cheap strut bearing I have ever seen. In addition to having a true ball bearing in the strut mount (similar to the come shaped cartridge the 412 has but bonded in more like the 411)....it also had a flat, two piece, grease filled UHMW bearing plate about 1/8" thick that went between the bottom of the bushing/bearing/mount assembly and that top spring plate that the coil rests against.

The difference on the Mazda is...that the top spring plate has a hole that the entire large diameter of the strut rod can pass through. So there is no ledge on the rod resting against the bottom side of the plate like our 411/412. This hole is about .060" larger in diameter than the rod.
This plastic two piece bearing plate I am describing then has a thin pair of inner locating lips that slip down around the rod so the strut rod never touches the metal of top spring plate. This inner ring...also serves to loacte this "glide" plate in the hole in the upper spring plate so it cannot slip side to side.

So....I had the holes in my top spring plates bored to fit the lips on a pair of Mazda 626 bearing glides ($18 each). I then ground down the brass looking bearing cup ...and shimed it with arbor shims inside...so the shims were the exact height to fit from the opening of the cone up to resting on the bearing itself.

So..when all done...you now have a solid spacer that rests on the ledge of the strut rod or adaptoron the bottom and flat against the bottom of the bearing cartridge. The skirt of that bearing cartridge rests against the plastic glide plate. It makes the steering much smoother, less vibration and keeps from trying to wind the spring plate up with the spring when making fast turning moves. It makes the whole strut spring assembly more responsive.

Also by altering the length of terh spacer between the bearing and ledge.... and shortening the skirt on the cartdige.....you can change lowering height.

One warning. As you change the skirt length or anything else...the strut stub protrudes further out the top. Be sure to gruind it down accordingly...or it WILL dent your hood. Been there.

All you need to do this mod is to buy a pair of those glide plates.....get a stack of spacer washers ...and have the top strut plate holes bored larger to fit the OD of the inner rim on the Mazda glide plates. The machine shop I used bored each hole for $15.
You will need to have them milled. The upper spring plates are ugly hard. If you need a sktech let me know.

But looking at one of these mazda bearings in person...and at a haynes manual of how they are installed...it will be instantly clear.

here is what the part looks like:
http://www.alloemcarparts.com/unified/? ... +1667+7105
Ray
User avatar
wshawn
Posts: 209
Joined: Thu Dec 27, 2007 6:36 am

Post by wshawn »

Thanks Ray,

I shall pass on you info on, I did suspect that it would require a few shims to act as a spacer.

The rest of the work has gone, so far, rather well. In fact it should be back on the road next week so I'll let you know how well it drives.

Unfortunatly I think the mazda bearings will have to wait for a while as the cash is running out. However I do have a spare pair of top spring plates to work with so might be able to do the mod in a few months at home as it should only be a quick job and no-one will notice...


PS. Whilst searching for the anti roll bar bushes I think I have found a NOS bonnet for my car, should know for sure next month when I pop over and meet up with the fellow Type 4 enthusiast :P
User avatar
raygreenwood
Posts: 11906
Joined: Wed Jan 22, 2003 12:01 am

Post by raygreenwood »

Thats exactly the way I did it. You will ike what you have now a lot better already. I waited a year until I dug out a spare set of top plates.
Also...look around. You should be able to find these simple bearing parts for a lot less than the prices mentioned on that site.

In fact...since they never really wear out...they are just plastic....you cansnag a pair off of a wreck and chances are...when repacked with synthetic grease like superlube...they will be just fine. Ray
User avatar
raygreenwood
Posts: 11906
Joined: Wed Jan 22, 2003 12:01 am

Post by raygreenwood »

Also forgot to mention...and you generally find out....you need to pop teh steel bushing out of your stock bump stops and slip it over the pin on teh adaptor stub. That step was originally sized to use teh stock bump stops. You don't have to use them. You just need that steel bushing. Ray
User avatar
wshawn
Posts: 209
Joined: Thu Dec 27, 2007 6:36 am

Post by wshawn »

Found that one out Ray and the steel bushing was a tad tight on the adaptor so it is being bored out slightly to fit and we are sticking with the bump stop and dust sleeve.

Also, in the bottom of the strut to make the shorter insert fit properly, we have had a piece of steel machined with a domed recess to match the bottom of the new insert. This should enable it to sit nice and square keeping it secure.
User avatar
raygreenwood
Posts: 11906
Joined: Wed Jan 22, 2003 12:01 am

Post by raygreenwood »

Excellent! I used pipe on my last ones. Also...go buy either a bicycle inner tube or an old truck tire inner tube. Cut a strip about 2" wide and a couple feet long. Wrap it tightly around the bottom area of each strut cartridge...about 3" up from the bottom of each cartridge. Wind just enough around so that the cartridge with this wrapped around it...just slips into teh tube. Use a little contact cement to anchor teh rubber.
This "packing" keeps the tail or the strut cartridge from fishtailing side to side while cornering. This is a problem that even the stock strut had. You can feel it with your finger against the rod and strut cap while you rattle the spring with your other hand. This gets rid of that. Ray
User avatar
wshawn
Posts: 209
Joined: Thu Dec 27, 2007 6:36 am

Post by wshawn »

Thanks for tip, shall have a look in the shed as I'm sure I have an inner tube somewhere...
Post Reply