Thanks for the nice things you said Hedrock. I don’t remember who said it but they said something to the extent that the bar has been raised on this site and I have to agree. I look at the work here and at my work and I get depressed. Even though others are building other types of off-road vehicles there is a level of welding, bending and innovation on this site that is pretty fantastic. Congrats to all who post. Ask questions and those who answer.
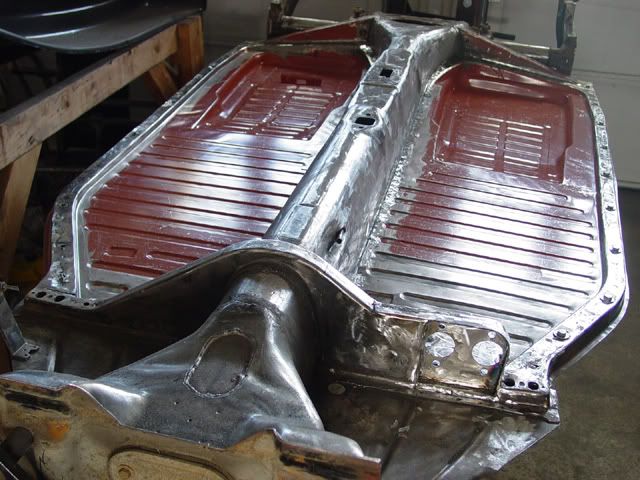
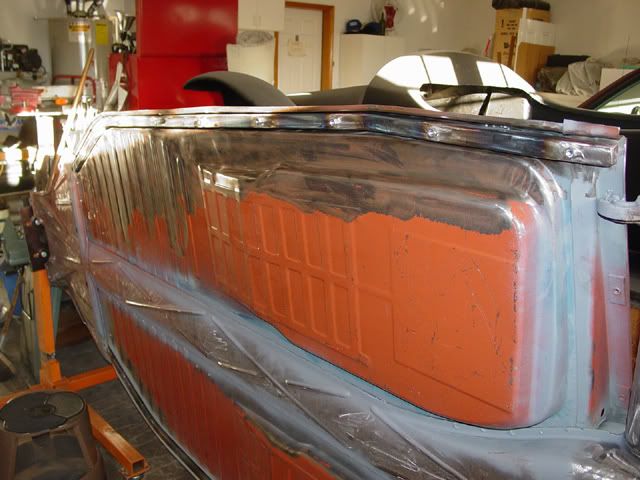
This morning I went out to the pan, turned it flat and proceeded to measure for the 1 ½ by 3 by .120 (the only thickness of rectangular tubing I can get around here) walled tubing that I would need for the body lift. Since the “C” shaped portion of the rear part of the lift is done except for some touch-ups and since this is a full length pan, I figured 6’ for each side (very little scrap), each side of the rear cross piece will take 2’ and the front cross-piece will take a little over 3’. I went up to the steel recycling place and got the 21 feet of tubing at a cost of just over $107 (they cut it to length for me for free). That works out to about a $1.46 per pound as I remember. It was new metal so that was nice. Nine percent sales tax is not nice!
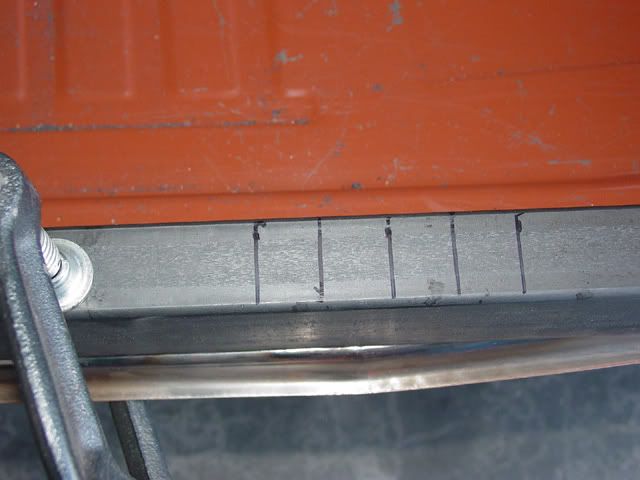
When I got home and unloaded, I put one 6’ piece of tube on the side of the pan, did some eyeballing then took it off and marked the points of tangency on the body mount tunnel, start and finish of each radius, on the pan. I then stood back and looked at it, then went into the house and turning on cartoons!
The problem was which of the pieces to I start with. The sides are the easiest, the rear is complicated, and the front is going to be really complicated. Do I wimp out and go with the easiest or go for the hardest and get beat up. Decisions… decisions!
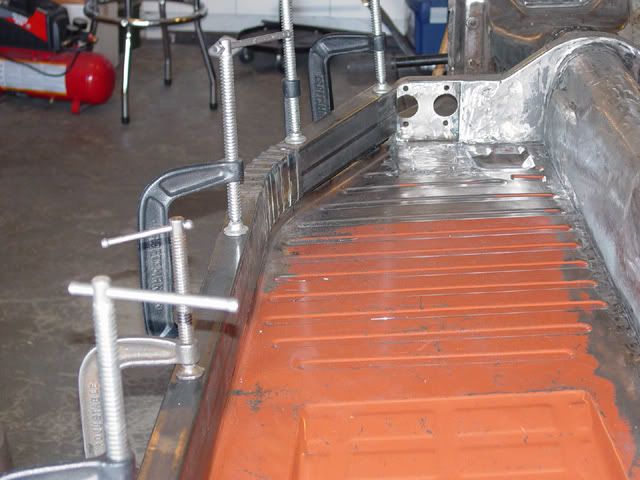
It is going to be a long go making the body lift. This time I am going to try something different on the front cross-piece. Normally, the cross piece is two face plates that match the curve of the body on the top but when the straps are added between the plates the lower line hangs below the top of the cross-piece but higher than the tunnel. The piece is designed as a slip over resting on the two lower flat surfaces of that part of the lift. On my other buggy, I salvaged one from a commercial kit and rebuilt it. One thing about the commercial piece that I didn’t like was that the slots in the front cross-piece, that the support for the lower tube of the beam bolts to, go clear though the cross piece, top to bottom and when you clamp down on the bolts, the flat filler strap collapses. I plan on some changes here. As a side note, the front and rear cross-pieces will/should not have the same loading as the side rails have. Also, I will have to access the curved piece for the nose cone of the 091 transaxle.
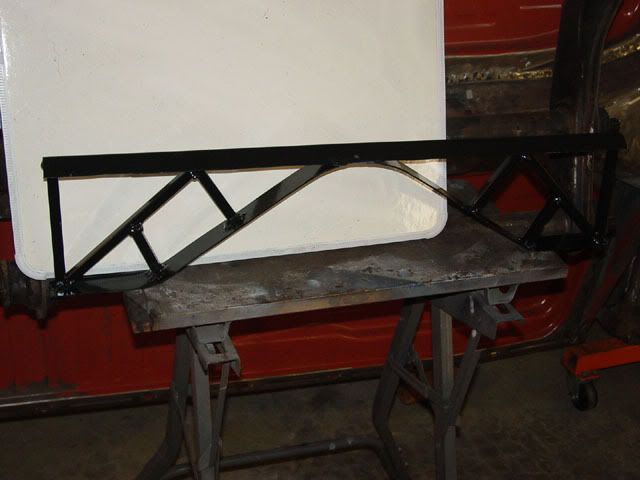
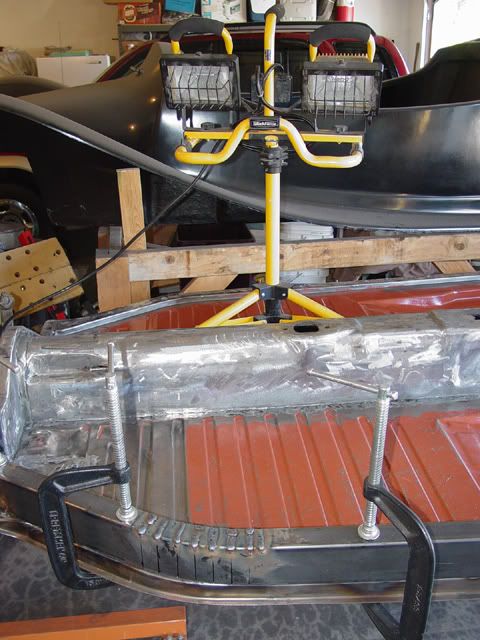
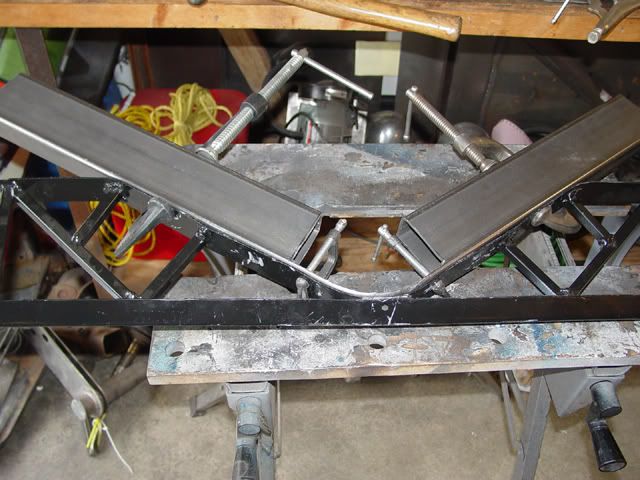
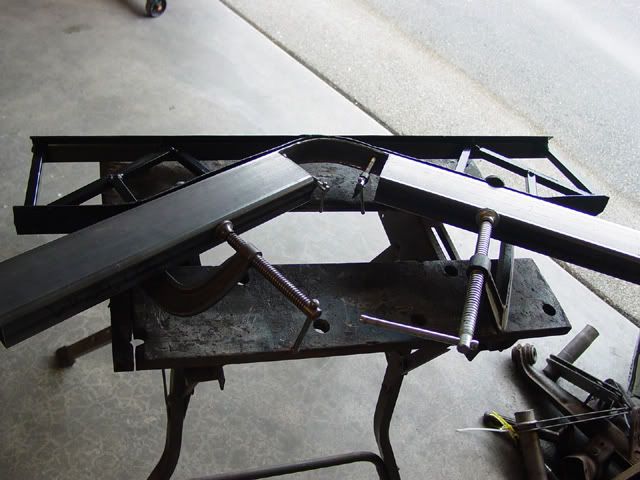
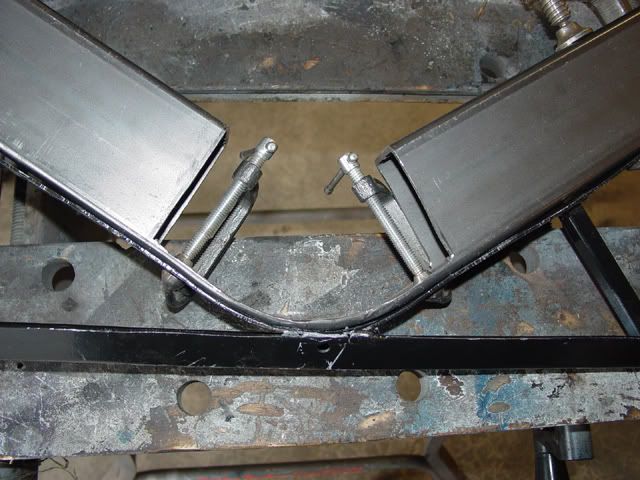
On the front cross=piece I will also have to accomodate the bracket for the pedal assembly which will also mean ai will have to loacally relieve the front firewall of the body. This is the bending jig I made for the front cross-piece. I hope is works.