Page 5 of 7
Re: My 1962 Bug RAT STEW
Posted: Mon Nov 21, 2011 8:31 am
by Lew
Lew the 15" wheels stick out past the lip on the fender, the 20's are just inside the lip.
The 20's fit better with the spacers that came with the car better than the 15's.
I agree the tires, and the spacing of the 20's looks better, it's just those rims~....Sorry! I know they came with the car. However, you are doing a great job with the car DM. For me, I'm still sanding, raking leaves, cutting grass, cooking and running errans. No time for golf or fishing.

Re: My 1962 Bug RAT STEW
Posted: Mon Nov 21, 2011 1:10 pm
by david58
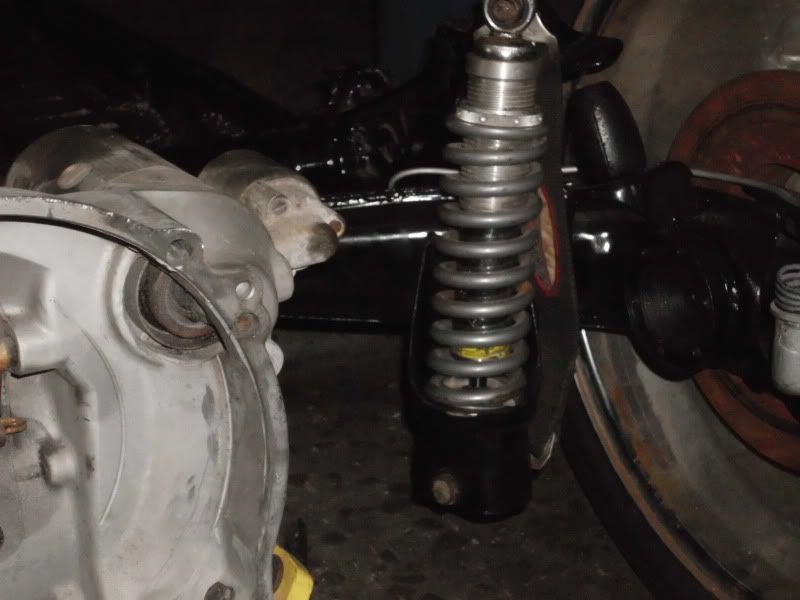
Spent the morning and early after noon trying to figure out why the left rear is toed out and the passengers side is real close to being right. We took off the torsion exterminator kit and measured the pieces to the kit and then swapped sides with the kit even though they measured the same. When I got the car it was on a different pan, and different rear arms and had the same problem with the left rear wheel being toed out. It makes no sense that I still have the same problem.
I did get some limit straps installed on the coil overs, so now it is easier to jack up the rear of the car.
Re: My 1962 Bug RAT STEW
Posted: Mon Nov 21, 2011 1:27 pm
by Lew
the passengers side is real close to being right.
It looks like the passenger side rear is toed out....Is that the wheel you talking about? Or am I seeing something different....

You may have a bent swing arm. Did you make sure the pin washers were spaced properly when going back together between the swing arm bushing.....
Re: My 1962 Bug RAT STEW
Posted: Mon Nov 21, 2011 8:39 pm
by Leatherneck
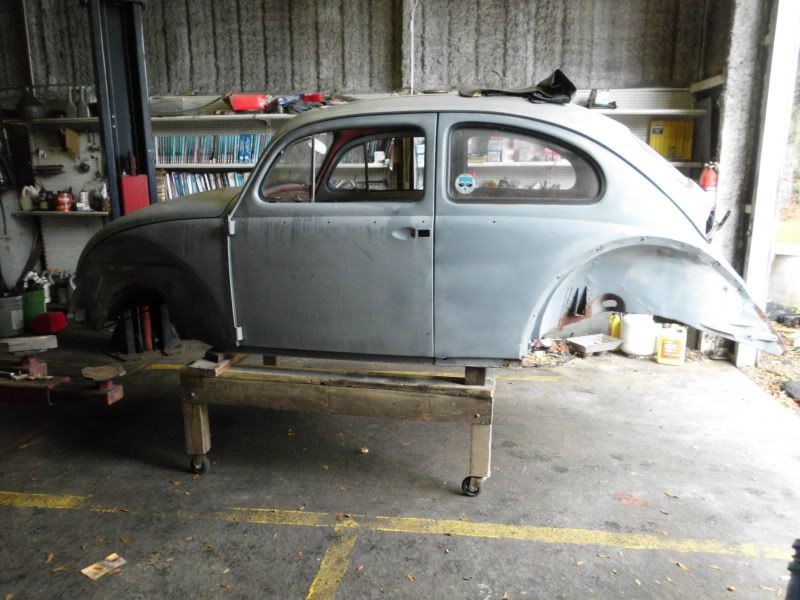
David, nice job so far. Going to be sharp when you are done.
Re: My 1962 Bug RAT STEW
Posted: Tue Nov 22, 2011 6:07 am
by david58
A nights sleep and a new perspective on things.

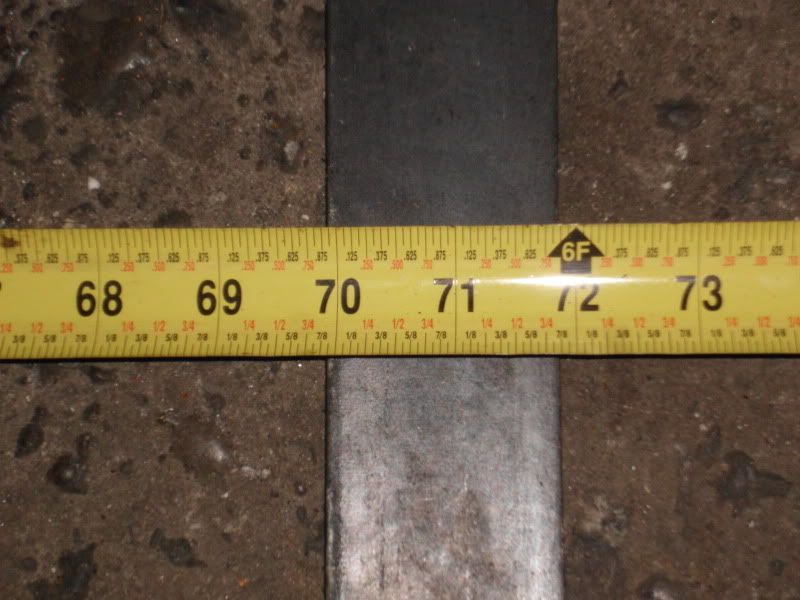
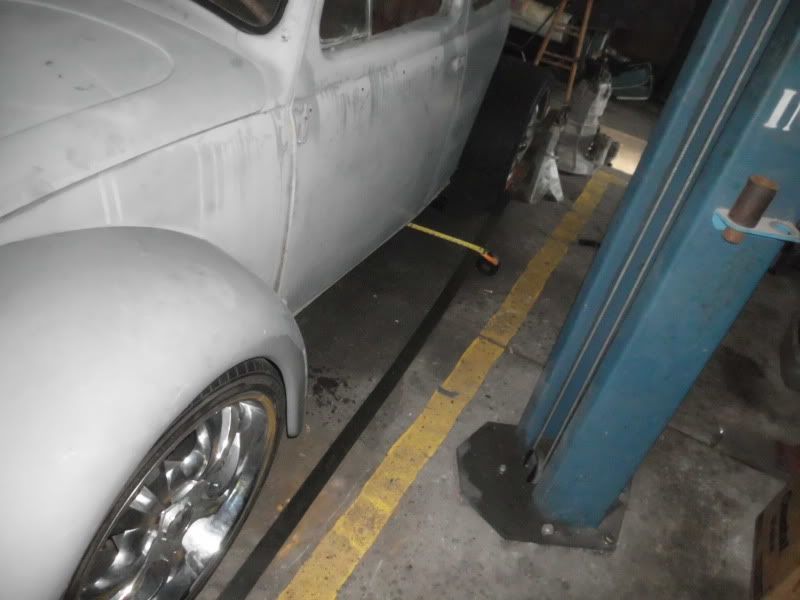
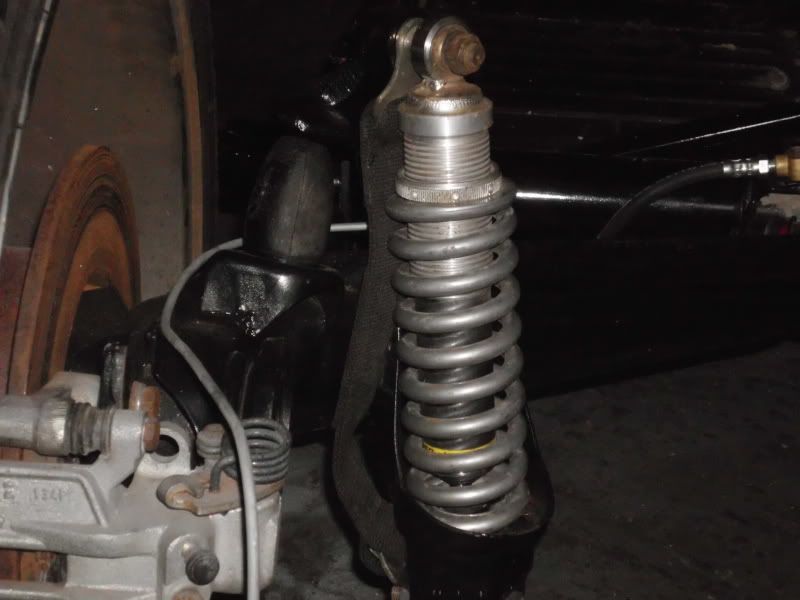
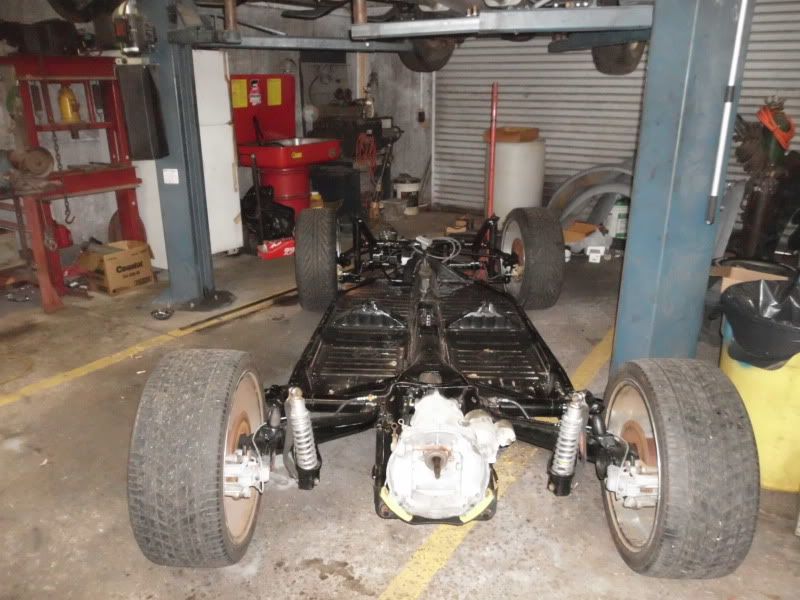
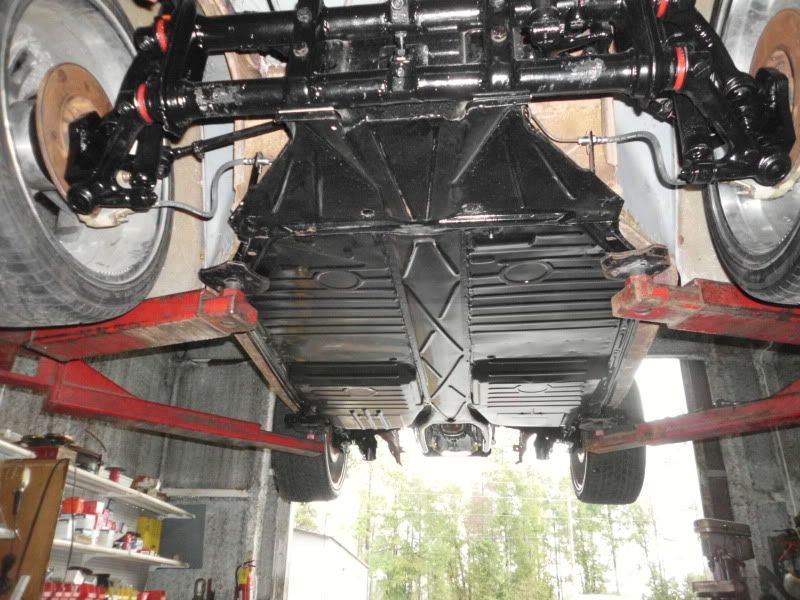
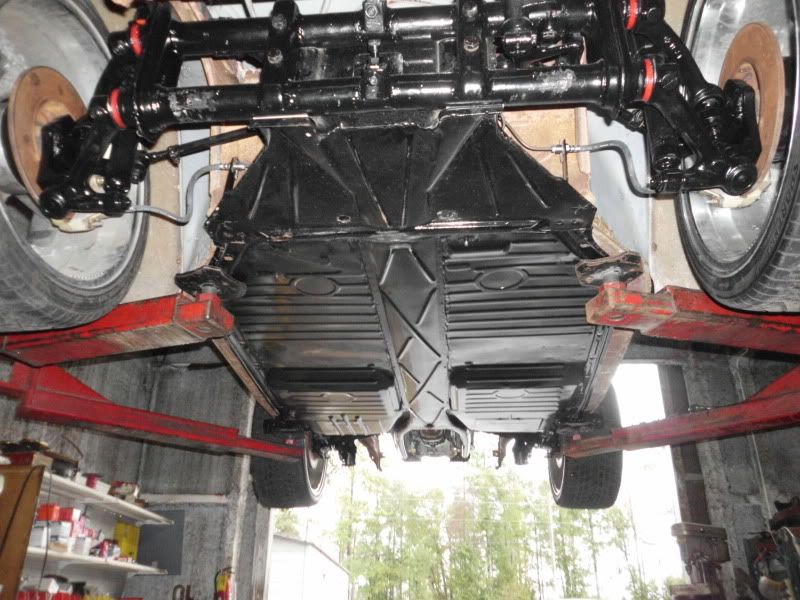
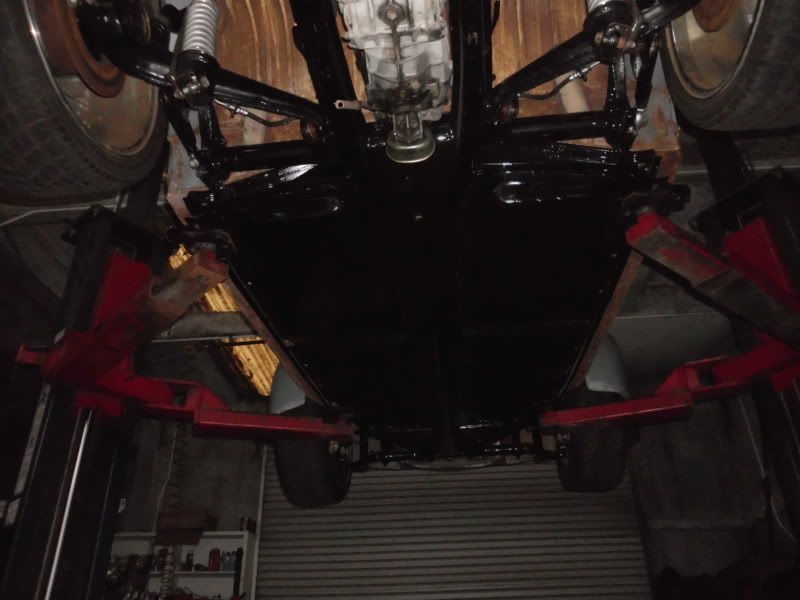
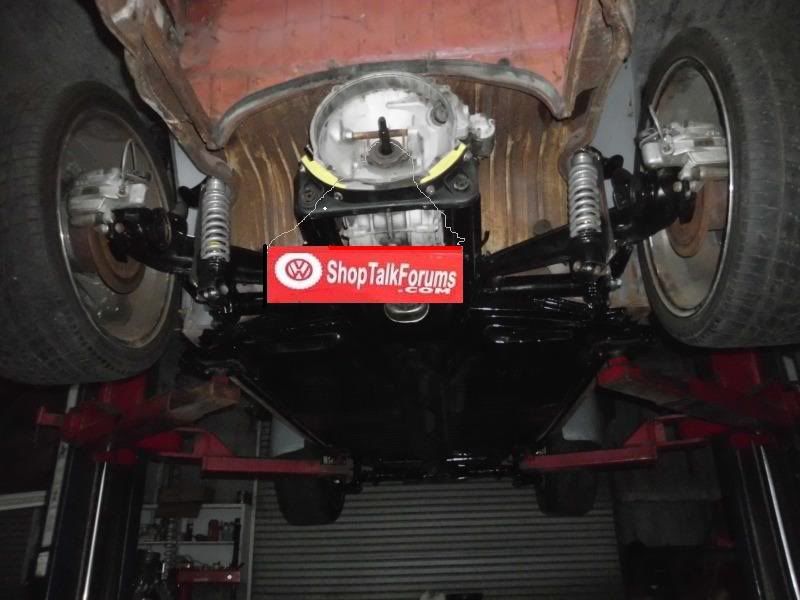
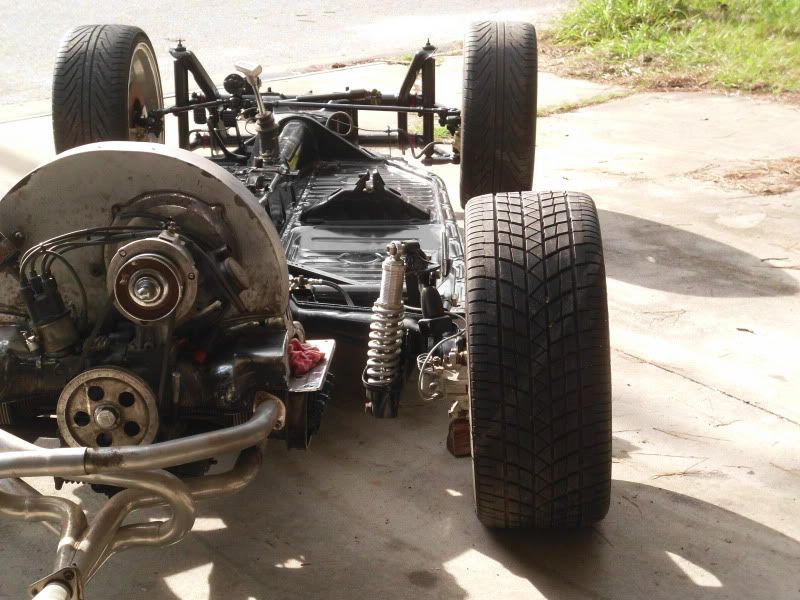
What we have here is an optical illusion. I was ready to snatch the rear arms off and bolt them down to the work table to see if one was bent. When I got to the shop this morning after cleaning up the tools and bolts under the car, I decided to use a 10 foot piece of flat bar to see exactly how far off the toe was to my surprise both rear wheels are the same from side to side, as you can see in the pics I took.
These first 2 pics are measuring the flat bar from one side of the car to the other side right behind the front wheels.

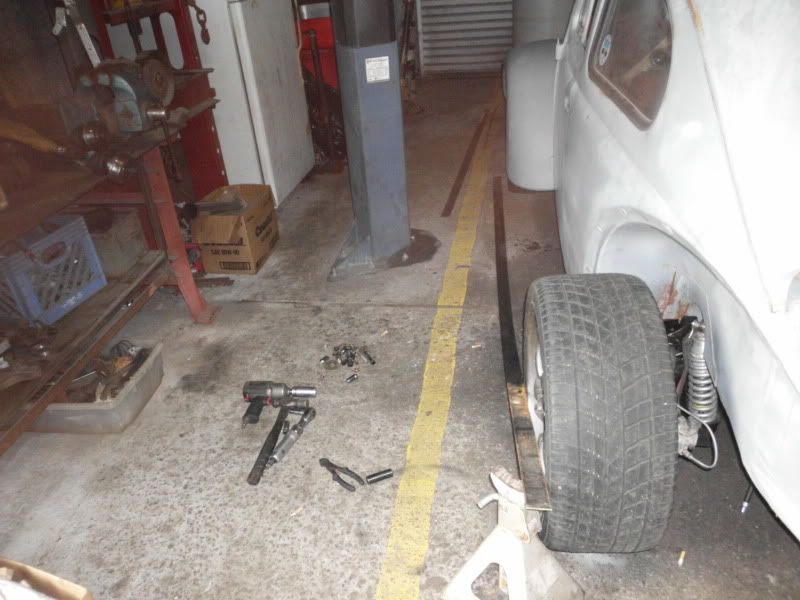
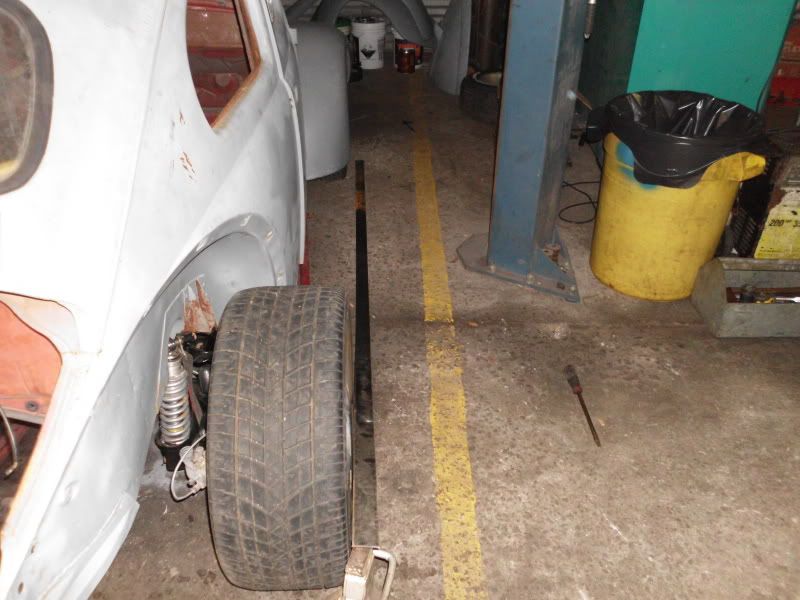
These next 2 pics are measuring the flat bar from one side of the car to the other side in front of the rear wheels.

These 2 pics are showing that the toe is the same from side to side so there is nothing bent or wrong.
So using the measurements I have. I have an exaggerated 7/16 of total toe in, which is not actual toe in. When measured at the front and rear of the tire it should be close enough. I will get it measured when I have some help.
Re: My 1962 Bug RAT STEW
Posted: Tue Nov 22, 2011 6:45 am
by Lew
Re: My 1962 Bug RAT STEW
Posted: Tue Nov 22, 2011 10:15 am
by david58
Nope. We only had to turn the left side hem joint 1/2 a turn and the right side 1 turn to get the toe in specs.
Re: My 1962 Bug RAT STEW
Posted: Tue Nov 22, 2011 1:45 pm
by david58
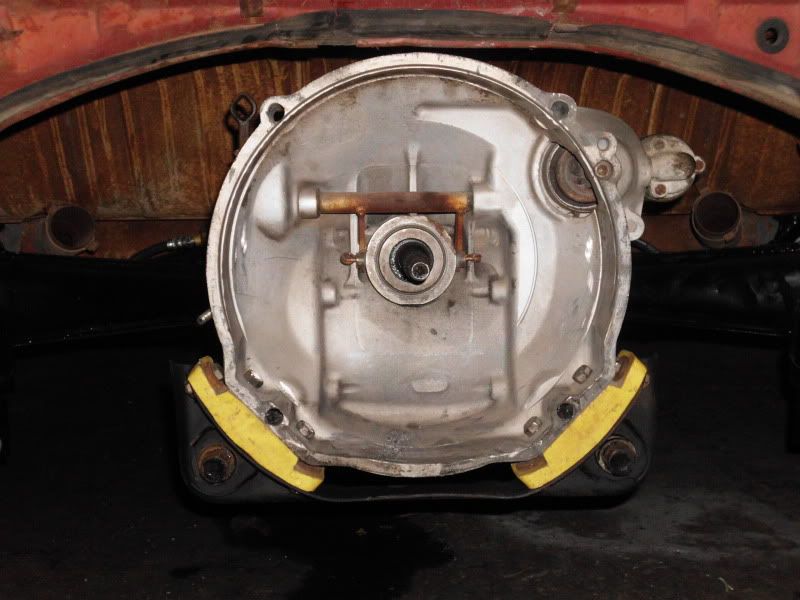
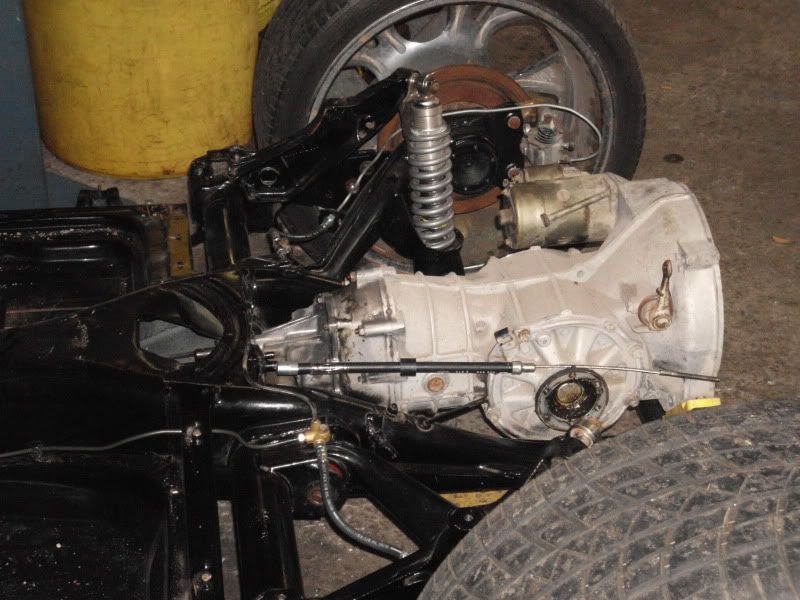
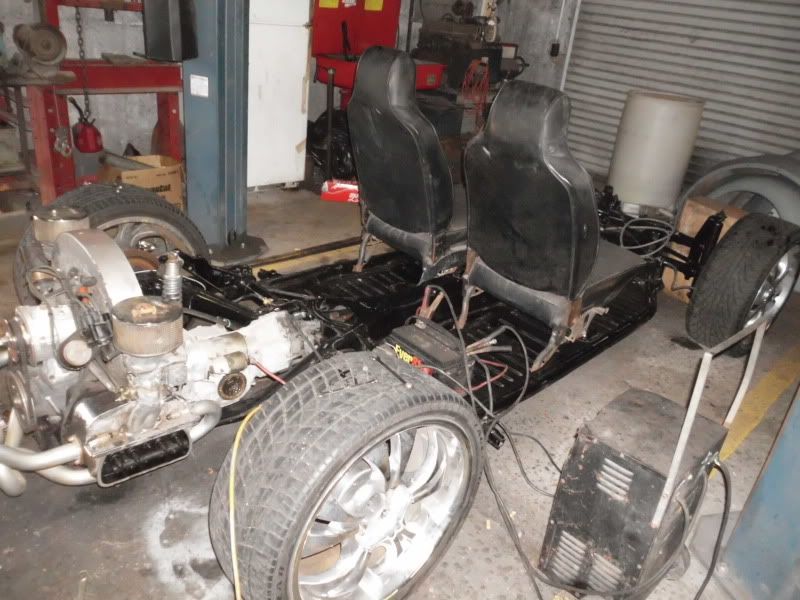
Got the new mounts on the tranny and a new nose cone gasket. Should be pulling the body off tomorrow and getting her running so I can move it around the shop on it's own power while I do some body work.
Re: My 1962 Bug RAT STEW
Posted: Wed Nov 23, 2011 10:07 am
by david58
Re: My 1962 Bug RAT STEW
Posted: Wed Nov 23, 2011 12:41 pm
by Lew
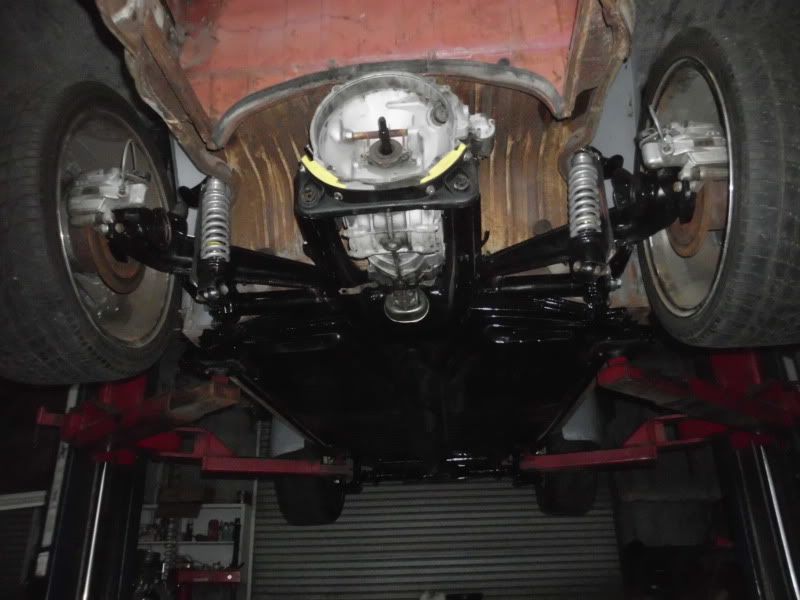
No Line X!

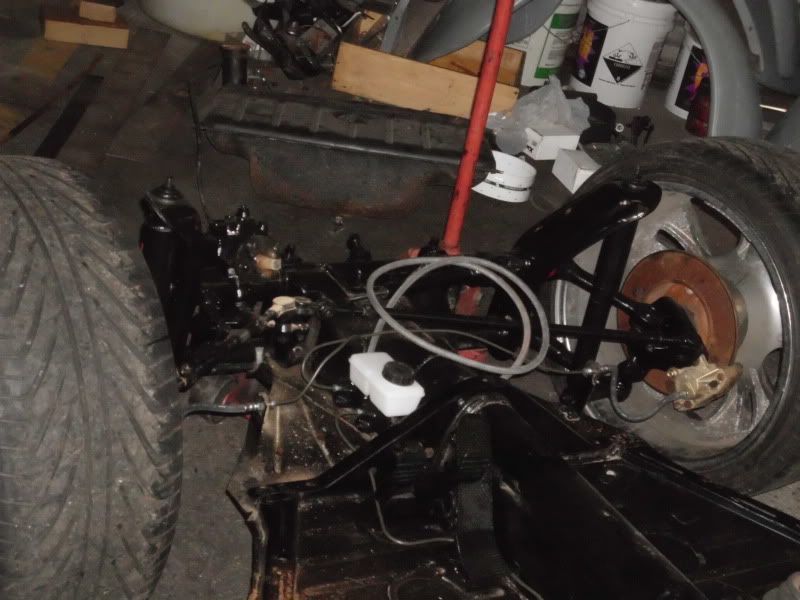
Is that a new change you decided on using the Brake Fluid tank at the master cylinder

I thought about doing it back when removing my tank and lines from the original location.....The only problem I see in doing so, is, it will be a little harder topping off/filling when flushing out the old stuff.

How's the clutch arm the release bearing is attached to. Remember back in NO JOKE heading home!

Re: My 1962 Bug RAT STEW
Posted: Wed Nov 23, 2011 1:11 pm
by david58
Lew wrote:No Line X!
Is that a new change you decided on using the Brake Fluid tank at the master cylinder
I thought about doing it back when removing my tank and lines from the original location.....The only problem I see in doing so, is, it will be a little harder topping off/filling when flushing out the old stuff.
How's the clutch arm the release bearing is attached to. Remember back in NO JOKE heading home!
No line X on this one just the paint that was on it when I bought it. Yes it may be hard to fill but everything is brand new on the brake system so it shouldn't need any added for a decade or so.

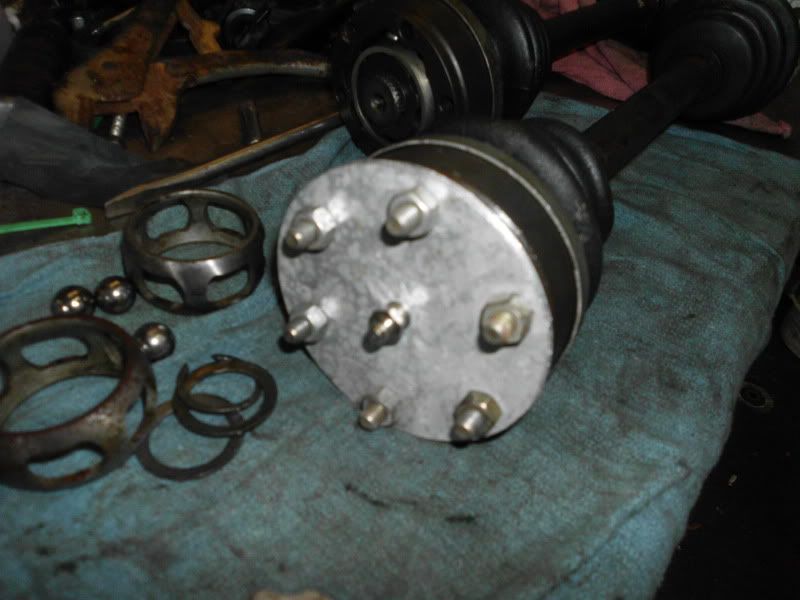
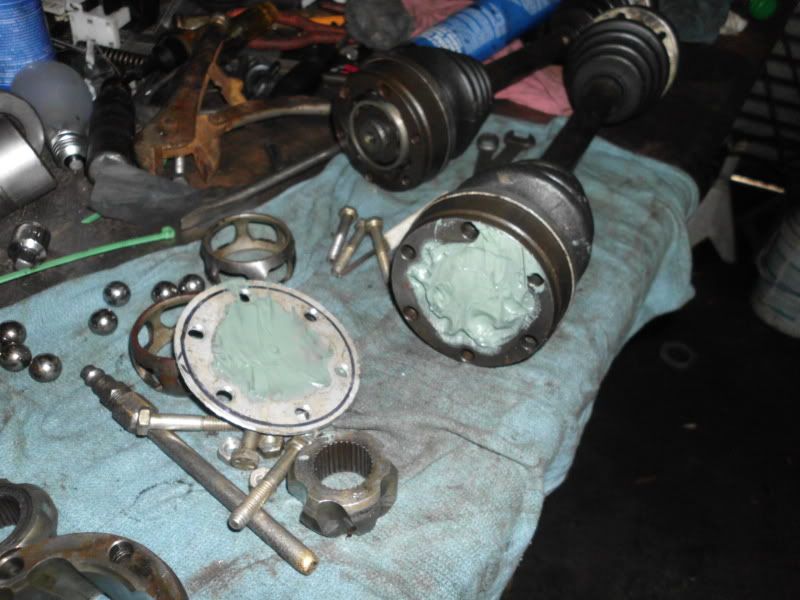
The clutch cross shaft is original looked good to me. I am missing some real small parts like the grub screw for the shifter coupling and one of the lock type rings that goes thru the emergency brake handle, and one of the thru pins that aids in adjusting the seats. I am going to keep looking for the little buggers.
Re: My 1962 Bug RAT STEW
Posted: Fri Nov 25, 2011 11:46 am
by david58
Re: My 1962 Bug RAT STEW
Posted: Thu Dec 01, 2011 9:43 am
by david58
Re: My 1962 Bug RAT STEW
Posted: Tue Dec 06, 2011 8:31 am
by david58
Re: My 1962 Bug RAT STEW
Posted: Sun Dec 11, 2011 8:11 am
by david58
OK I am wondering what I can do with the headlight buckets on the fiber glass 3 inch wider fenders for the 62? The 20's are fouling against the bucket in the fenders when turning either way. Is there a head lamp assembly that will work with about half the bucket cut off on the back side of the fender? Just something I am pondering about, because I won't have the body back on for quite some time. Got to smooth out the wrinkles in the body and throw some paint at it. Just hoping someone has a solution, that looks good.
