Page 5 of 8
Re: Budget 100x71 Build
Posted: Sat Jan 09, 2021 11:55 am
by Clatter
Man, love this build.
Can't wait to see if there's a difference with stack height on the dyno.
Running a type 4 in a type 3 the height has to be so limited,
i always wondered how much power i was giving up.
Something else i always just thought,
But was maybe brainwashed by the advertisers,
That stock pushrods are too flimsy for bigger springs.
is that just with beetle motors?
How much spring to you dare run with stock pushrods?
FWIW,
Len at HAM has some old posts on this site where he did heads the same with and without the 914 2.0 plug mod.
Because the AA castings weren't available yet, he used AMC castings.
With no other mods, all things similar, it supposedly made around a 15% difference in HP having the plug protrude as with the 914 2.0.
They do tend to crack around the plug hole, but mother VW decided that it was worth it for the extra power i guess?
Re: Budget 100x71 Build
Posted: Sat Jan 09, 2021 1:11 pm
by cal 67
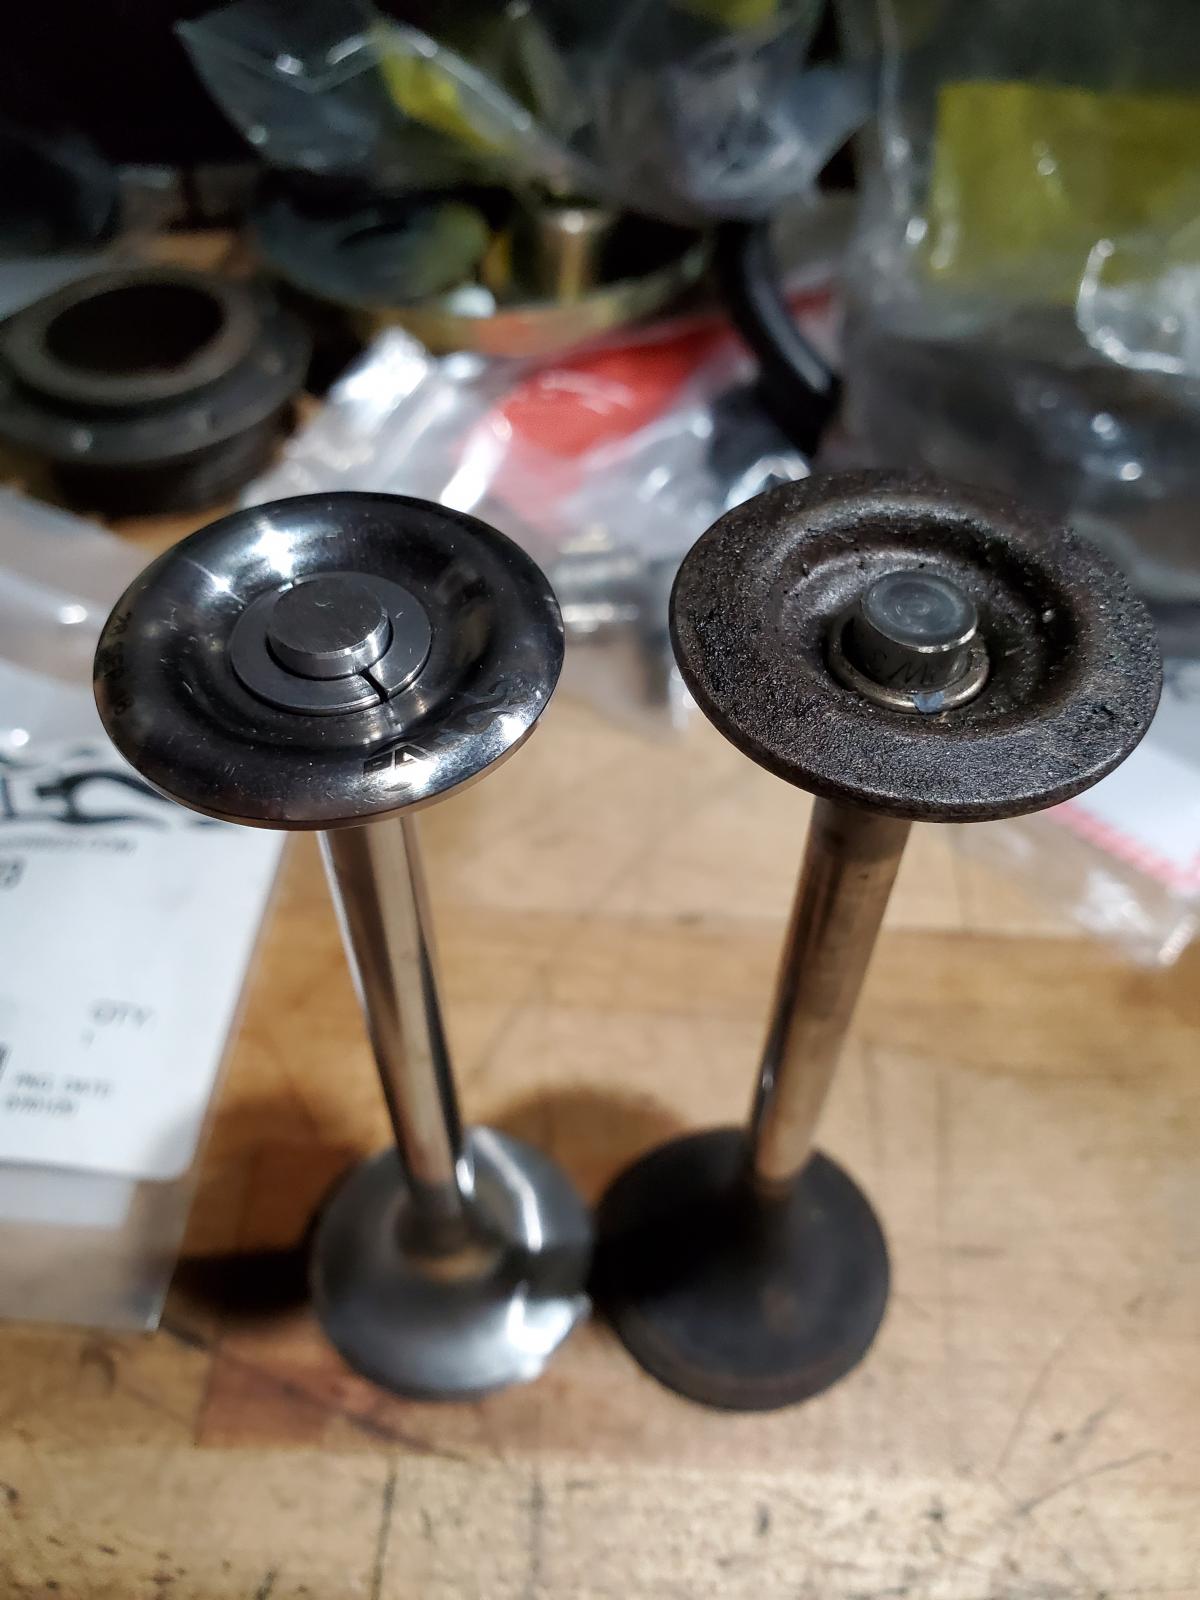
They do look pretty nice, don't they? Bought some flow equipment, so I'll get to see how well my whole induction system fares...
914 AA castings have this weird area where the rocker box vent interferes with my CSP intakes. Rather than modify the heads, I modified the intakes on a belt sander.
Gonna drop the crank in. I forgot the 1st cut bearings have an O/S thrust that needs chopping-down. Great idea on Silverline's part. Just machine the bearing instead of making two individual bearings. I added a slight bevel to ease installation.


Re: Budget 100x71 Build
Posted: Sat Jan 09, 2021 2:39 pm
by cal 67
Clatter wrote: ↑Sat Jan 09, 2021 11:55 am
Man, love this build.
Can't wait to see if there's a difference with stack height on the dyno.
Running a type 4 in a type 3 the height has to be so limited,
i always wondered how much power i was giving up.
Something else i always just thought,
But was maybe brainwashed by the advertisers,
That stock pushrods are too flimsy for bigger springs.
is that just with beetle motors?
How much spring to you dare run with stock pushrods?
FWIW,
Len at HAM has some old posts on this site where he did heads the same with and without the 914 2.0 plug mod.
Because the AA castings weren't available yet, he used AMC castings.
With no other mods, all things similar, it supposedly made around a 15% difference in HP having the plug protrude as with the 914 2.0.
They do tend to crack around the plug hole, but mother VW decided that it was worth it for the extra power i guess?
Maybe with that stock sunken plug ground, but run a DTC plug and give it some CR, and I doubt it's much of a difference. Those Nords in Bilcross are making silly power with Bus heads. If I didn't already have these 2.0s, I'd run some modded 1.8s just to prove a point. Plug angle is a 1% thing, not a 15% thing. I'd need the heads in front of me to pick the two test heads apart...
Re: Budget 100x71 Build
Posted: Mon Jan 11, 2021 9:56 pm
by cal 67
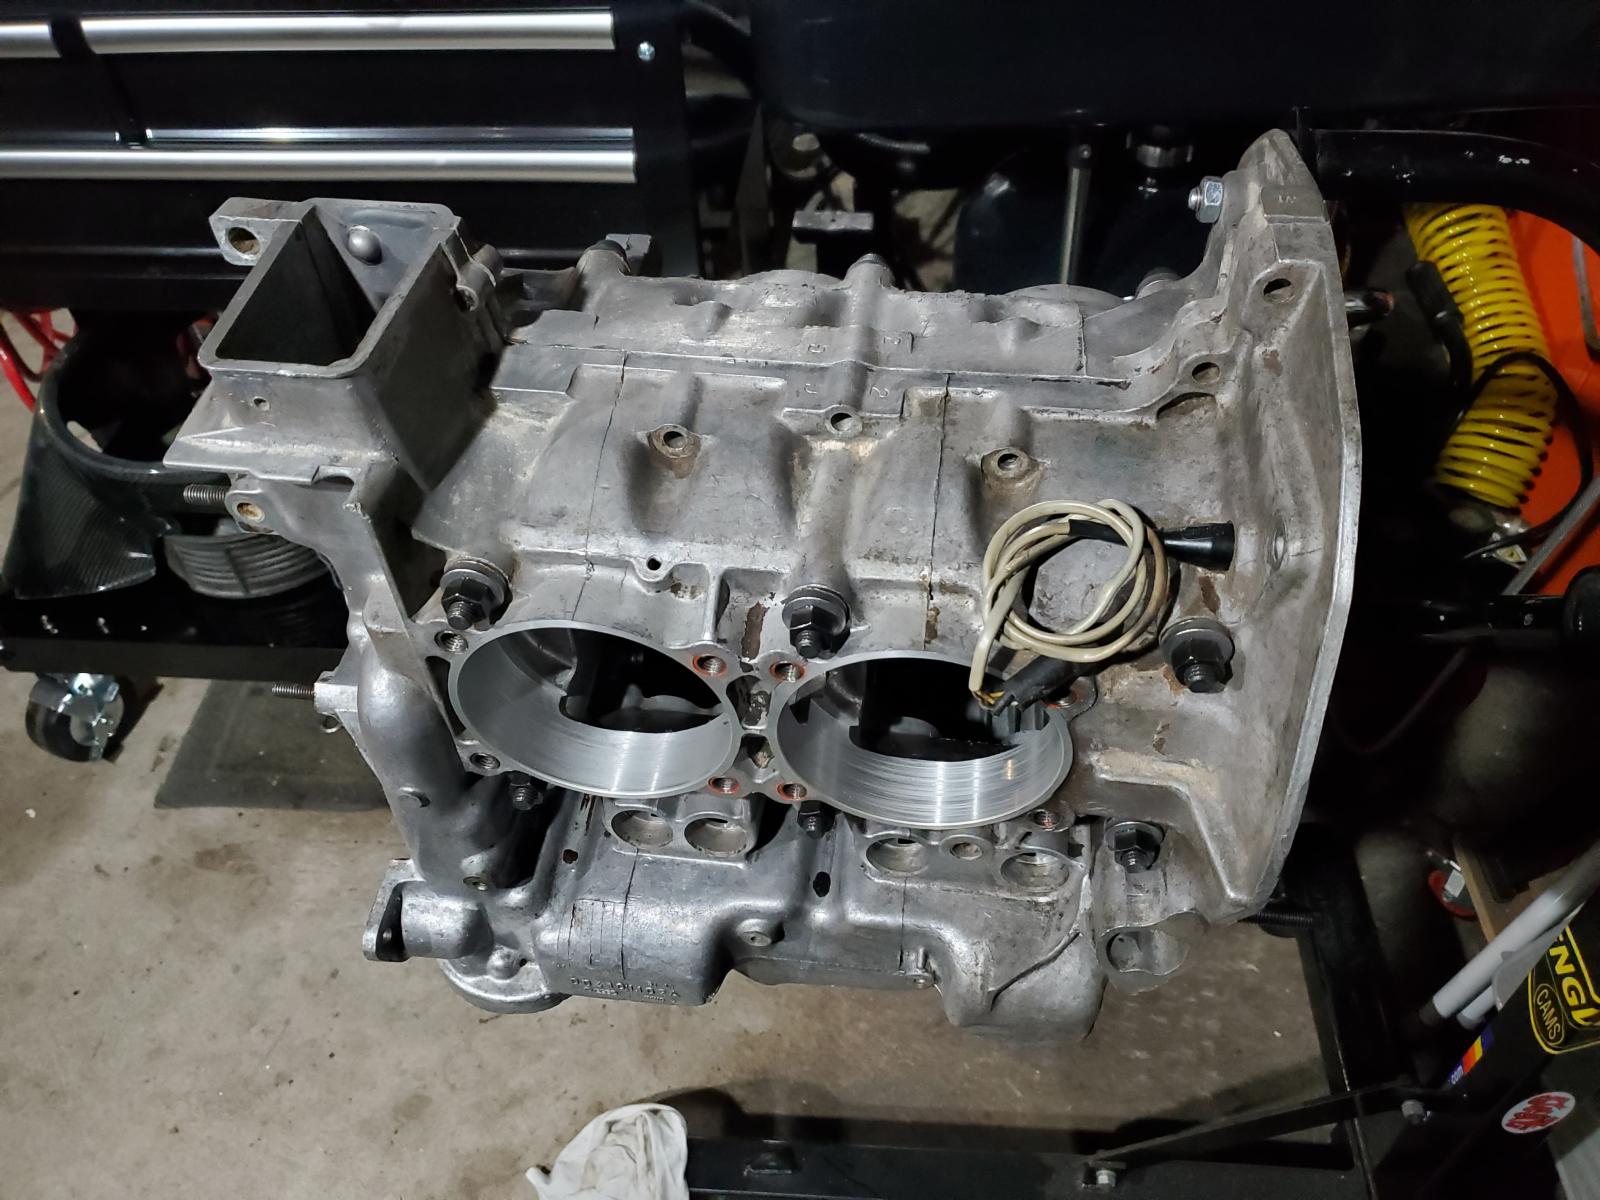
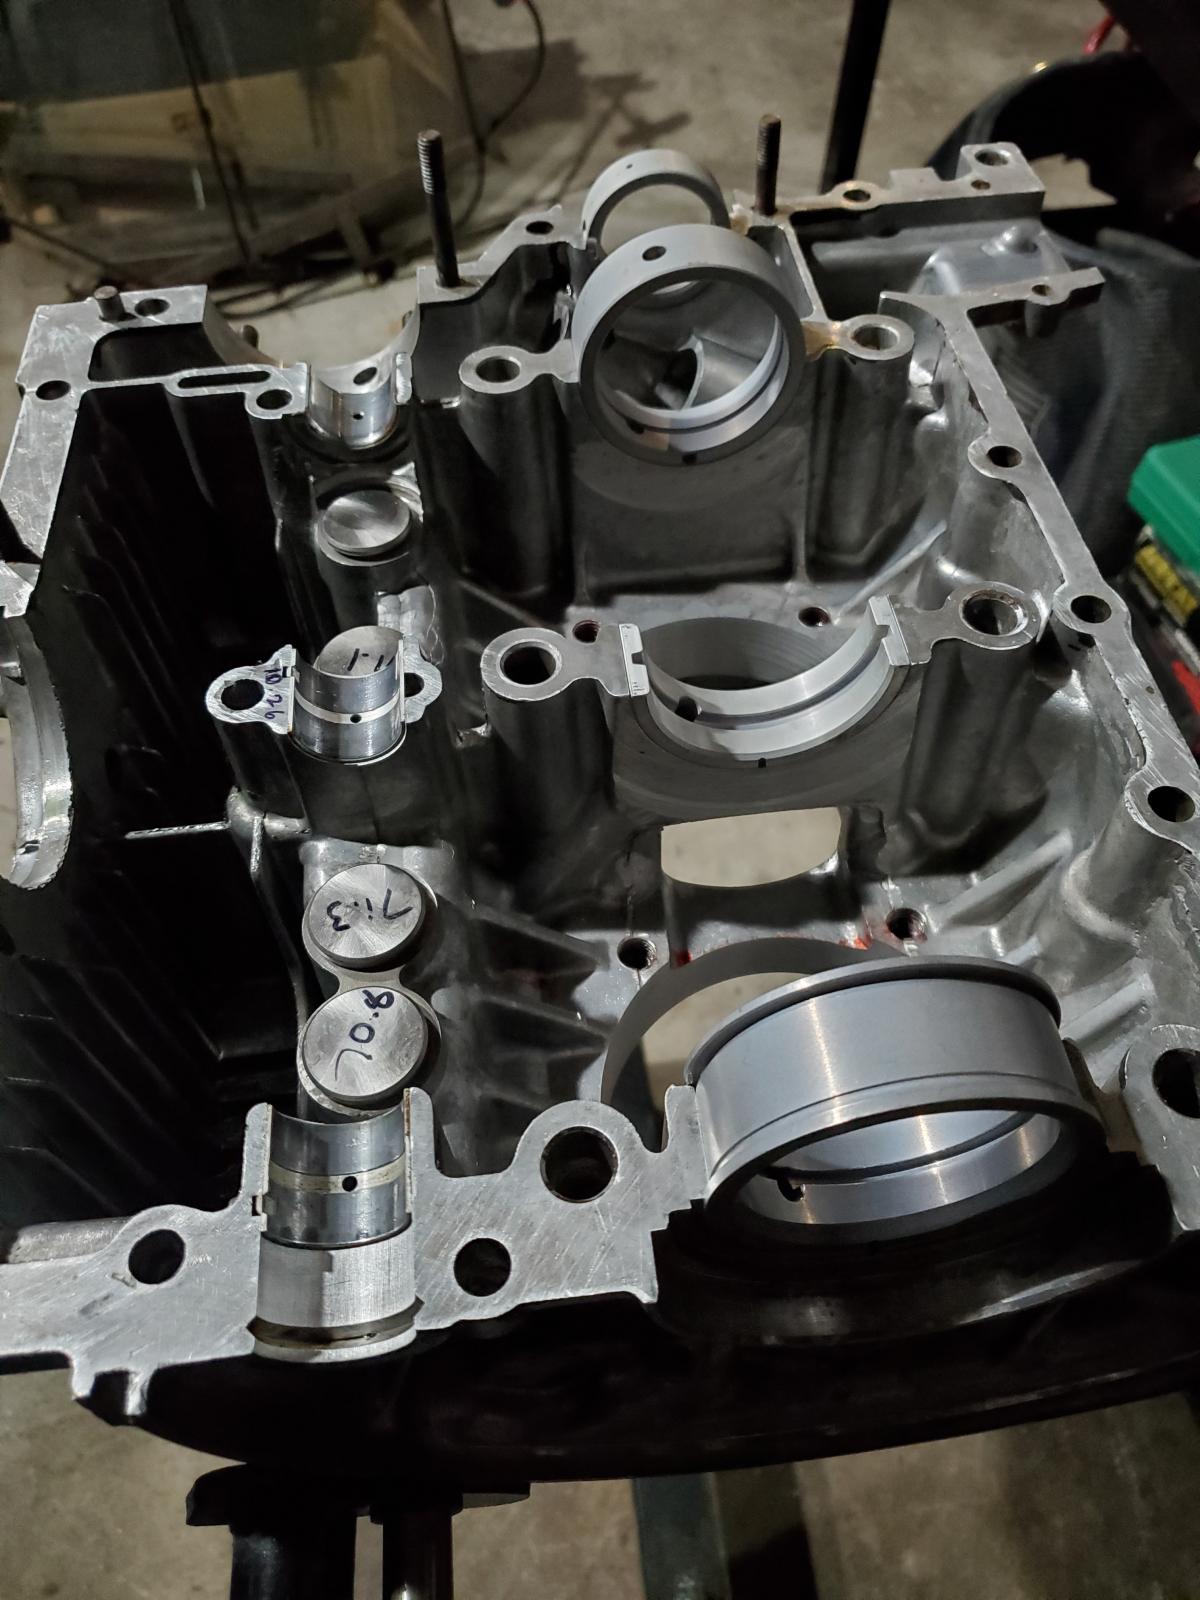
Phew! Got it on the stand.
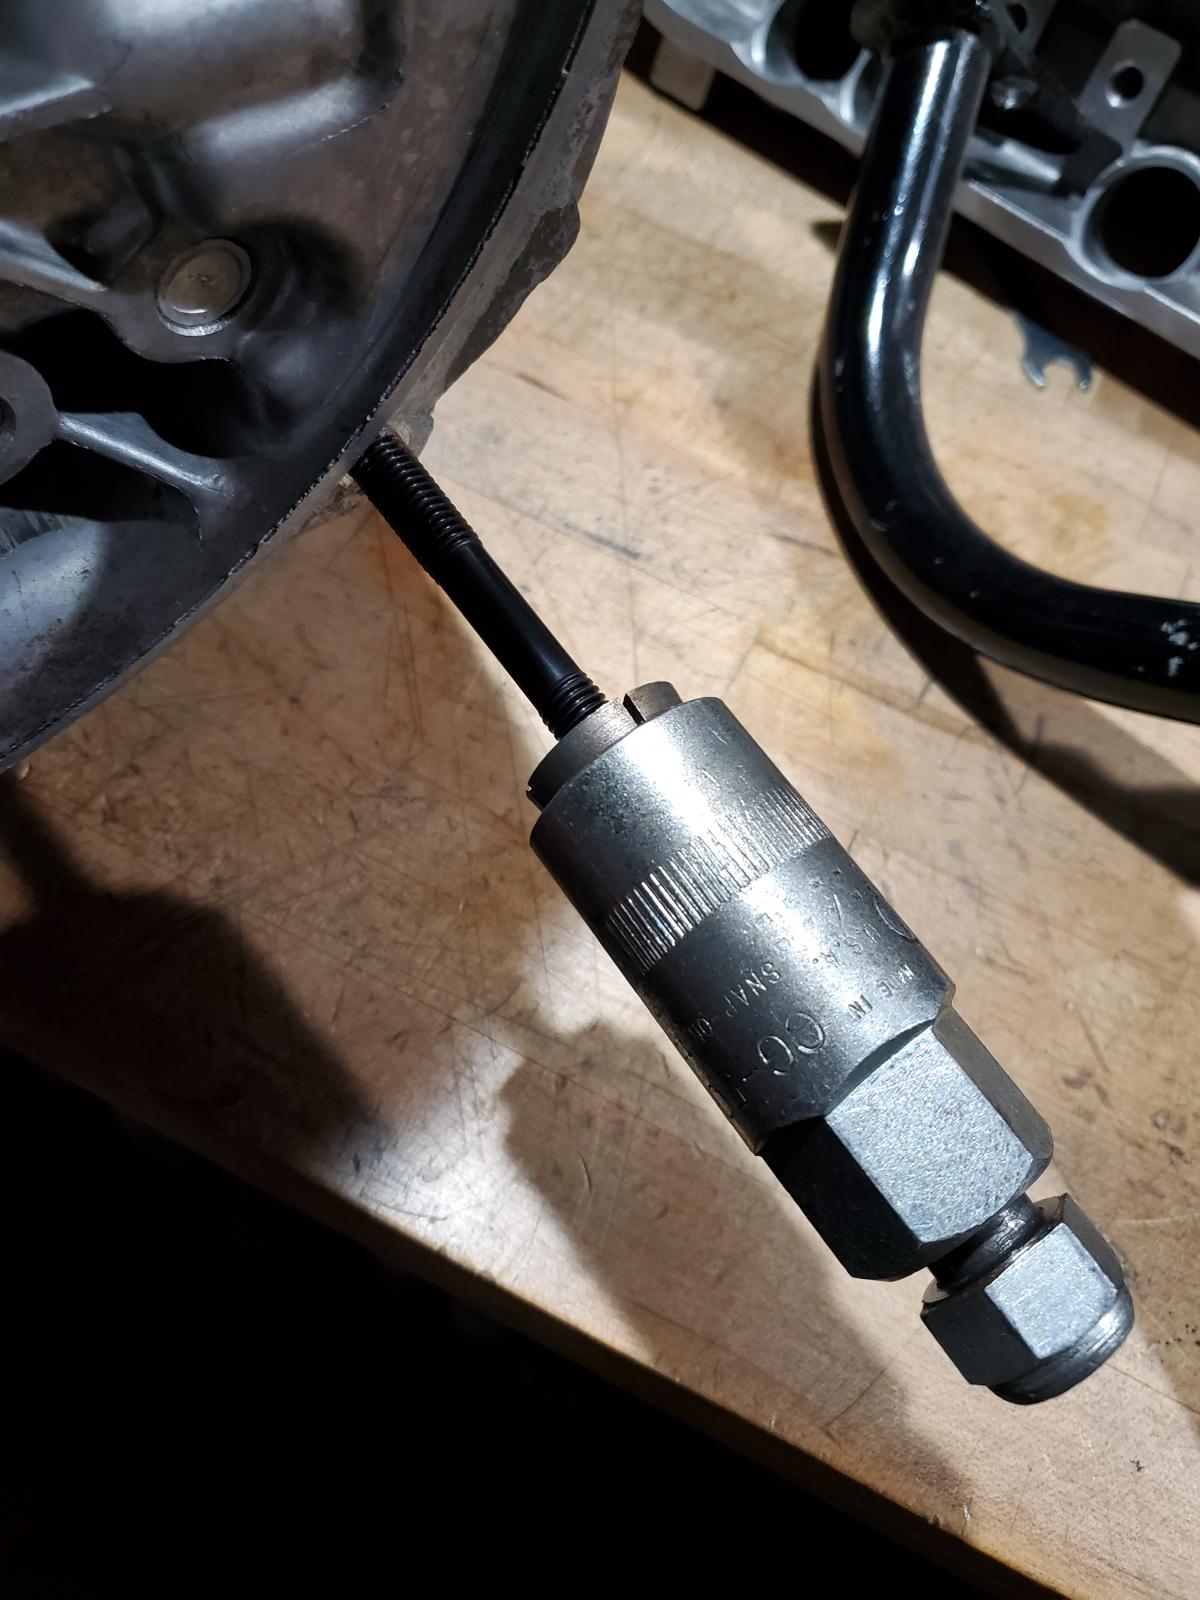
Had to install new mounting studs in. Who knows where the old ones went

. Love my Snap-On installers
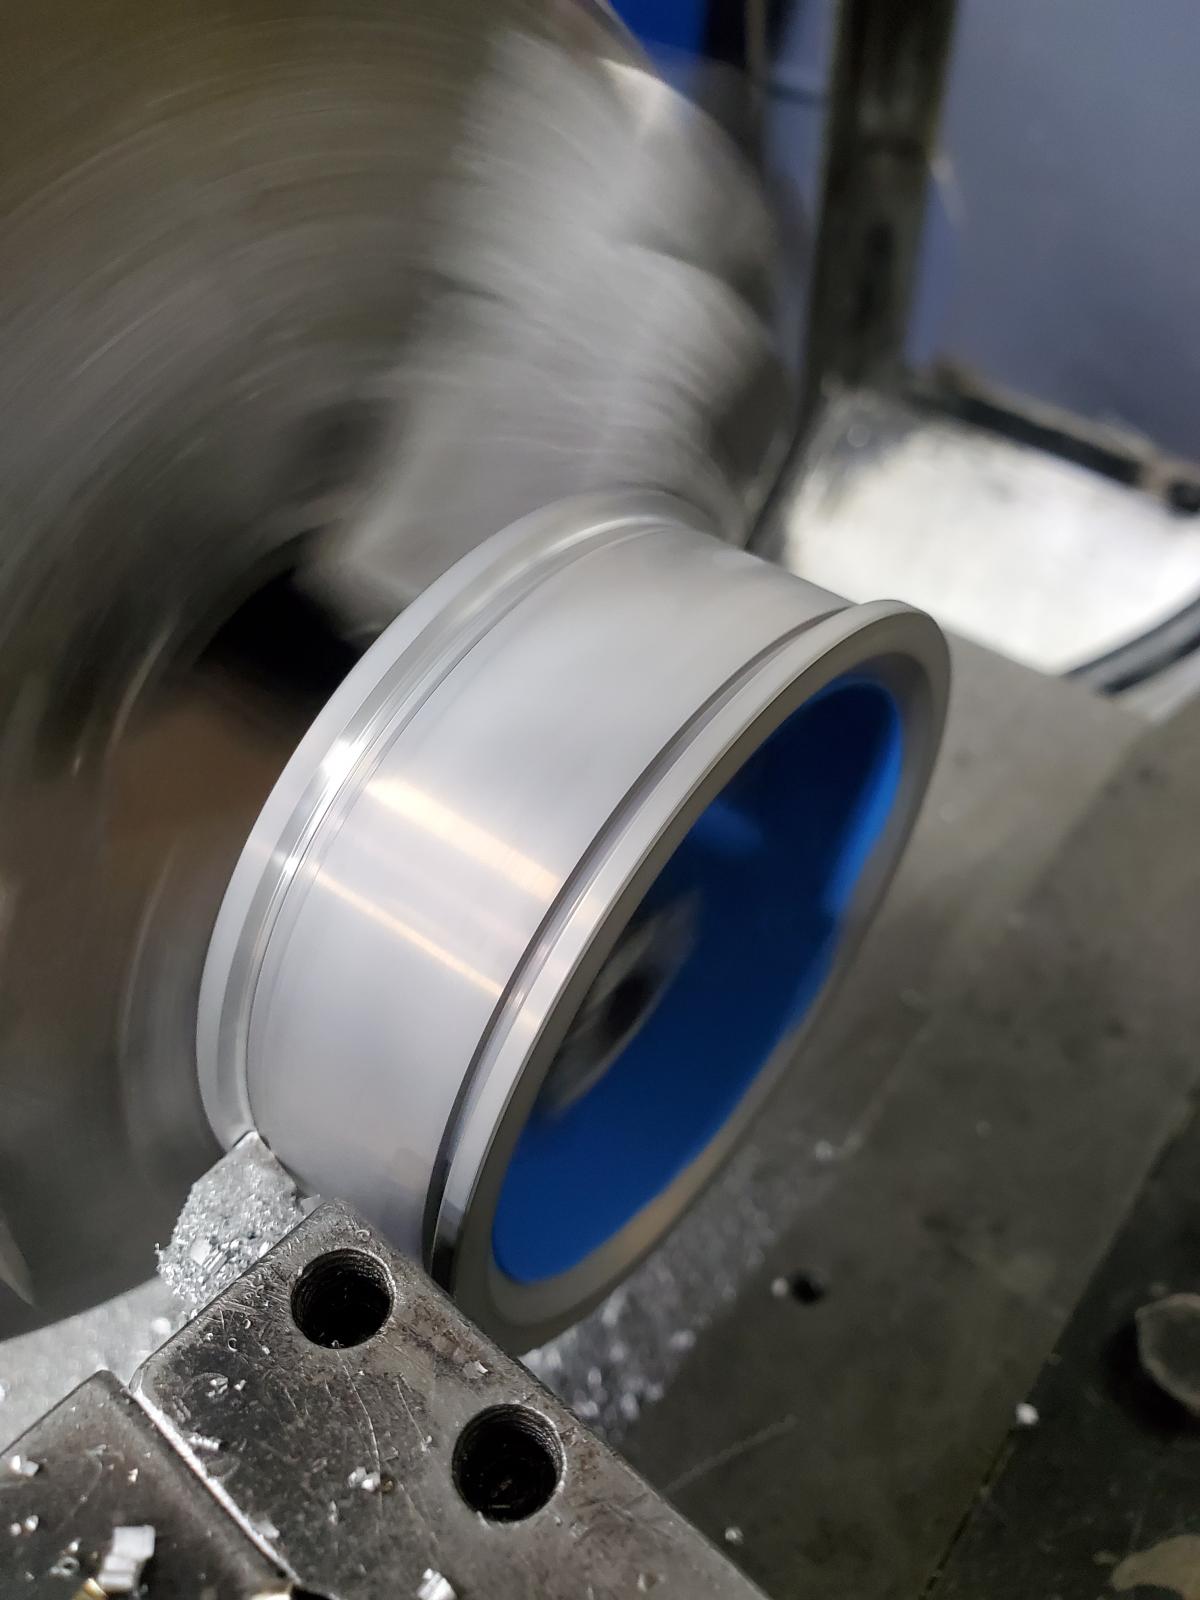
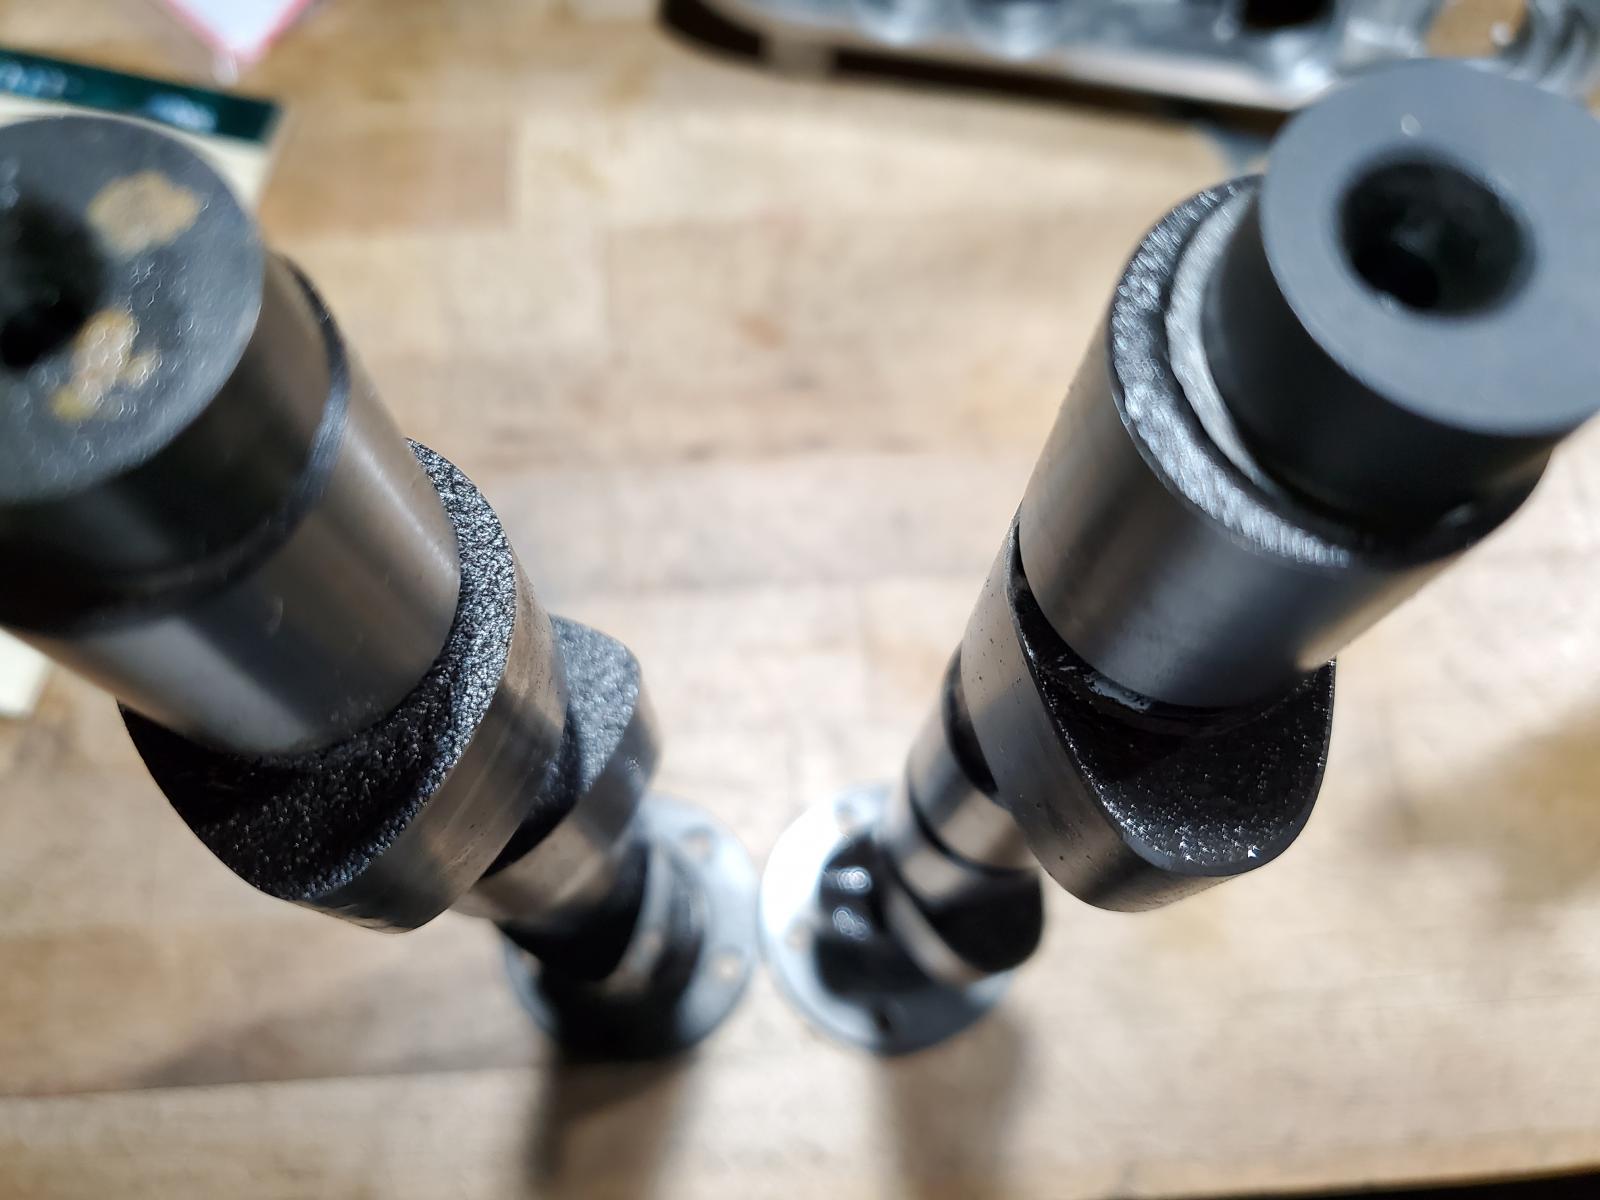
Q cam is ready. Look at the lobe profile compared to stock (left)
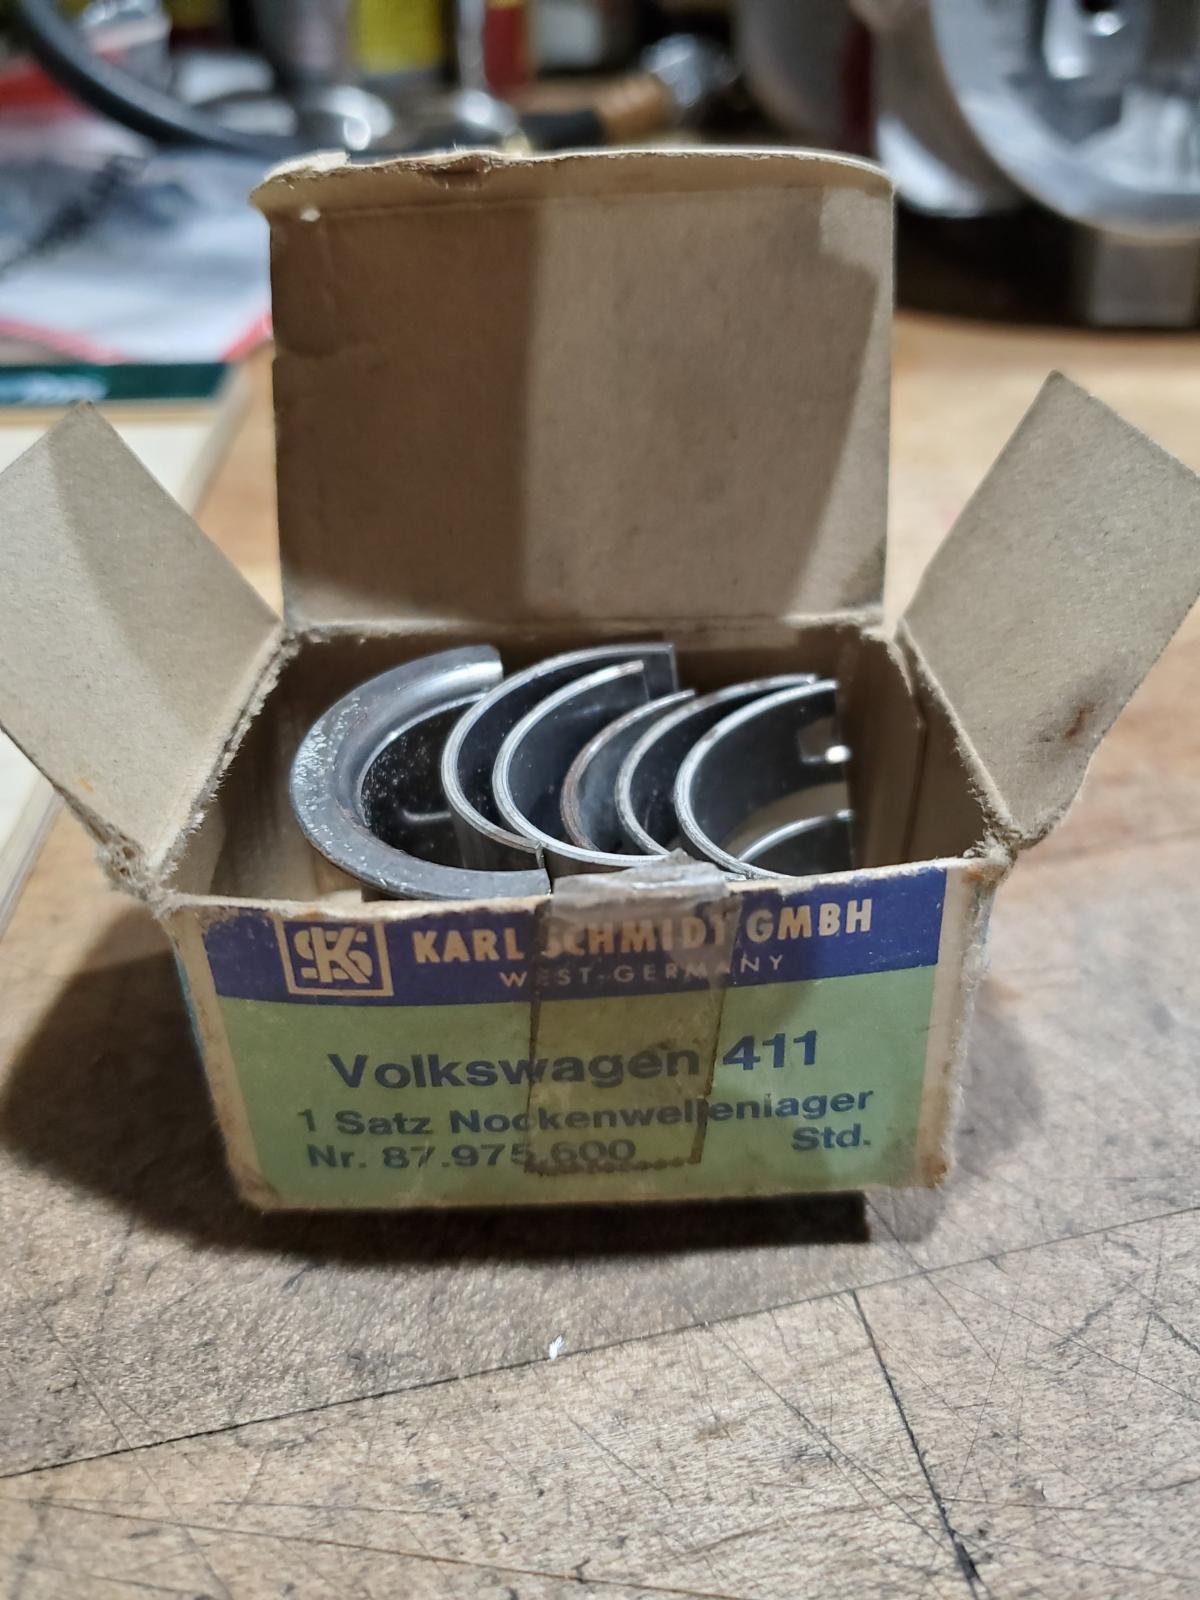
Oooooold stock bearings going in. Only the best


Re: Budget 100x71 Build
Posted: Tue Jan 12, 2021 10:59 am
by Ol'fogasaurus
The need to replace studs is for the same reasons you replace bolts... over time fastener metal stretches due to loads or over tightening just like bolts do. Sometimes loosing fasteners is a good thing.
Lee
Re: Budget 100x71 Build
Posted: Wed Jan 13, 2021 10:17 am
by cal 67
Re: Budget 100x71 Build
Posted: Wed Jan 13, 2021 10:21 am
by cal 67
Re: Budget 100x71 Build
Posted: Wed Jan 13, 2021 10:40 pm
by Eddie010
I cut the case with the berg lifter boss tool, that advises you, you should have 1 mm clearance at full lift between lifter and Cam lobe.
Went with that, cause I did not know how much to cut. Thorsten (Pieper where I bought the type 1 inserts) suggests to machine 7mm of the boss, but that is not related to the lift of your cam, which I found strange.
That trough bolt would be nice.... do it fast before I close my case, hahaha
Re: Budget 100x71 Build
Posted: Thu Jan 14, 2021 2:53 pm
by cal 67
Eddie010 wrote: ↑Wed Jan 13, 2021 10:40 pm
I cut the case with the berg lifter boss tool, that advises you, you should have 1 mm clearance at full lift between lifter and Cam lobe.
Went with that, cause I did not know how much to cut. Thorsten (Pieper where I bought the type 1 inserts) suggests to machine 7mm of the boss, but that is not related to the lift of your cam, which I found strange.
That trough bolt would be nice.... do it fast before I close my case, hahaha
That bolt, other than holding up the pickup, makes the valvetrain more rigid. A good alternative to installing a through bolt is installing a large diameter threaded insert. Then you could bring the torque up higher.
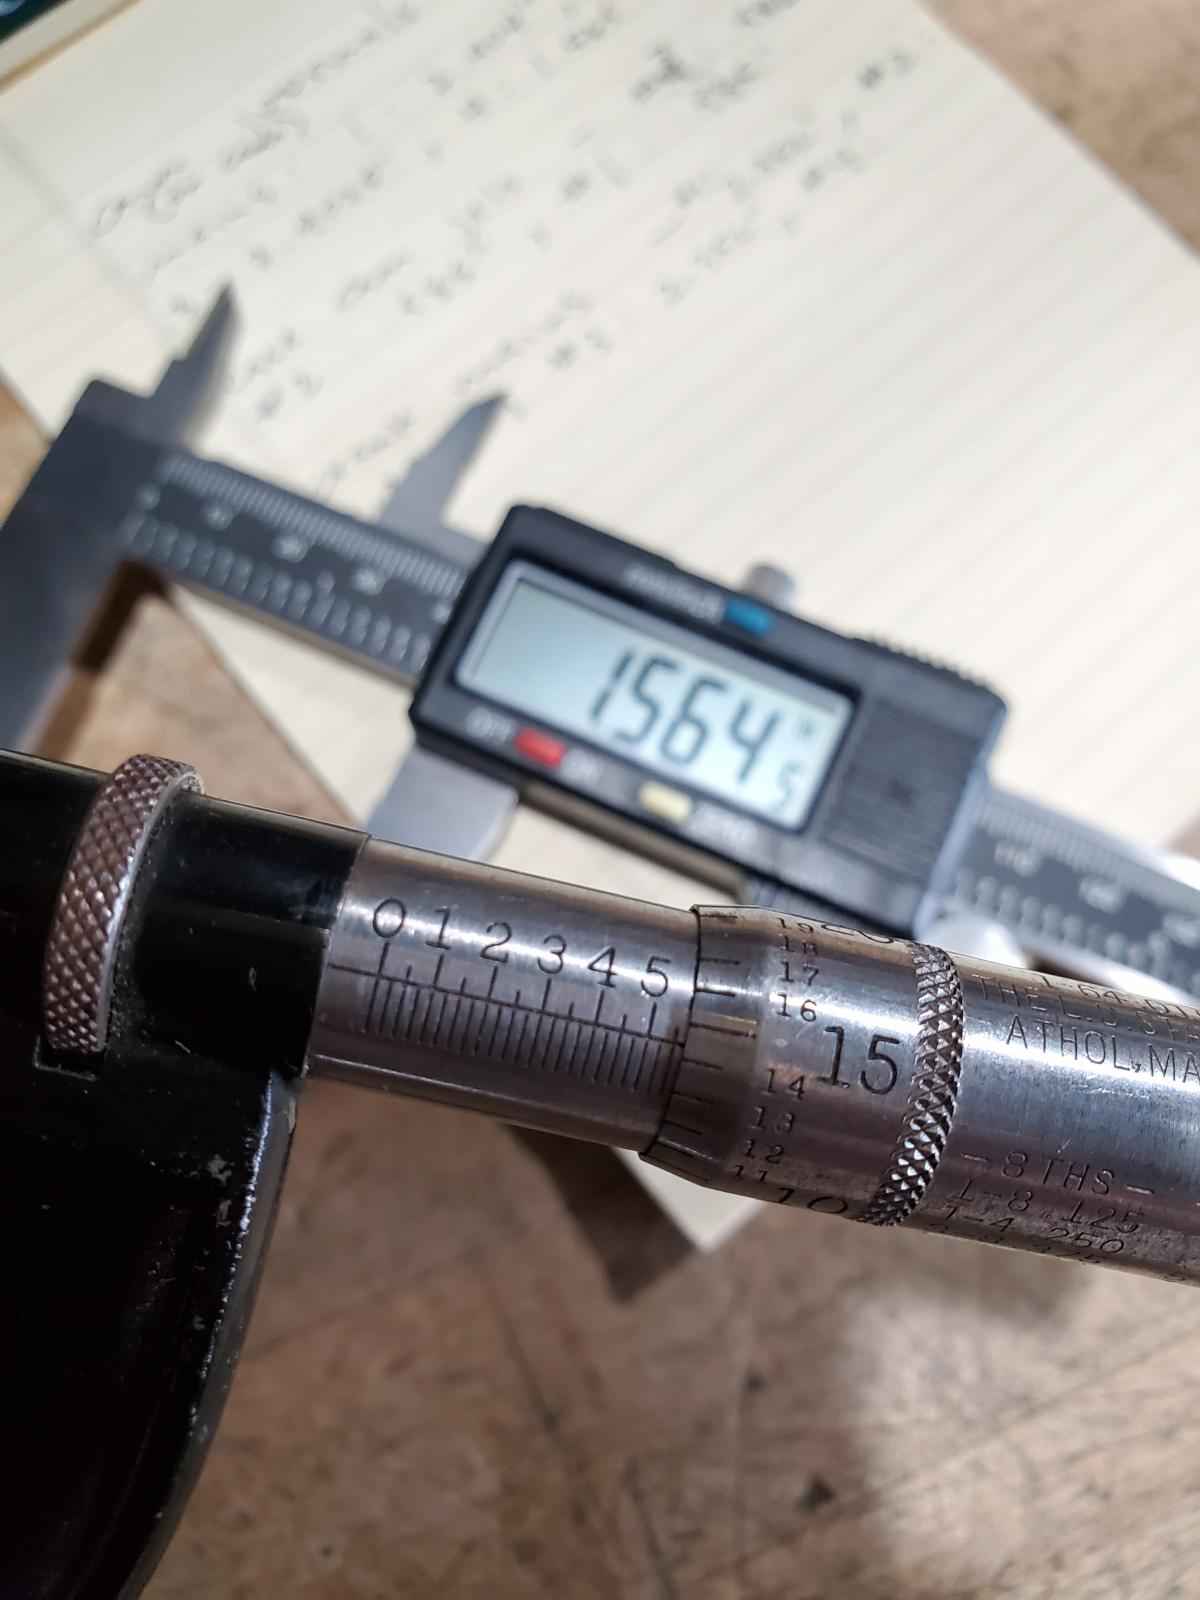
Measured lobe lift yesterday. As expected, it was less than advertised: 405 at the lobe. Advertised lift was .430". I NEED to use my 1.4s now just to gain my lift and duration back.
Re: Budget 100x71 Build
Posted: Fri Jan 15, 2021 12:55 pm
by cal 67
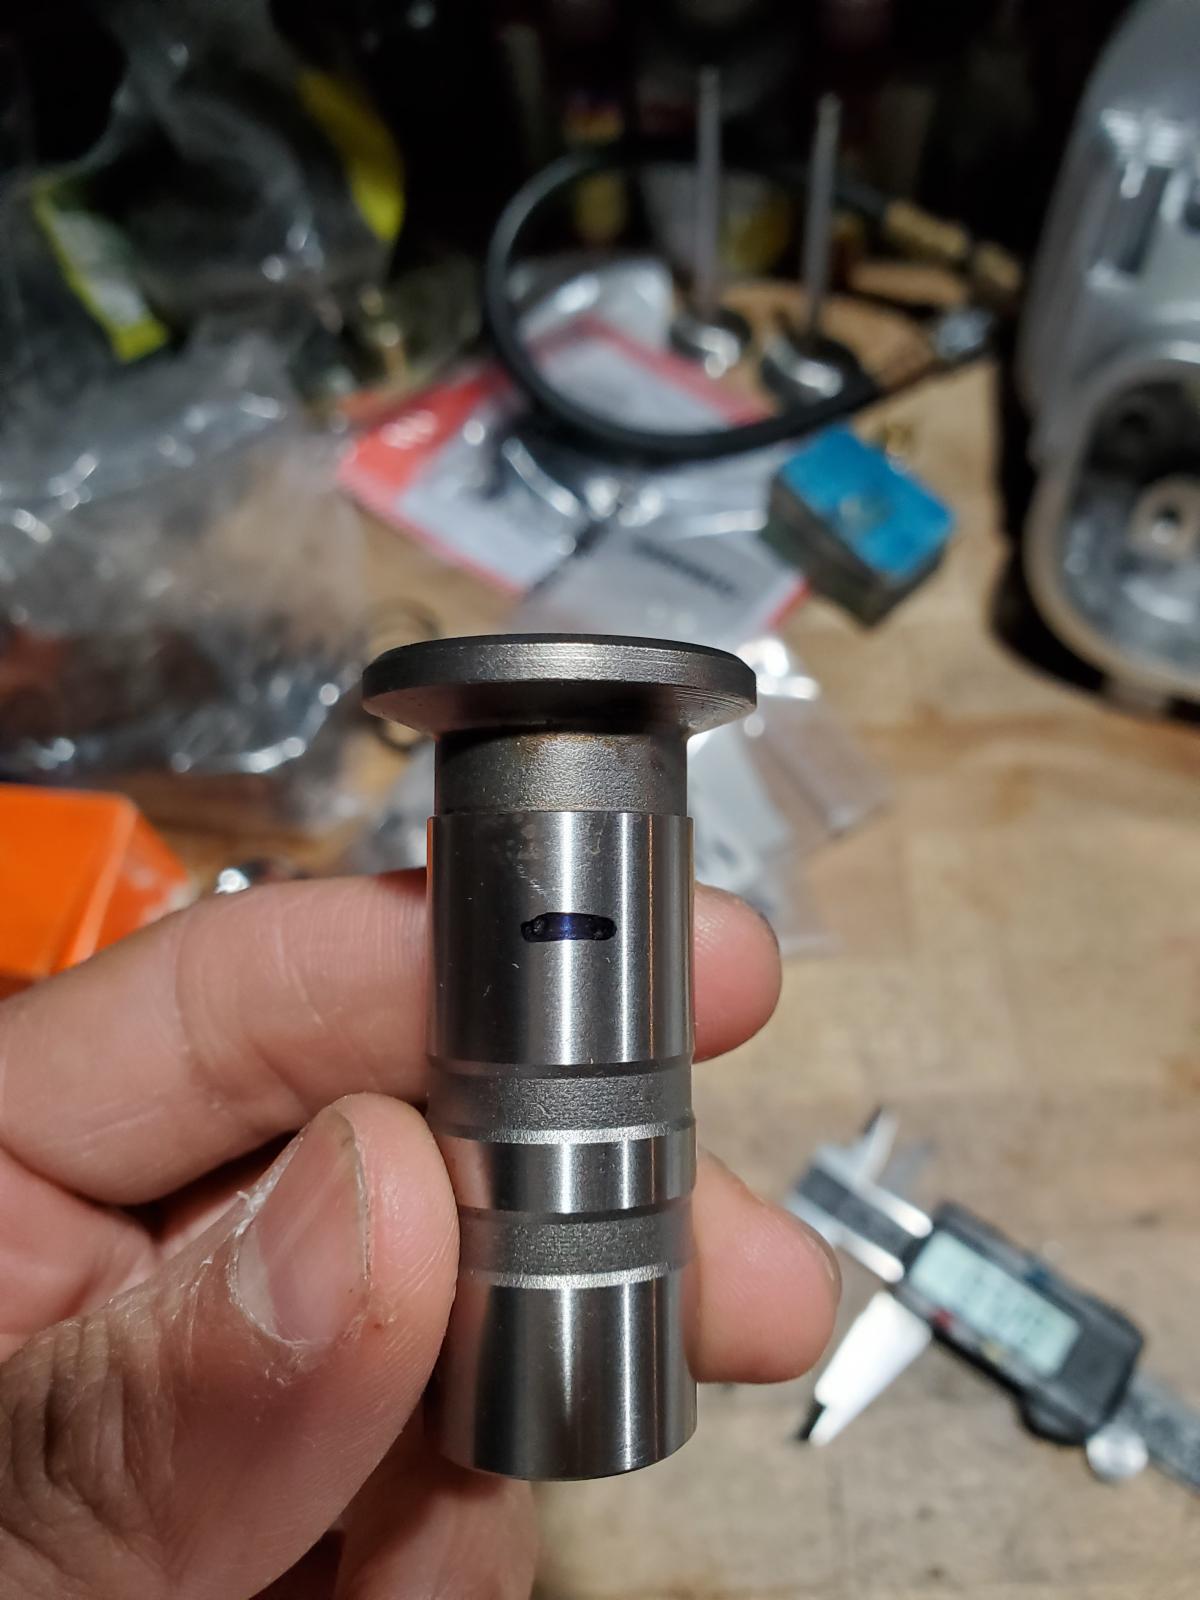
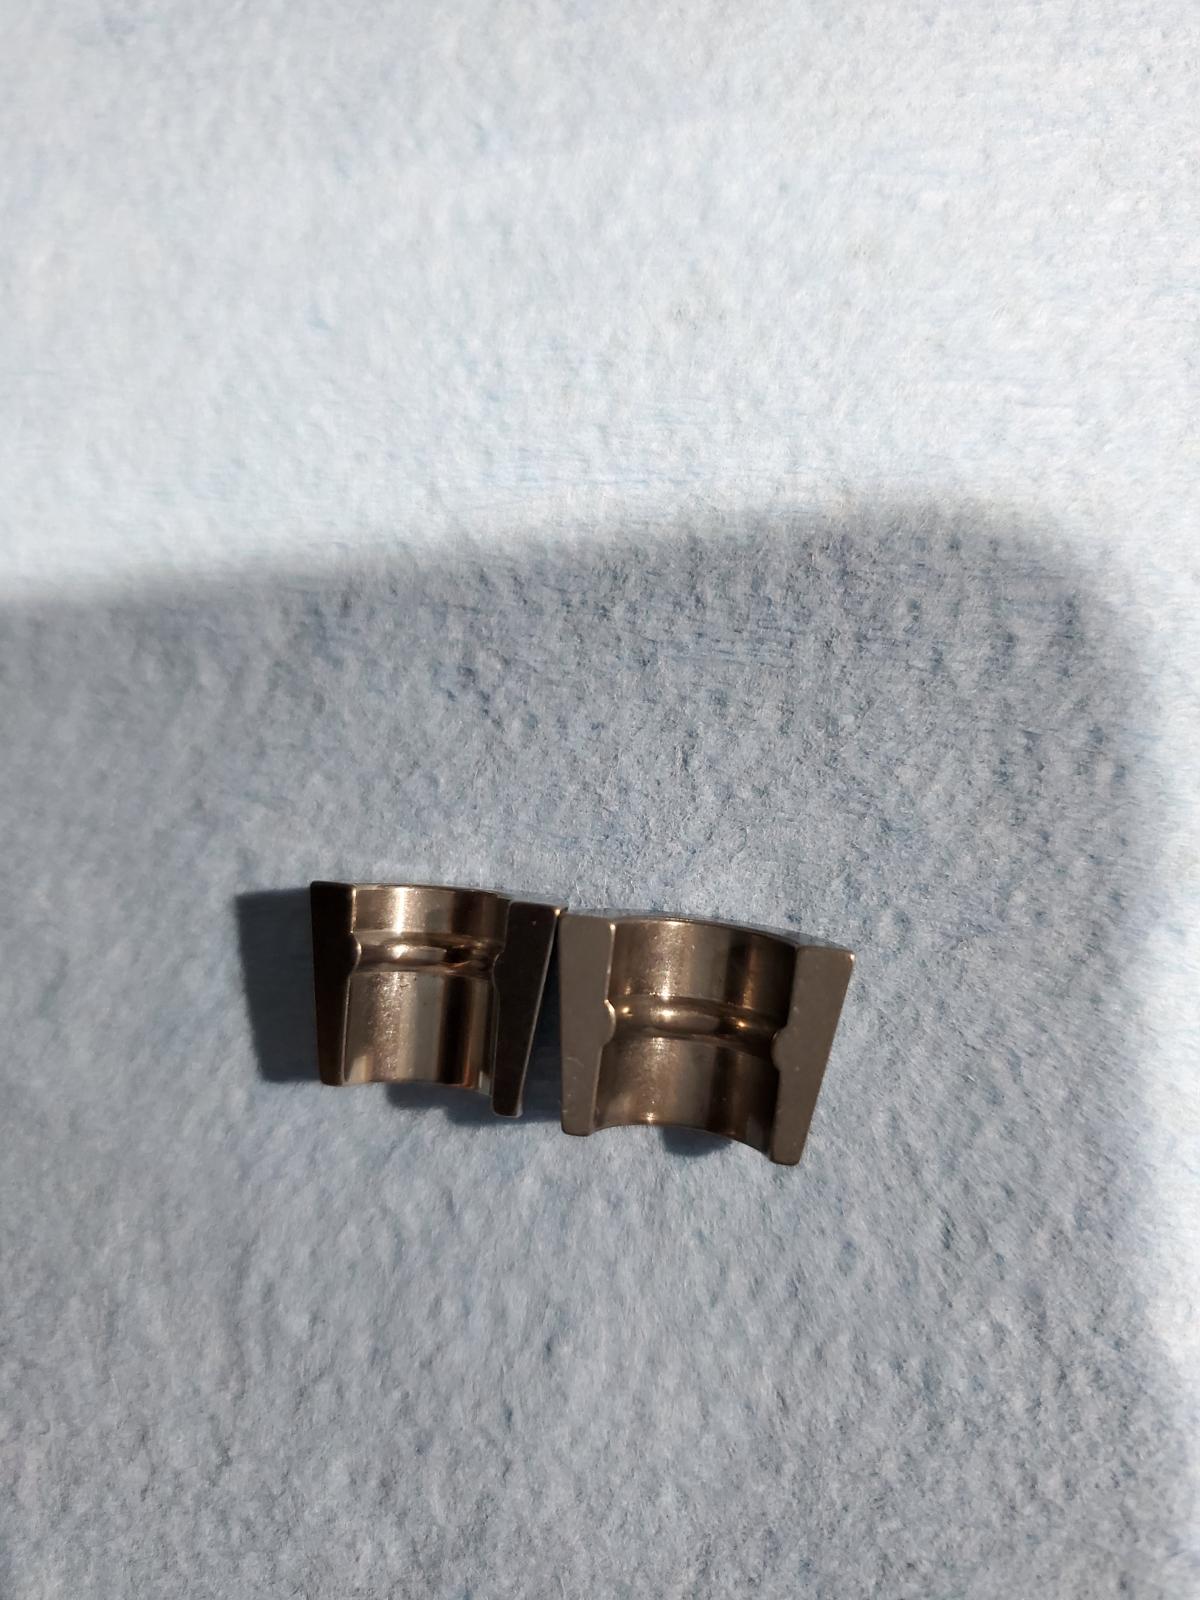
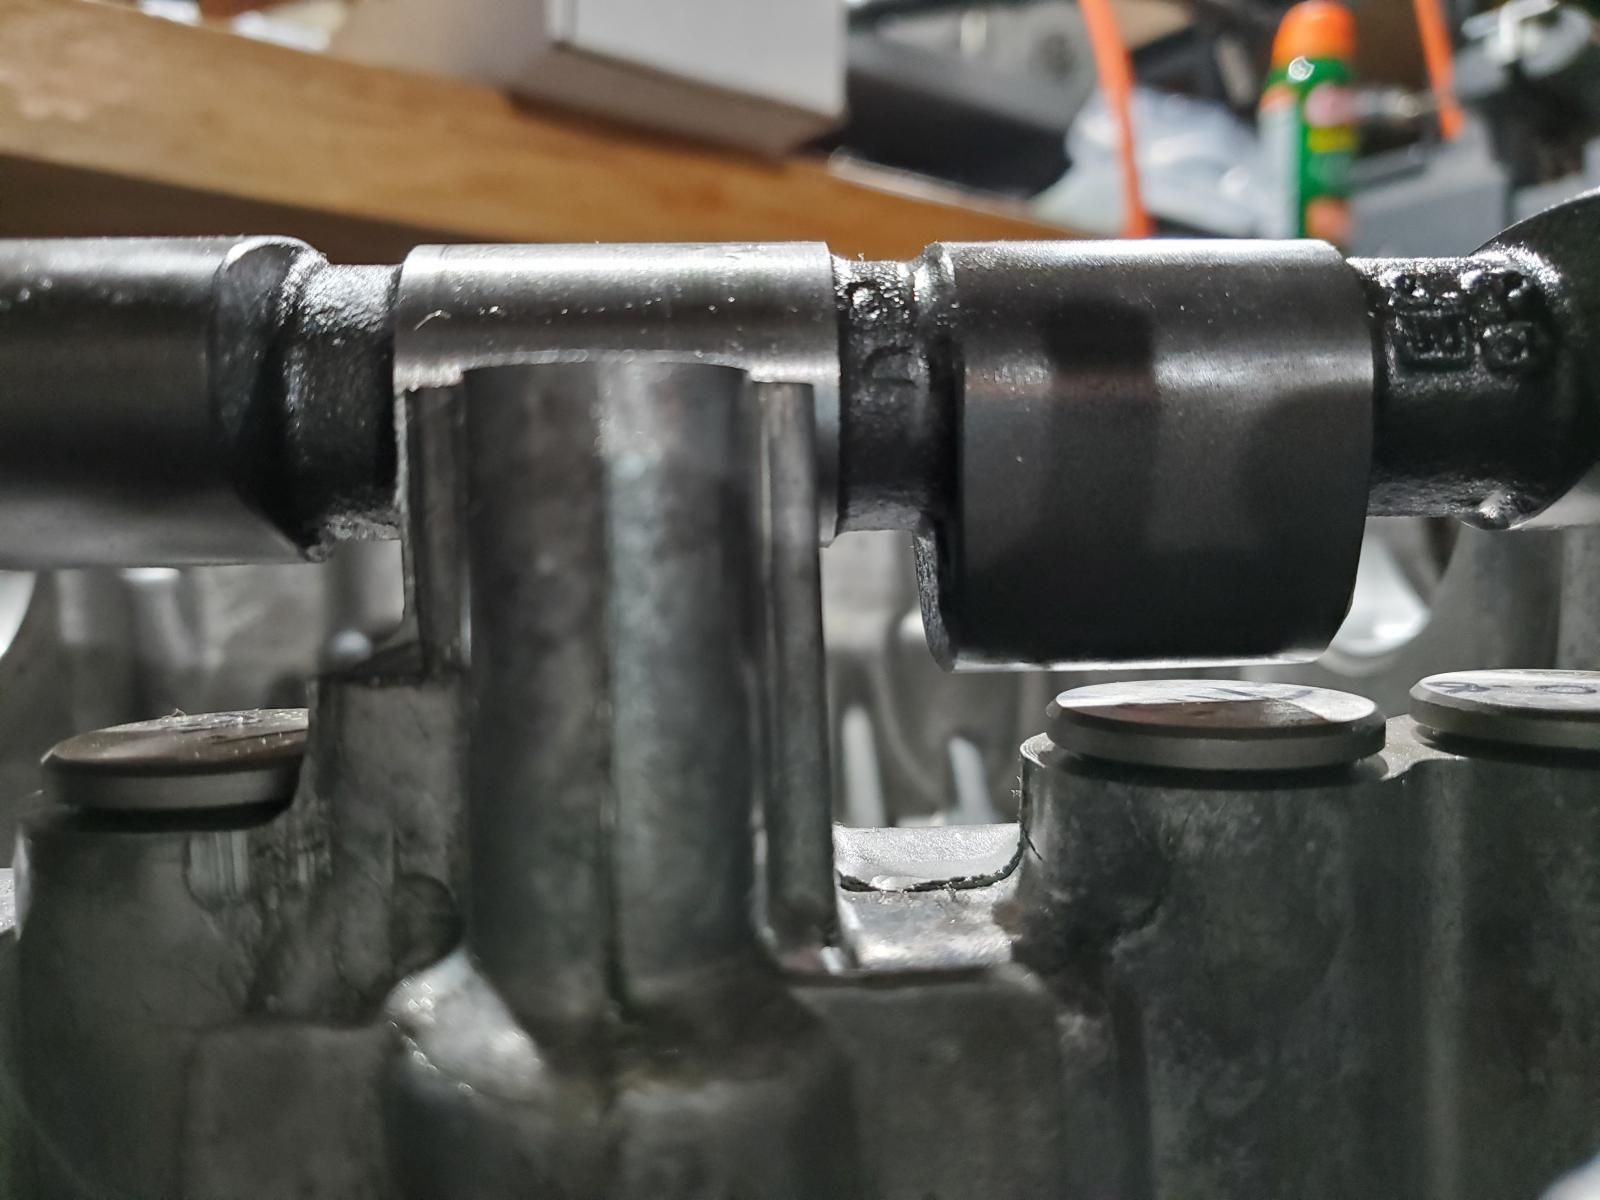
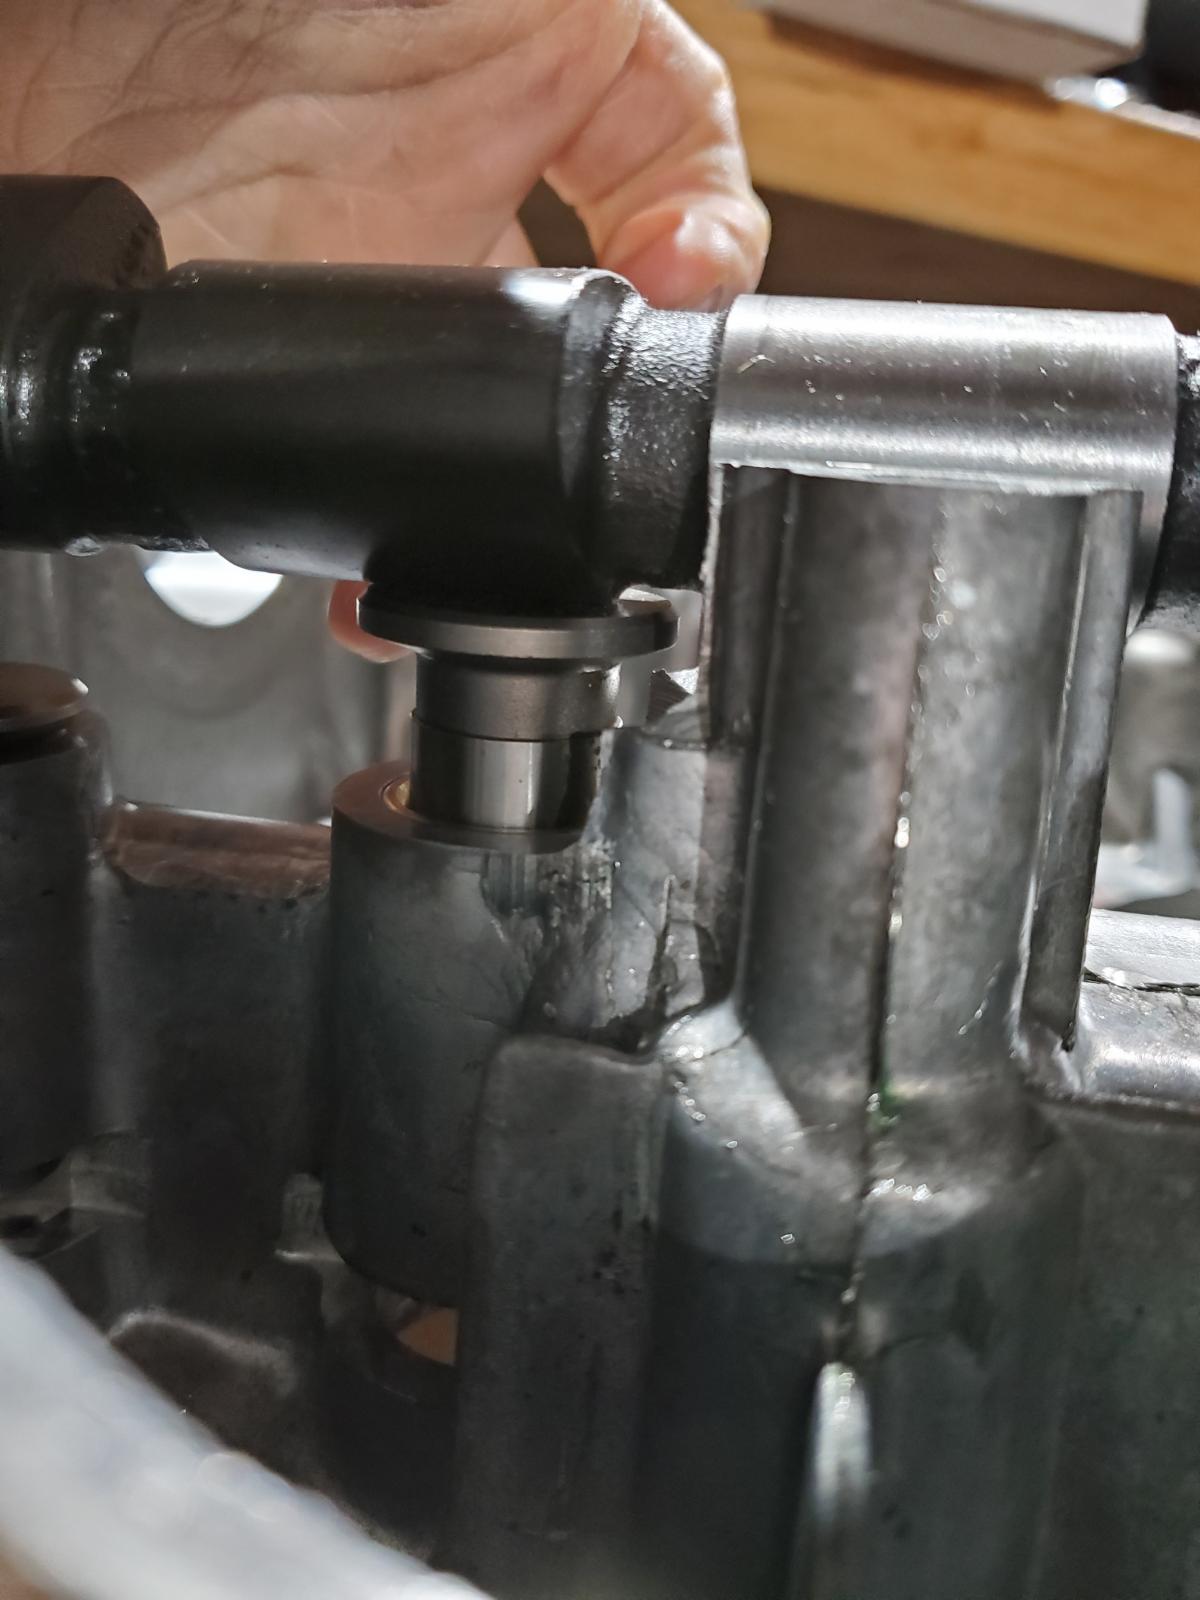
Meh.... Lifter doesn't look that bad on the base circle. Not ideal, but I'll run it. Inquired about a welded cam to run a larger base circle - $400 for a just the welding labor!

. I would be $700 into a cam! No way. I'll run my 1.00" base.
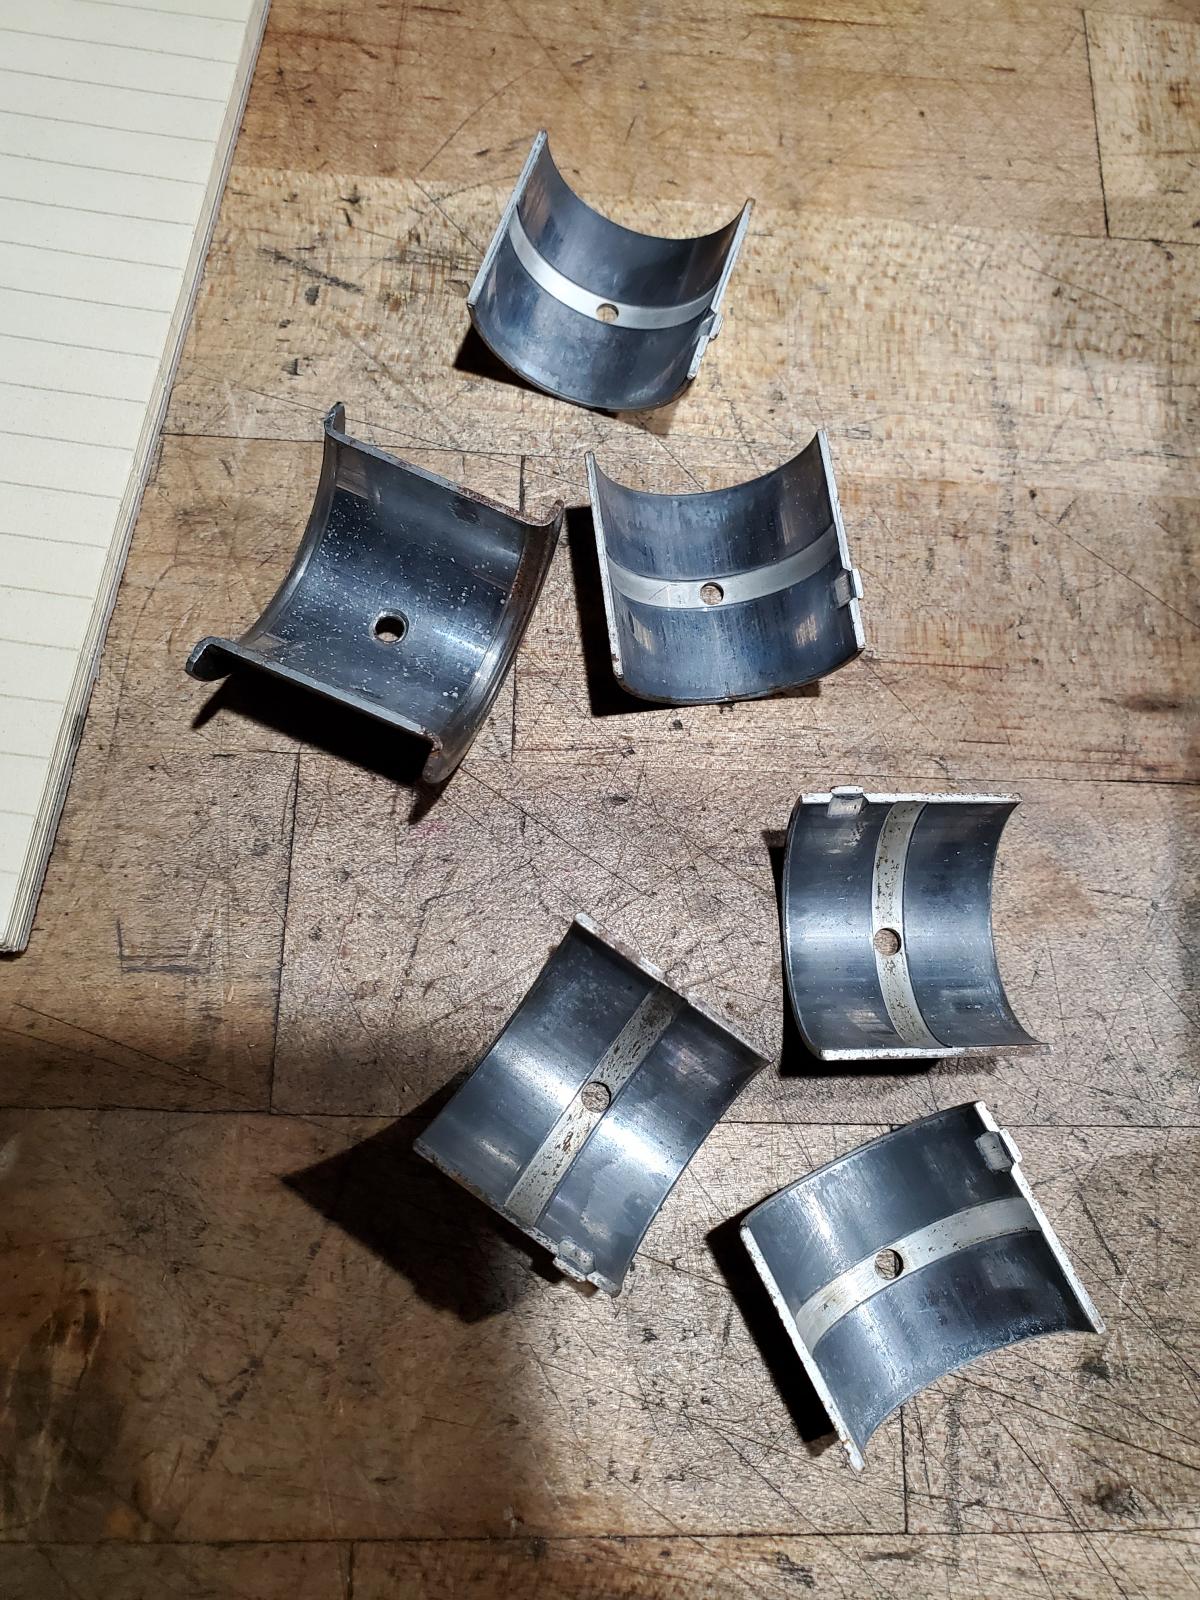
Chamfered the bearing saddles and dropped the bearings in for crushed main measurements.
Re: Budget 100x71 Build
Posted: Sat Jan 16, 2021 9:31 pm
by cal 67
Re: Budget 100x71 Build
Posted: Sun Jan 17, 2021 8:34 pm
by cal 67
Got some flow equipment. Guess I'll be making my own bench.


Re: Budget 100x71 Build
Posted: Sun Jan 17, 2021 9:07 pm
by cal 67
Got a lot of measuring done. Funny, I've paid for all these nice tools over the years, and I get the same numbers with my very basic tools. Just for kicks, I measure with a cheap 8" Amazon caliper before checking with my mics. I always get the same numbers. I'm positive that if you know how to use a caliper well, that there's not much need for very precise equipment. Now, if you're measuring something that has a very tight tolerance in tenths, then of course finer tools are required.
Crank tunnels measured, mains measured, rods torqued to 30 lb-ft with bearings installed and measured, rod journals measured, cam tunnels measured, and cam journals mic'd. The rods were only brought up to 19 lb-ft for mocking on the crank. No need to stretch them anymore until final assembly. They had a couple hundred miles on them before I got them.
It's not important really -- splitting hairs. If you really care, it's free insurance. Face all the AA rods' length stamp facing the pulley side. That will have your #1 and #2 rods with tangs up, and #3 and #4 with your tangs down.
I think it's ready to go together for the deck height mock-up and cam timing.


Re: Budget 100x71 Build
Posted: Sun Jan 17, 2021 10:39 pm
by Eddie010
Hope you know, but you switched nr 1 and 2. Rod nr 2 is cilinder nr 1
Re: Budget 100x71 Build
Posted: Mon Jan 18, 2021 4:09 am
by cal 67
Eddie010 wrote: ↑Sun Jan 17, 2021 10:39 pm
Hope you know, but you switched nr 1 and 2. Rod nr 2 is cilinder nr 1
Lol! They're just laid out that way to show the stamps on the rods! Still though, all the stamps should face the pulley side.
 . Love my Snap-On installers


 . I would be $700 into a cam! No way. I'll run my 1.00" base.