I have had another look at my front NS (left) strut and the there seems to be a lot of oil covering the lower part of the strut now, so I need to change them pretty soon. I have a spare set but am not sure of their condition as one of them has slight rust marks on the shiney bit and an old bolt stuck in the ball joint/steering knuckle end but untill I remove the springs to replace the rubber sleeves I am unsure of how well they work.
Too make my life easier I have possibly found a set of NOS front shocks on that sound promising, but I can not find a part number on the ones currently fitted to my car or the ones in my shed .
The NOS ones have the part number 411-VW033B stamped on them. Therefore can anyone tell me if they will fit my late 1972 412 LE Variant?
Or am I going to have to do some messing around with what I have to get a good set?
On closer examination my front struts are dying so...
- wshawn
- Posts: 209
- Joined: Thu Dec 27, 2007 6:36 am
- raygreenwood
- Posts: 11906
- Joined: Wed Jan 22, 2003 12:01 am
They do not diretly fit your late model...but can be made to do so. I will have to see exactly what was done in my little black book...but generally there were three seperate designs of strut cartridge (actually two with a modification). The first was 411...with teh long step. The second was early 412 and used the 411 strut with symetrical style 411 strut bushing....and a spacer ring that came in late model strut cartridge kits to fit them to the 412. The brands that had these the most were KYB and Monroe.
The last was dedicated late 412 and was designed to fitwith teh late model assymetrical bolt pattern bushing. It was hard to make them work with 411's.
So...what brand are these? What shape are the bolt patterns on your strut bushings? Three bolts spaced at 120* (symmetrical early)...or one forward and two back (late 412)? Ray
- wshawn
- Posts: 209
- Joined: Thu Dec 27, 2007 6:36 am
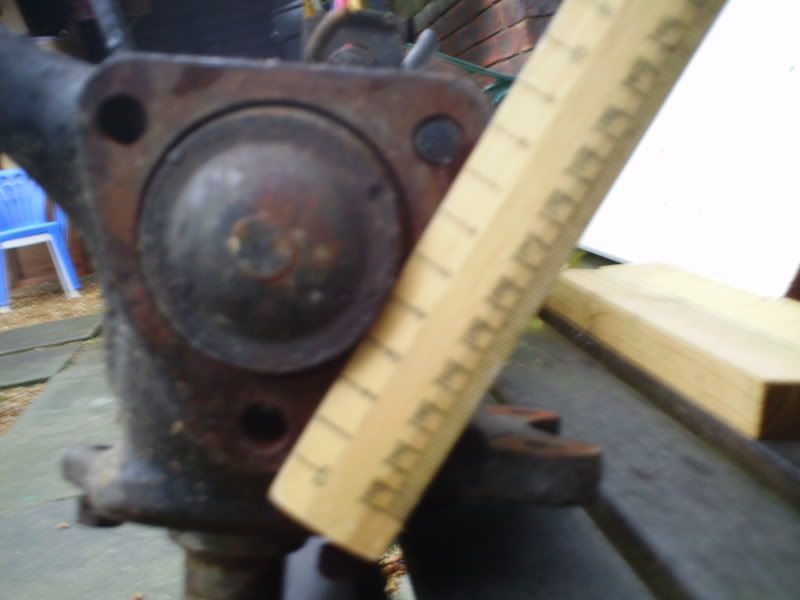
The bolts on the bottom are the late spacing going by what details you have said ie the two back and one forward...see pics
as for the NOS ones I have found I don't know too much about them at the moment but I can hopefully get some more pics and measurements.
How much changed with the struts, obviously it sounds like the fixing bolts at the bottom end changed pattern but are any of the parts different such as the thread at the top?
- Jan Peter de geus
- Posts: 76
- Joined: Fri Jun 06, 2003 2:56 am
Ray was referring to the top mount, i.e. where the strut mounts to the body. If you have a 412 from 1972, you'll likely have a 73 model year (August 72 - July 73). Then you probably have, as Ray described, a top mount/bearing set with symmetrically spaced bolts. You can easily see that if you open the bonnet and take the plastic cap off the top mount. If you send me your email address, I can send you some pictures. The bottom of the strut, where it bolts up to the ball joint, has not changed over the years as far as I know. If the shock absorber that is located inside the strut leaks oil, you will likely have to replace the shock absorber inserts (Ray calls them strut cartridges). Here comes in the measuring of the lenghth of the rod, especially the distance between the top (the threaded section) and the "step", i.e. where the rod diameter increases. Here you find the differences between early 411, late 411/early 412 and late 412. New old stock cartridges are still out there, check out eBay frequently. Some shops may still have them lying around. Classicgarage.com in the US still lists a pair of Koni inserts (KO-86-1643) for the 411. I am not sure, though, what the measurements of the rod are and whether they can be made to fit late 411/early 412 (maybe with the spacer Ray mentioned). I have mounted a pair of Koni's myself (KO-86-1832) that I bought from classicgarage.com. They did fit my late 411 without a spacer on the step in the rod. I still do have the used Kyb inserts that I found when I opened my struts. They do not leak oil, neither sweat, however, are not as firm as the Koni's. You can have them if you like (and cannot find a pair of "new" inserts).
- wshawn
- Posts: 209
- Joined: Thu Dec 27, 2007 6:36 am
Thanks for clearing up my confusion. Being new to the Type 4s and their suspension setups I got myself a tad confused about the bolt holes Ray mentioned.
Having now looked at the top end the 3 bolts are evenly spaced at about 95mm and 120 degrees.
The shock absorber inserts I thought were fixed in place, are removable? I did not realise that, I thoght they were complete units
At the moment I have two sets of complete struts, one set obviously on the car and a spare set with shortened springs and steering knuckles, one of which has the ball joint still fitted which seems a tad sloppy. The other spare strut has a broken bolt stuck in it that I need to get out and no ball joint fitted but the spare ball joint is a lot firmer. So I have a total of 4 of the lower ball joints to pick the best from which I intend to add the grease nipples to when I finally find time and have all the parts I need together.
The ones on the car appear to have good bump stops and complete gaters/dust seals that cover the shiney bit. The spare set I have don't have the dust seals or the rubber seats for the springs (I have ordered this seat for the spring) and possibly as a result of this one of them has slight corrsion on the shiney bit, would this be a problem as it looks like it is far enough up this bit to not enter the lower half of the shock absorber? (Does that make sense?)
In summary it sounds like I need to get some spring compressors and dismantle the spare strut and measure the top portion of the shock absorber/strut insert that has the thread? Is it the length only that changed or did the diameter change as well?
Maybe I am just better of mix and matching from what I have to make up two good struts to refit to the car.
By the way the ones I was looking at are on ebay although now I am not sure if they are any good to me
http://cgi.ebay.co.uk/ws/eBayISAPI.dll? ... 3DWatching
and I was hoping would be a better/safer compromise than messing around compressing 4 springs to rebuild the struts I have.
- raygreenwood
- Posts: 11906
- Joined: Wed Jan 22, 2003 12:01 am
Hey don't worry about confusion! They were both complete units....as the factory madde them....and replaceable....as aftermarket made them.
In the factory version you basically had a very finely made set of strut cartridges....without an out shell. These were loaded into the main strut housing that was filled with oil.
To change them out....you unscrew the top cap...pull out te factory unit, drain teh oil and then load in the ftermarket unit which is sealed and filled with oil...install the centering ring and put the cap back on.
The original units were exquisitly built....but were rather underdamped. If you get the chance to examine them.....they look really simple....but are actually very complex in fluid flow. I spent over a year working with a set. They are just impossible to rebuild. No seals, no piston rings...and getting the correct oil viscosity and type of the exact volume level is critical....and we don;t know what that is.
All of that being said.....there is a very good way to get around all of this. I have designed and installed adaptor pins on mine.....that allow me to use the strut cartridge from the Audi 4000/quatum. The valving is perfect and with teh exact measurment I use it lowers the front end by right at 3/4" to bring the front dead level with the back. No more nose high position. It also improves handling by an insane amount.
You should use the KYB GR-2 though...as the high pressure gas adjust verion is too much and can break ball joints.
I can e-mail you the pattern for the adapter stubs. They cost me roughly $60 each to have machined and threaded.
You need to replace teh front strut bushing/bearing assemblies. They were not the best design. Adequate...but weak. Also if they are more tha 7-10 years old...they are shot. You just can't see it....except if someone jacks the car up and sown while you watch teh bushing to see the tears that develop.
Its a little more work but get a set of teh assymetrical bushing plates from either a 412 or superbeetle....and do some light grinding and drilling mods to install them. They work better, are replaceable and cheap. Ray
-
- Posts: 127
- Joined: Sat Jan 29, 2005 2:23 pm
I'm going to make those adaptors, Ray was talking about, for my car. Ray sent me the drawings and measeurements for those already earlier. I have only one question about these. Which would be the best material for this adaptor? I have the possibility to use a desent lathe but the material I have at the mo' is just some basic steel (will check later the exact material info).
- raygreenwood
- Posts: 11906
- Joined: Wed Jan 22, 2003 12:01 am
Good question. I had mine made of basic tool steel. Like 01 tool steel I beleive. I have had no problems with that. But I do believe that you should make these of the best quality and best machineable and threadable steel you can.
The risk for breakage is not actually on the stubs....its on the strut rod.
I will explain this now and again when you guys get ready to do this.
When you buy your strut cartridges....you will see the raised area at the tip of the threaded part of the strut rod where the allen wrench is inserted. You are going to need to cut that little nipple off on the new strut. You will be cutting approximately 3/8" of thetop of the new strut rods off. Basically just the area with the allenwrench socket andno threads on it.
The object is that when you screw the stub onto the strut rod....you want the bottom of the stub to mate tight to the face of the step on the strut rod....with no gap.
You acccomplish this primariy by adjusted just slightly....as mentioned above......the length of the threaded portion of the strut rod to control how deep it threads into the adapter stubs......as made to the exact dimensions I gave in the drawing.
I ground a small flat spot on each side of the stub adaptor so I could grasp it with a wrench to tighten them together. Just do this slowly so you do no overheat the stub. Use locktite.
How to grasp the strut shaft while tightening the stub onto it? I used two pieces of hard rubber and clamped it into a vice. I think I got about 45-50 ft lbs of torque. This will be plenty. Ray