Hello! As I mentioned earlier I will be painting my car. I am just starting the prep work tonight. I should have some pics up later this week. I have a few questions though. As I mentioned in another post, I am planning on smoothing over the seam between the 2 rear panels. I noticed one panel sticks out further than the other, ie, it is not flush. Is there a way to loosen it and push it in? Also, what can I do about the body seals. I would like to remove them for painting, but they are old and seem like they would break. Is there replacement seals that come in a roll?
My plan is to prep the car at my house (welding up rusty spots, Welding trim holes, fixing dents, etc.) and then roll on primer, block the whole thing, and paint it at a booth, the same color it is now.
Braden
Bodywork started
-
raygreenwood

- Posts: 11914
- Joined: Wed Jan 22, 2003 12:01 am
Re: Bodywork started
Severak things:
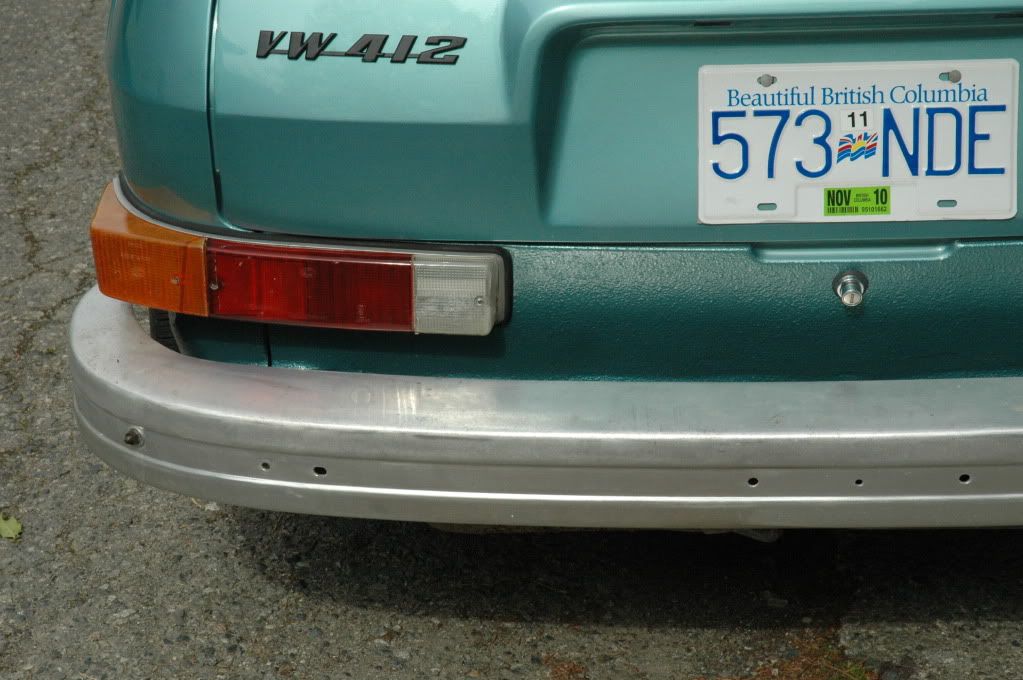
(1) DO NOT fill that gap in the panels. This area is very prone to rust. It has a free flow drainage systems and flaps at the bottom. But the big issue is that the body flexes at this location because there is a crumple zone in the front and rear. Filling this area will crack and absorb moisture into the body filler. The only way to fill this without problems....is to weld it. If you have a minor fender bender...welding the rear fender on will also destroy the forward quarter panel.
I have been here and tried this. If you drive your car a lot....it will take about 3 years to crack the filling in this area.
(2) The fender welting is very similar to one of the three profiles that also came on type 3. Its sort of a "P" profile and is unobtanium. I have made some before for one of my cars but no longer have the molds. If people are interested I can make the molds again. What I actually liked better than the molded welting....is to fill/caulk all the areas that require welting with 25 year acrylic urethane architechtural sealant. I then smoothed it in with a plastic card cut to a cortrect cross section. It took a little practice to get it perfect....and I had to start over on one fender twice and wipe it off. But...you get impeccably sealed fenders with caulk that will not shrink and is paintable and flexible.....and with a steady hand it looks better than factory.
Since my fenders are never coming off unless I have an accident.....in whcih case you will need new paint and caulk anyway, I have found this way to be the best. The urethane does not shrink up, pull out or get crooked.
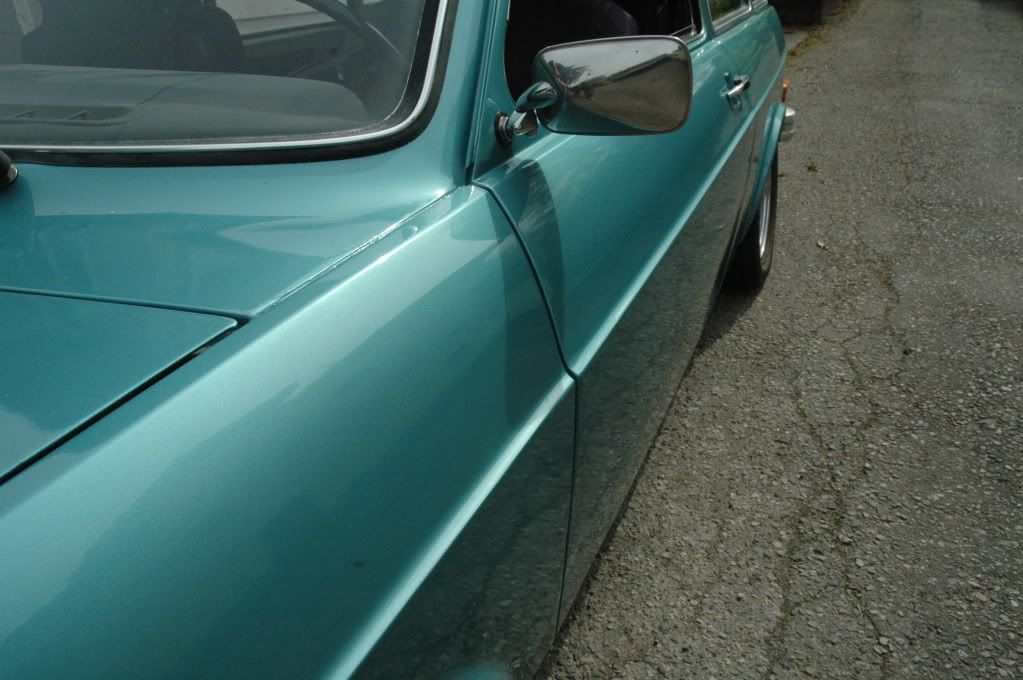
(3)The uneven panel....is most probably the rear fender being higher than teh f orward quarter panel section...right? This is because it was probably installed incorrectly. They is a metal L-shaped hook on the rear fender that goes into a special loop on the forward quarter panel. Some PO either bent it, cut it off or installed it with the hook outside of the loop. Romove the fender and look for it. The hook is what keeps the rear panel flush with the front panel. Ray
(1) DO NOT fill that gap in the panels. This area is very prone to rust. It has a free flow drainage systems and flaps at the bottom. But the big issue is that the body flexes at this location because there is a crumple zone in the front and rear. Filling this area will crack and absorb moisture into the body filler. The only way to fill this without problems....is to weld it. If you have a minor fender bender...welding the rear fender on will also destroy the forward quarter panel.
I have been here and tried this. If you drive your car a lot....it will take about 3 years to crack the filling in this area.
(2) The fender welting is very similar to one of the three profiles that also came on type 3. Its sort of a "P" profile and is unobtanium. I have made some before for one of my cars but no longer have the molds. If people are interested I can make the molds again. What I actually liked better than the molded welting....is to fill/caulk all the areas that require welting with 25 year acrylic urethane architechtural sealant. I then smoothed it in with a plastic card cut to a cortrect cross section. It took a little practice to get it perfect....and I had to start over on one fender twice and wipe it off. But...you get impeccably sealed fenders with caulk that will not shrink and is paintable and flexible.....and with a steady hand it looks better than factory.
Since my fenders are never coming off unless I have an accident.....in whcih case you will need new paint and caulk anyway, I have found this way to be the best. The urethane does not shrink up, pull out or get crooked.
(3)The uneven panel....is most probably the rear fender being higher than teh f orward quarter panel section...right? This is because it was probably installed incorrectly. They is a metal L-shaped hook on the rear fender that goes into a special loop on the forward quarter panel. Some PO either bent it, cut it off or installed it with the hook outside of the loop. Romove the fender and look for it. The hook is what keeps the rear panel flush with the front panel. Ray
-
bradey bunch

- Posts: 189
- Joined: Tue Aug 04, 2009 9:13 pm
Re: Bodywork started
Thanks for the explination ray. I had planned on welding the area every few cm or so, but I may decide that I do not want to now. I now know the associated risks with doing so. As for the fender beading, I was thinking of trying to adapt something to it, but I may just caulk it now. Will urethane windshield adhesive work? Thanks again!
-
bradey bunch
- Posts: 189
- Joined: Tue Aug 04, 2009 9:13 pm
Re: Bodywork started
some pics
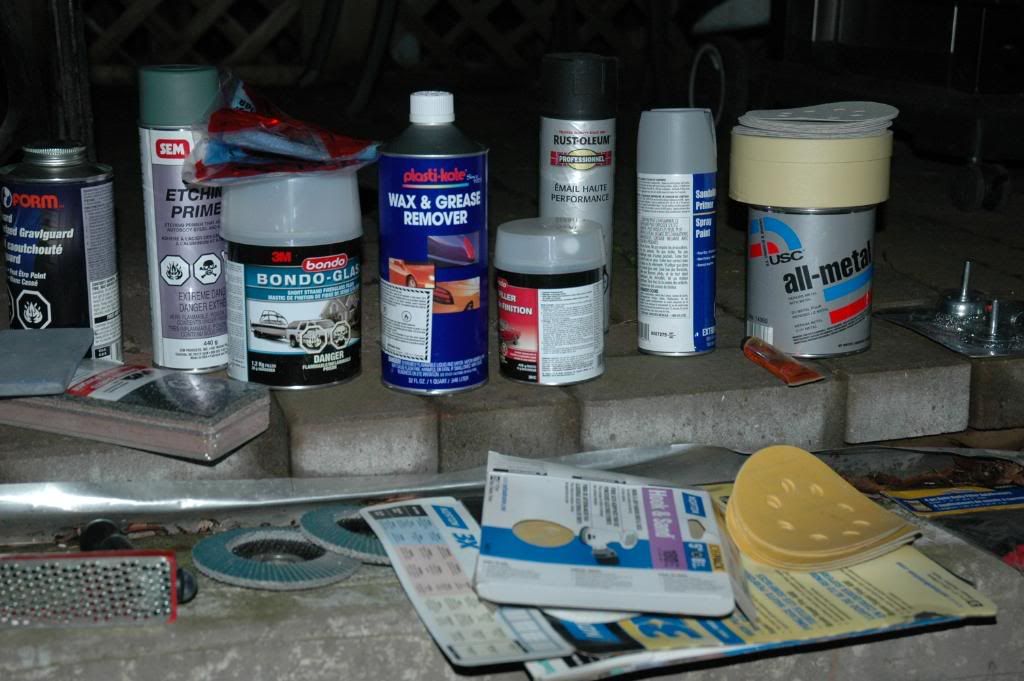
all of the stff except for paint
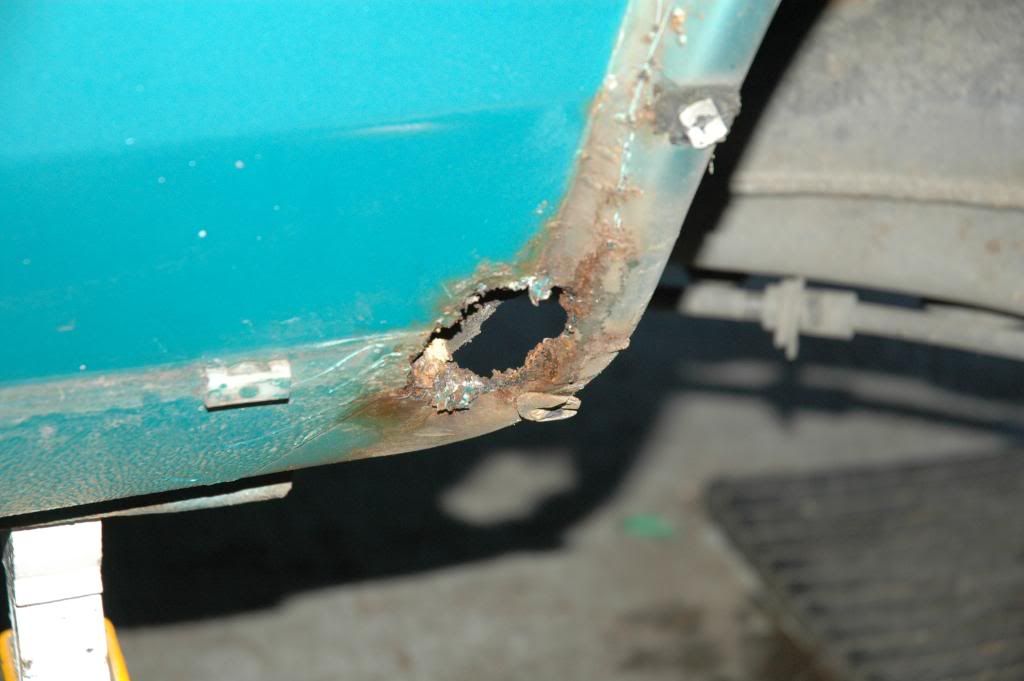
Rust oh well, its not too bad
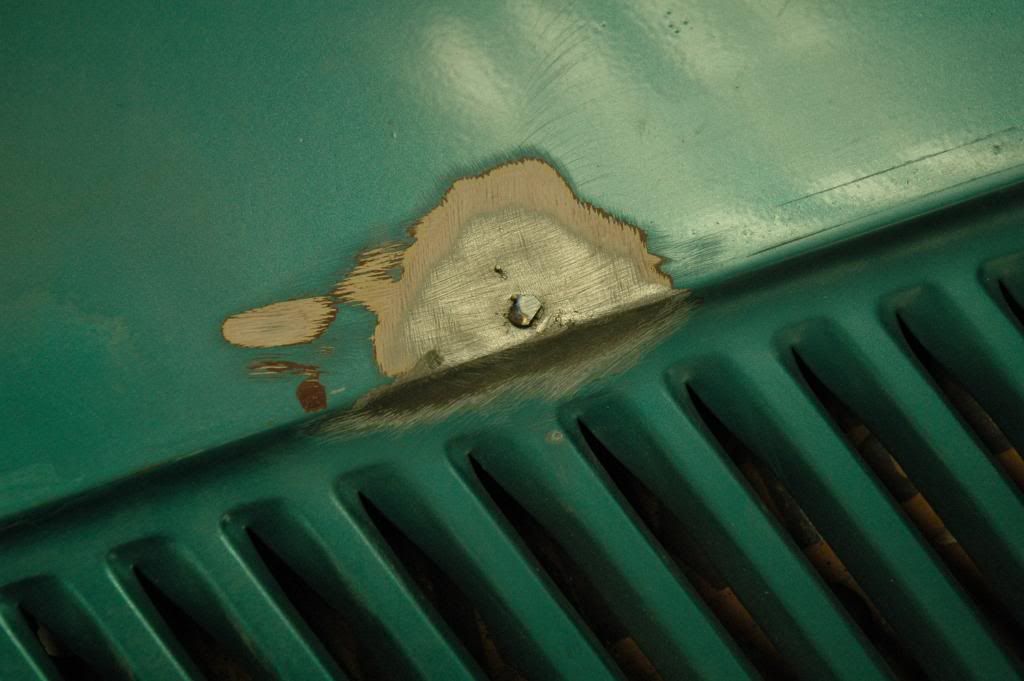
filling trim holes
all of the stff except for paint
Rust
filling trim holes
-
Hulken
- Posts: 131
- Joined: Fri Jan 16, 2009 1:46 am
Re: Bodywork started
You do this before painting? I was thinking of doing this after painting (since not all panels will be painted), and leave the "welting" black. This product you're talking of Ray, do you have a product name or a link to similar product? Maybe pictures of how it looks on your car?raygreenwood wrote:Severak things:
(2) The fender welting is very similar to one of the three profiles that also came on type 3. Its sort of a "P" profile and is unobtanium. I have made some before for one of my cars but no longer have the molds. If people are interested I can make the molds again. What I actually liked better than the molded welting....is to fill/caulk all the areas that require welting with 25 year acrylic urethane architechtural sealant. I then smoothed it in with a plastic card cut to a cortrect cross section. It took a little practice to get it perfect....and I had to start over on one fender twice and wipe it off. But...you get impeccably sealed fenders with caulk that will not shrink and is paintable and flexible.....and with a steady hand it looks better than factory.
Since my fenders are never coming off unless I have an accident.....in whcih case you will need new paint and caulk anyway, I have found this way to be the best. The urethane does not shrink up, pull out or get crooked.
Ray
-
raygreenwood
- Posts: 11914
- Joined: Wed Jan 22, 2003 12:01 am
Re: Bodywork started
This is a pretty common product you can buy at home depot. I'll find a brand and post it. Just be sure that you do not buy a xylene based or solvent based product as it will eat paint....and will remove primer.
The caulking method should be done before painting. The risk is that you may have to start over several times to get this right. Also , the plastic cards used for shaping may damage your paint. This is very similar to tools used for shaping caulk in window panes. This type of caulk takes about 24 hours to really dry.
The reasons why long ago I gave up on loose fender welting is that if its factory of any kind...its vinyl...which makes it worthless. If its vinyl itwill not survive any useful amount of time when its unpainted....especially in hot climates with lots of sun. It starts shrinking and buckling within a year. Even if it still looks good.....it does not seal properly. Rainy days put water and grit between seal and body. You start rusting.
Painting the factory welting and sealing both top and bottom makes the vinyl welting last much longer.
I wish I could take pictures of my 412. It is 1500 miles away in a storage unit. I have no place to work on it. Right now I am building the engine and tranny as a sub-assembly so I can ship it back this year so I can drive my car here. I am trying to make a list of pictures to get when I go back in a few months.
I have partially restored this car three times while I was driving it....as a daily driver for roughly 7 years. I learned that its wasteful of money and hard on parts that are unobtanium to do it this way. Its suspension was brand new ...every nut and bolt when I parked it. Some will have to be redone again along with brakes. But I vowed it woudl not be on the road and out in the weather again until its finished to a specific level.
Unless it gets wrecked...I plan on painting it once and doing it properly which is why I started working on a better fender sealing system than the factory welting. Ray
-
Hulken
- Posts: 131
- Joined: Fri Jan 16, 2009 1:46 am
Re: Bodywork started
I was thinking of using the same product they are using on mahogny boat deck (in between the mahogny planks)????
http://www.decofinder.com/decoration/zo ... tem=498436#
http://www.decofinder.com/decoration/zo ... tem=498436#
-
Lahti411
- Posts: 128
- Joined: Sat Jan 29, 2005 2:23 pm
Re: Bodywork started
This british company sells wing beadings and they have very similar T-profile beading available, that was used on type 4's. Check the bottom of this page:
http://www.vintagecarparts.co.uk/en/lis ... ng+piping/
http://www.vintagecarparts.co.uk/en/lis ... ng+piping/
-
raygreenwood
- Posts: 11914
- Joined: Wed Jan 22, 2003 12:01 am
Re: Bodywork started
Hulken wrote:I was thinking of using the same product they are using on mahogny boat deck (in between the mahogny planks)????
http://www.decofinder.com/decoration/zo ... tem=498436#
Thats a very similar product. There are lots that will work. You just have to be sure it is architectural grade (25 year life), non-shrinking and is paintable. Ray
-
bradey bunch
- Posts: 189
- Joined: Tue Aug 04, 2009 9:13 pm
Re: Bodywork started
Some more pics...
I got the paint today...
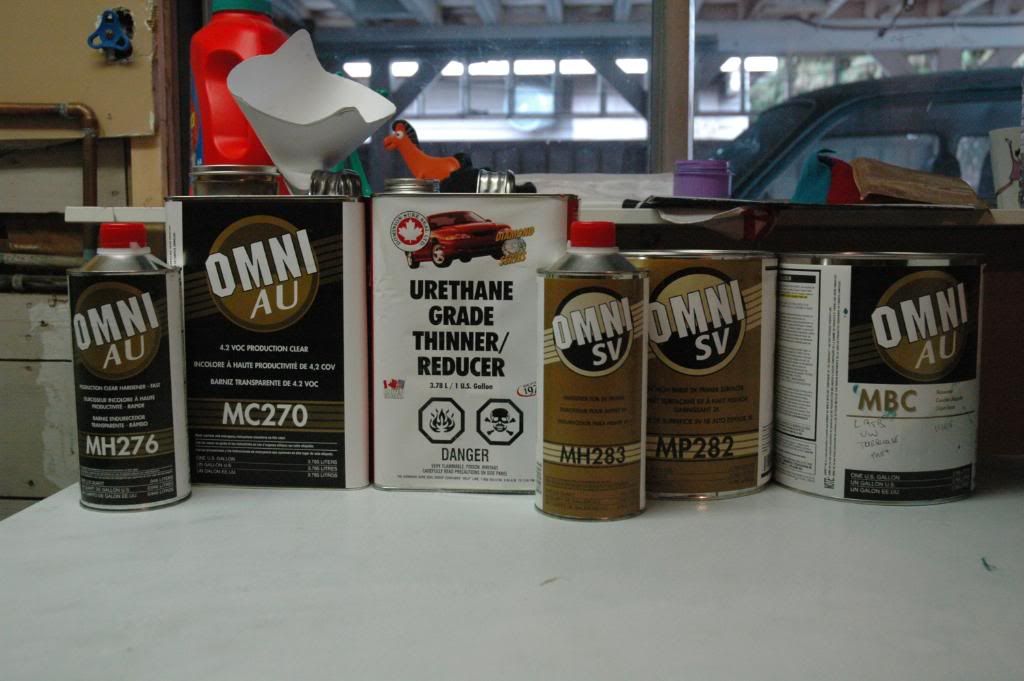
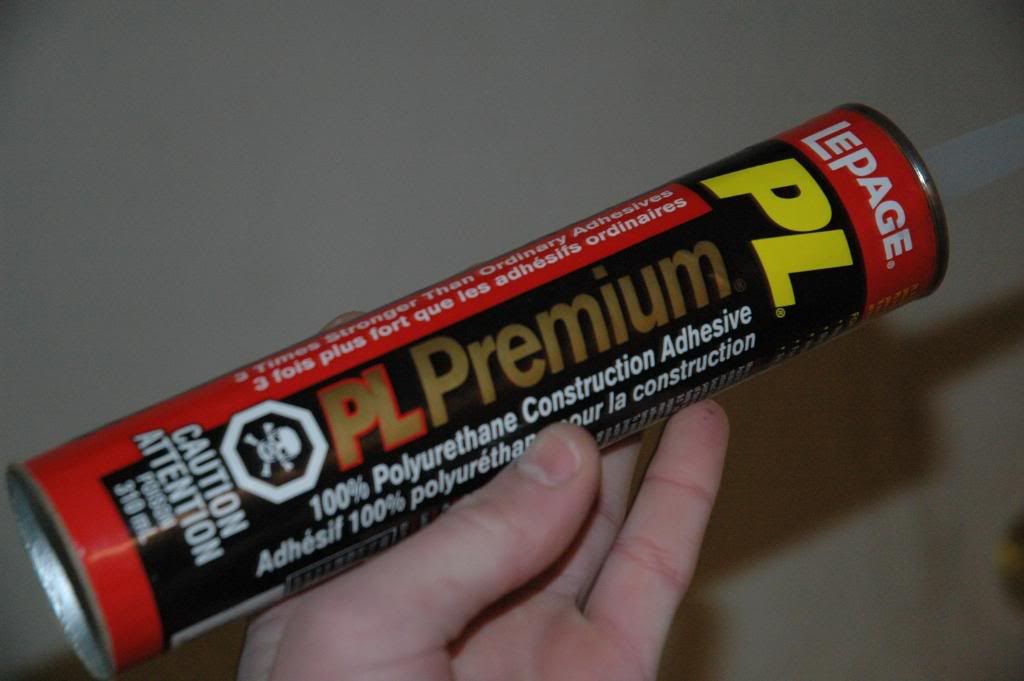
This is what I am going to use to fill the body gaps. The guy at home depot said
It would last longer than the paint...
Before...

After...
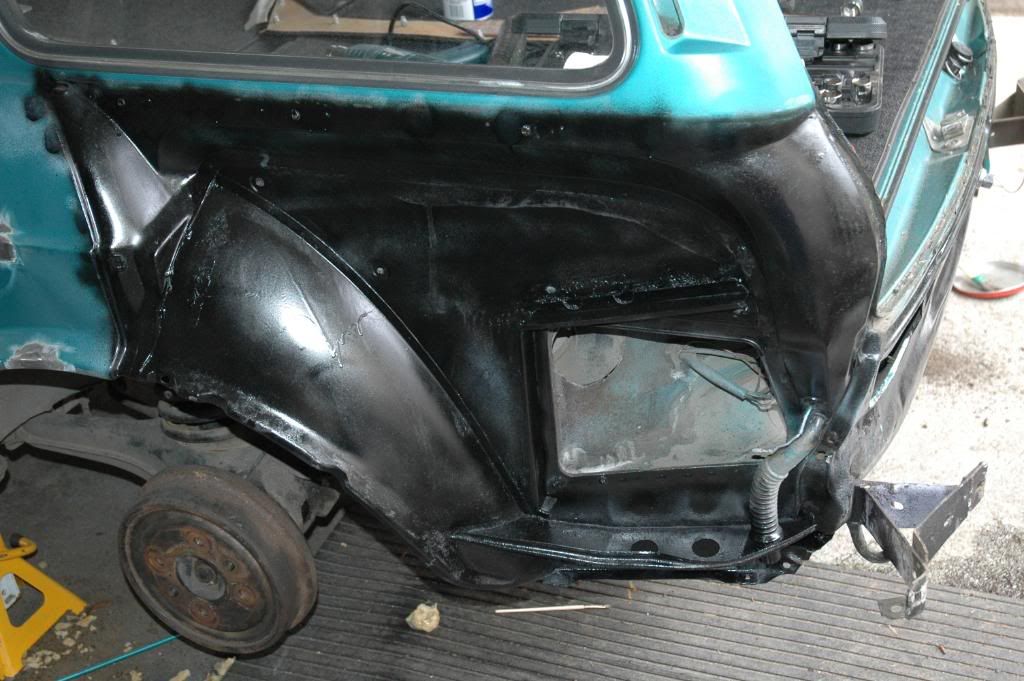
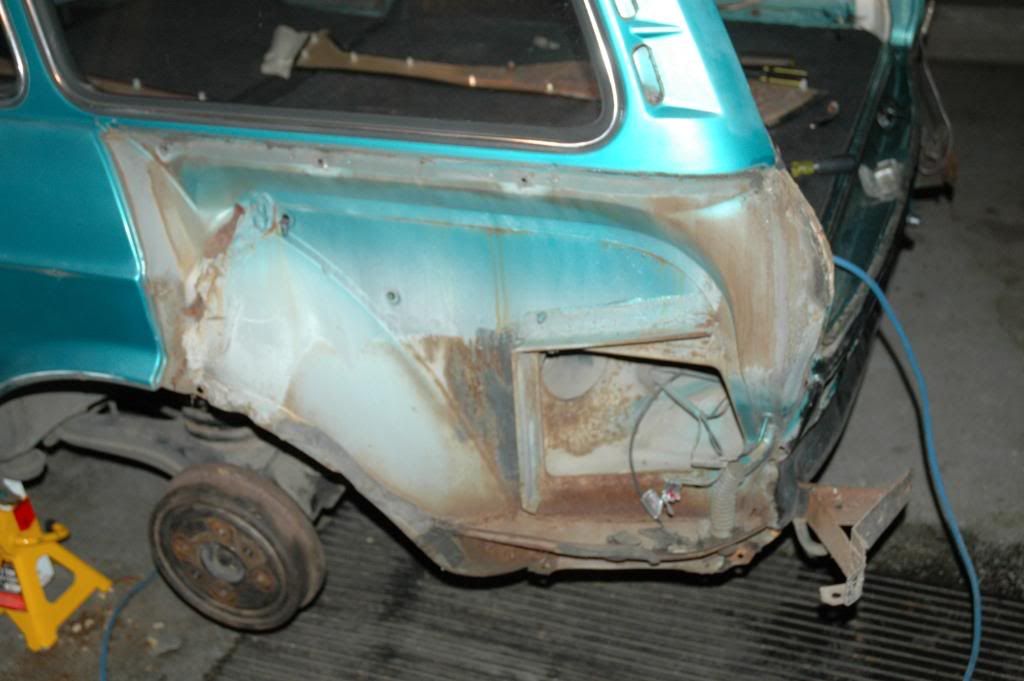
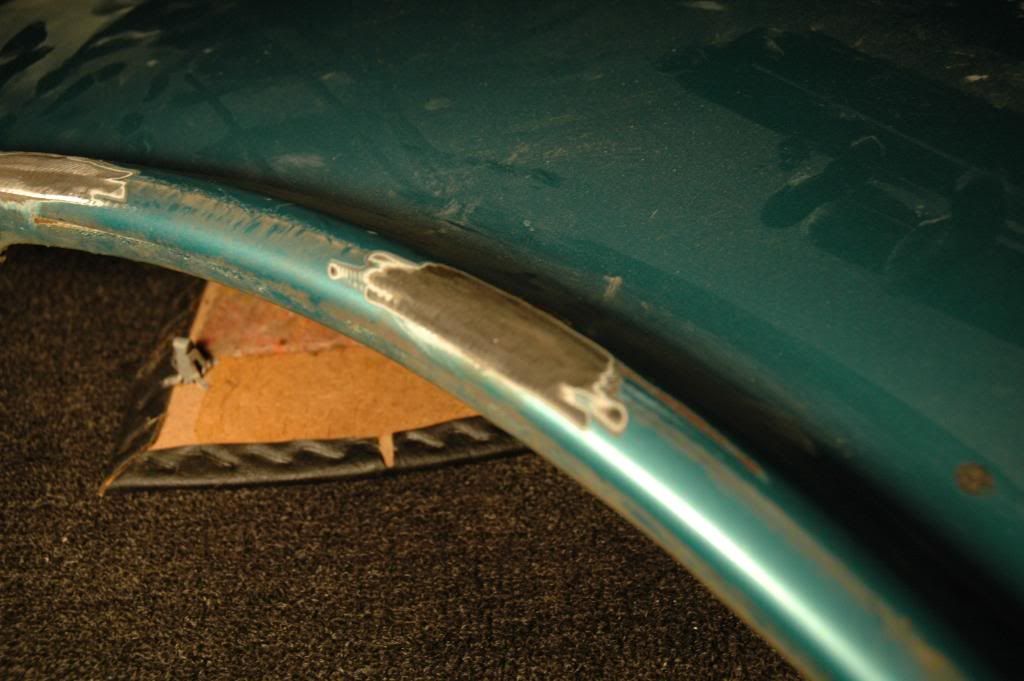
inside of fender
some surgery...
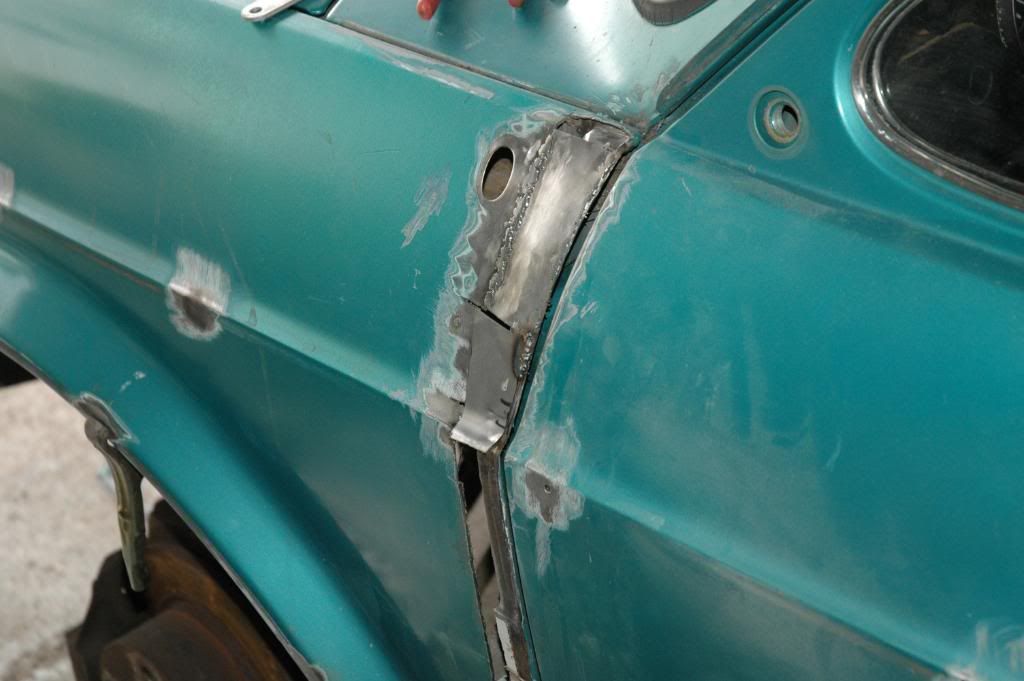
With bondo
I have to strip off a few layers of paint because the last coat was done incorrectly
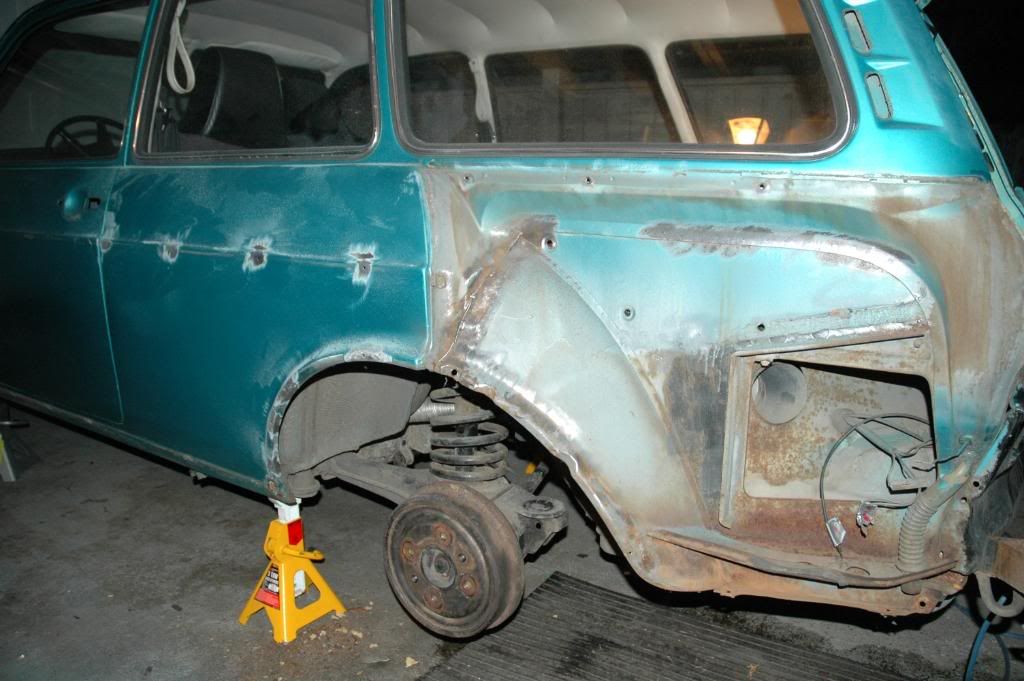
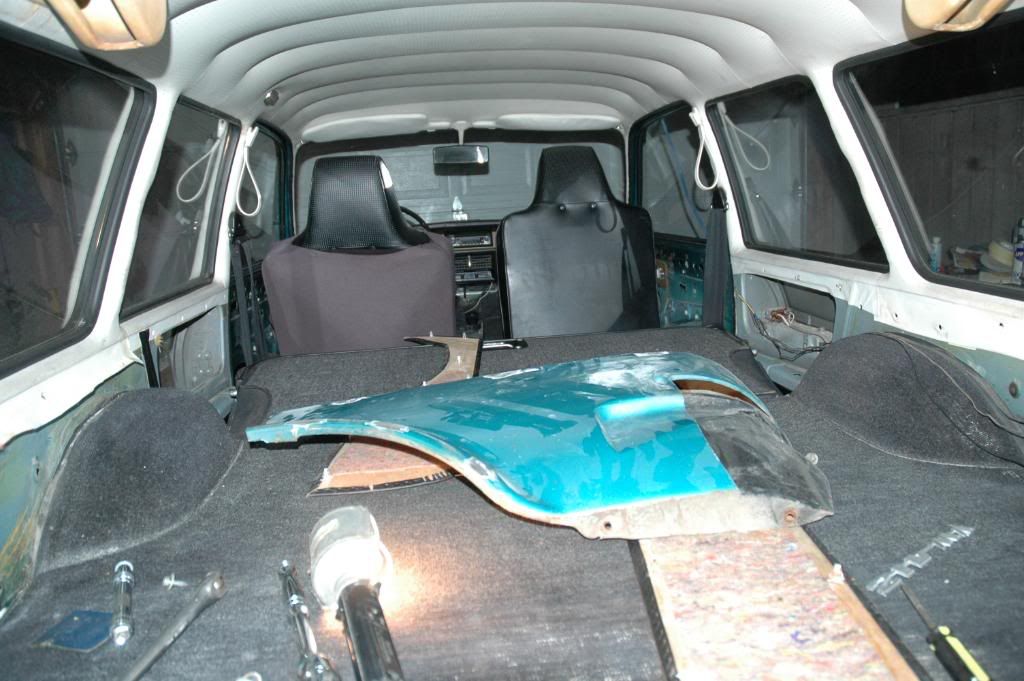
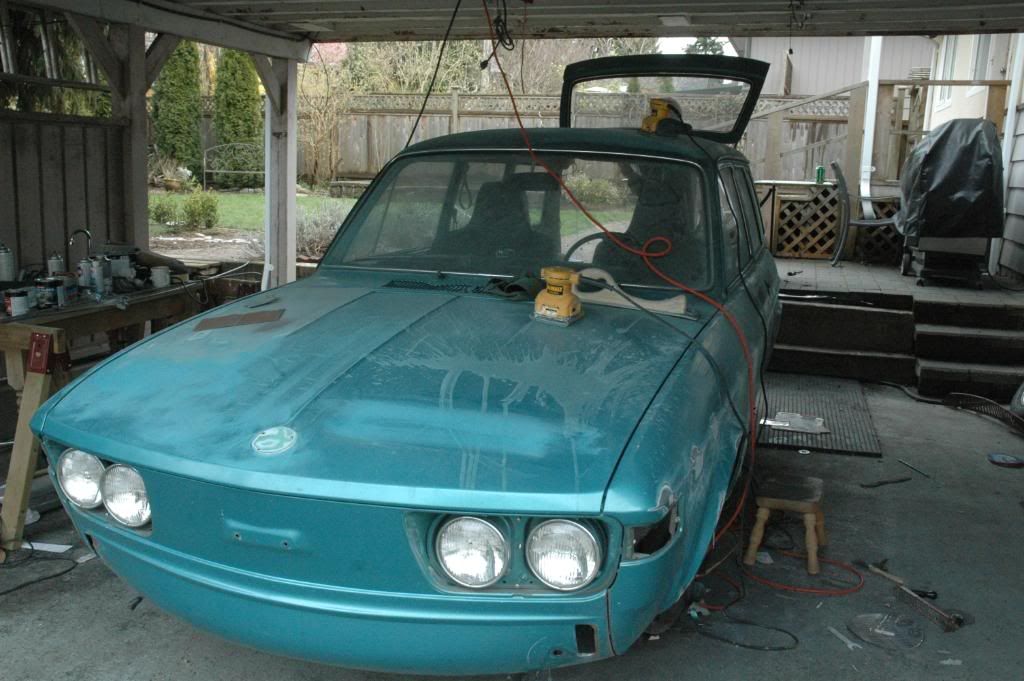
The whole car
I have decided not to weld the 2 rear panels together, because I may want to replace the drivers
side rear fender at some point, and because it would be difficult to paint the back of the weld to prevent rusting.
I got the paint today...
This is what I am going to use to fill the body gaps. The guy at home depot said
It would last longer than the paint...
Before...
After...
inside of fender
some surgery...
With bondo
I have to strip off a few layers of paint because the last coat was done incorrectly
The whole car
I have decided not to weld the 2 rear panels together, because I may want to replace the drivers
side rear fender at some point, and because it would be difficult to paint the back of the weld to prevent rusting.
-
raygreenwood
- Posts: 11914
- Joined: Wed Jan 22, 2003 12:01 am
Re: Bodywork started
Yes...you found teh right stuff. Just make sure that its paintable. Most are. Ray
-
bradey bunch
- Posts: 189
- Joined: Tue Aug 04, 2009 9:13 pm
Re: Bodywork started
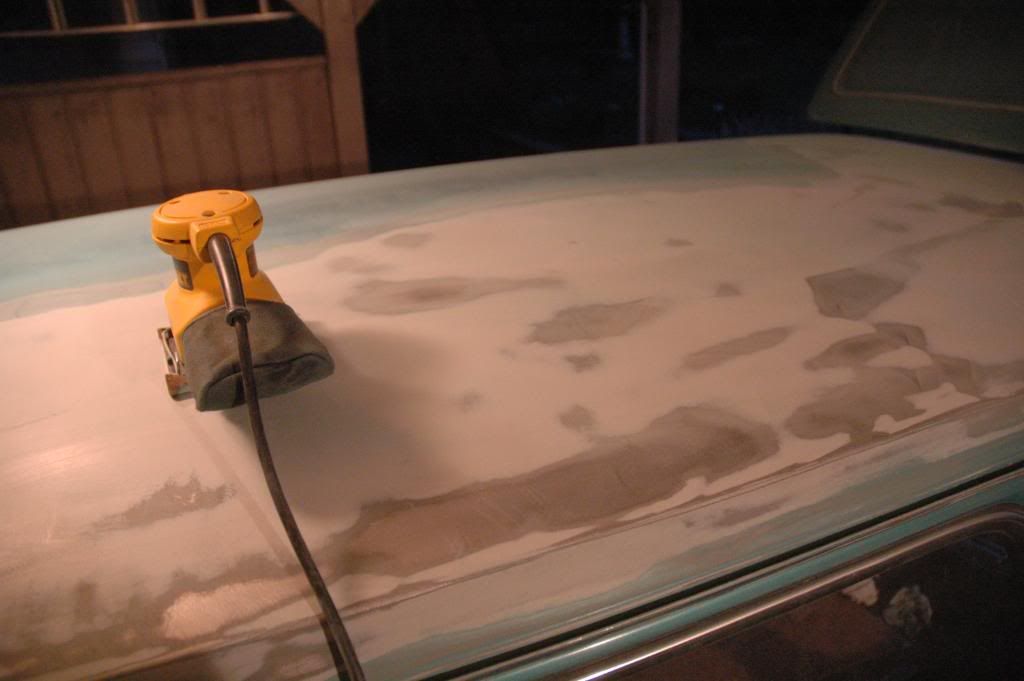
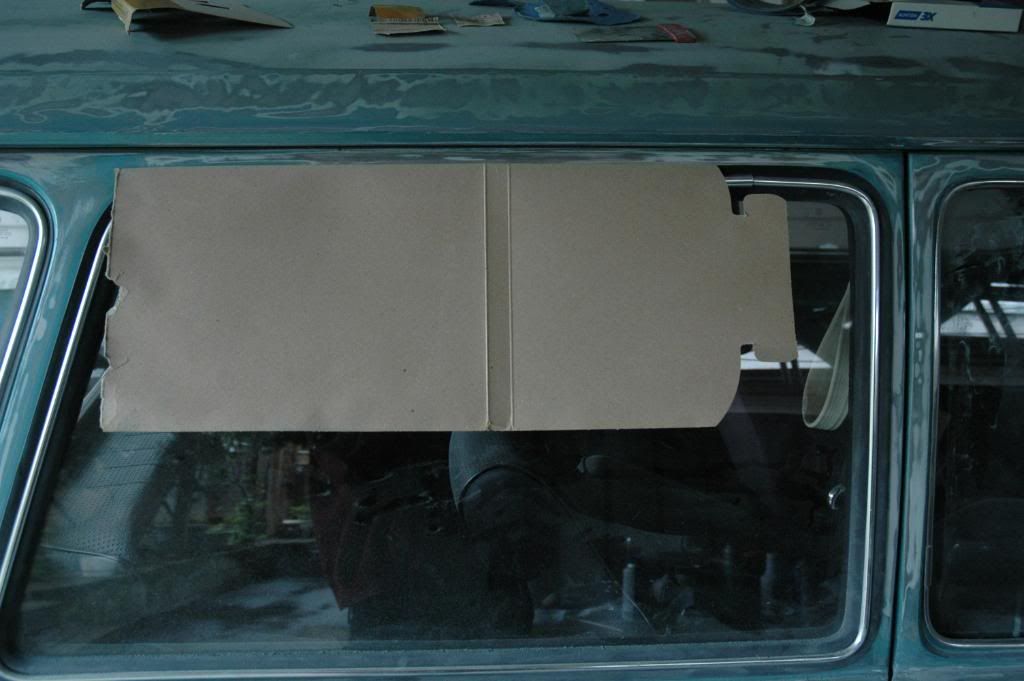
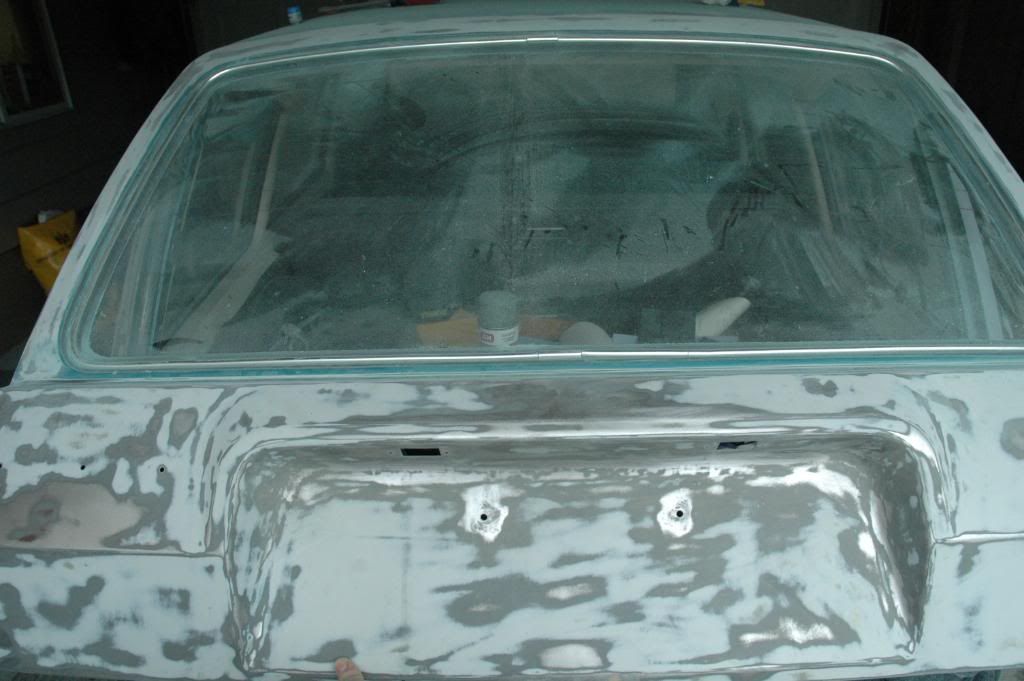
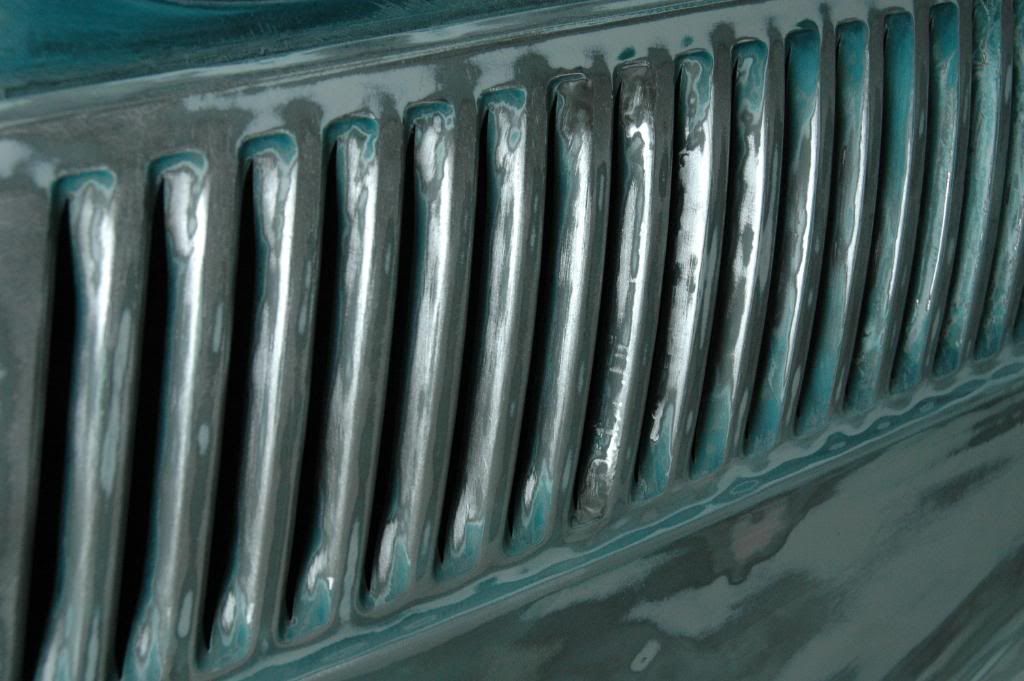
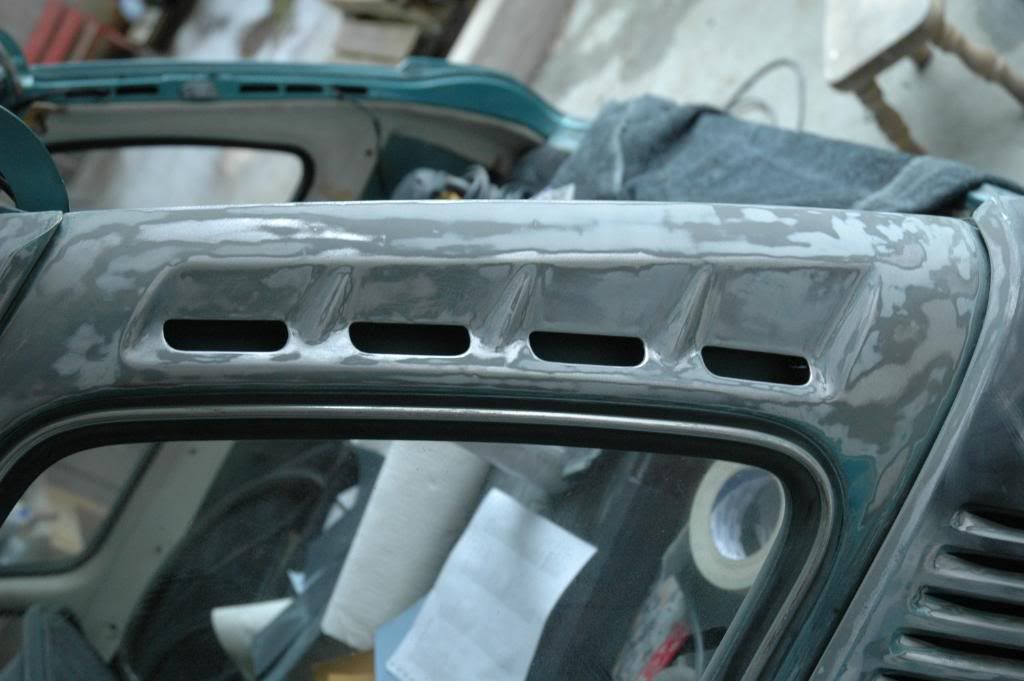
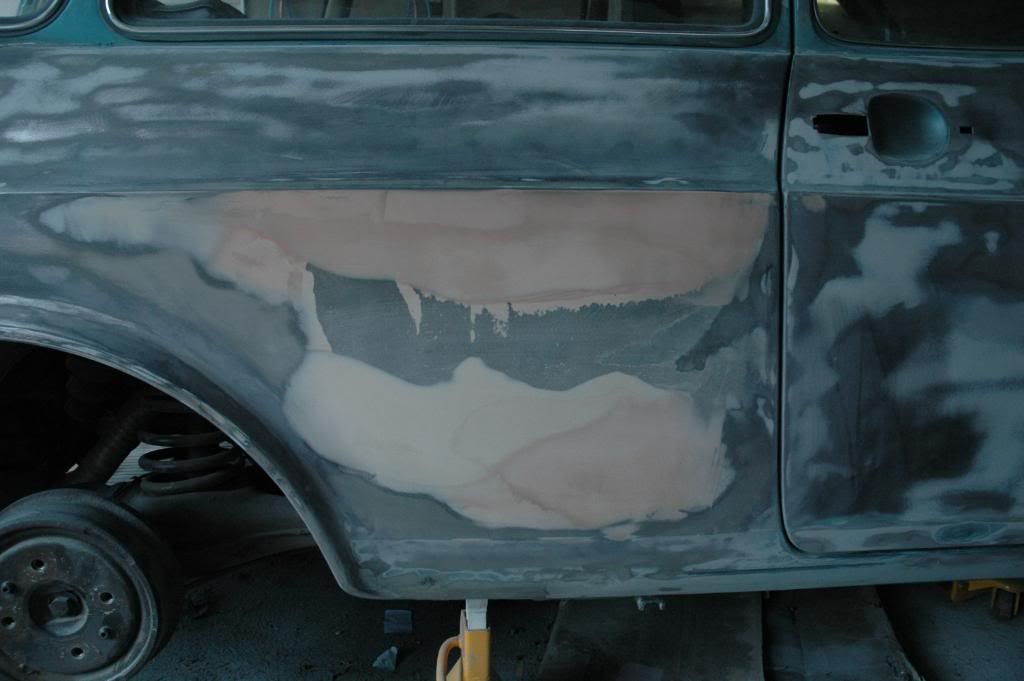
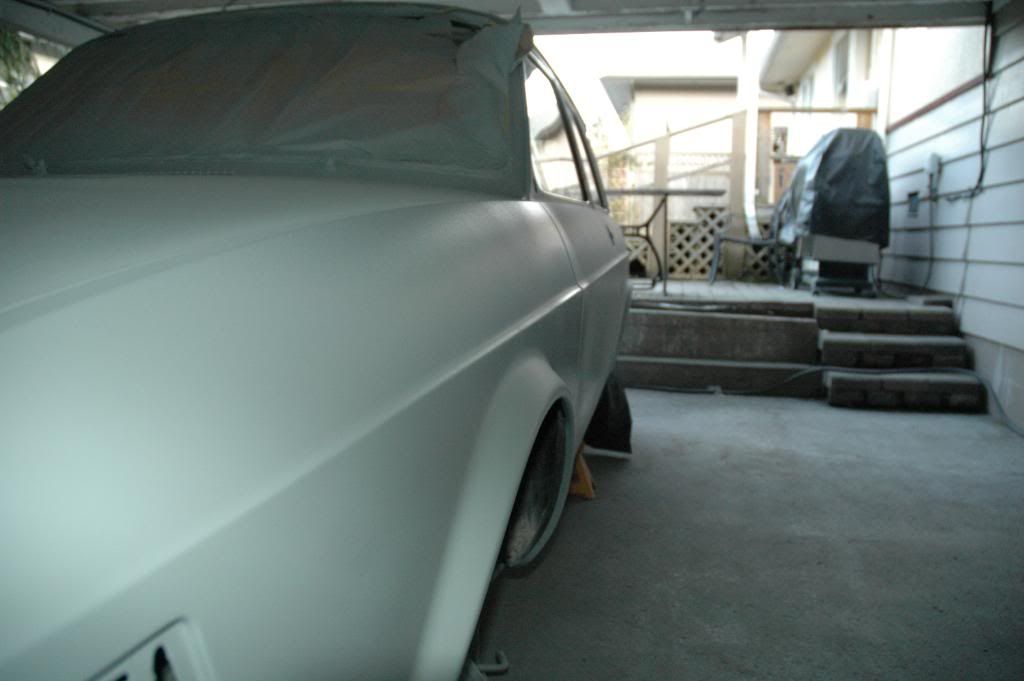
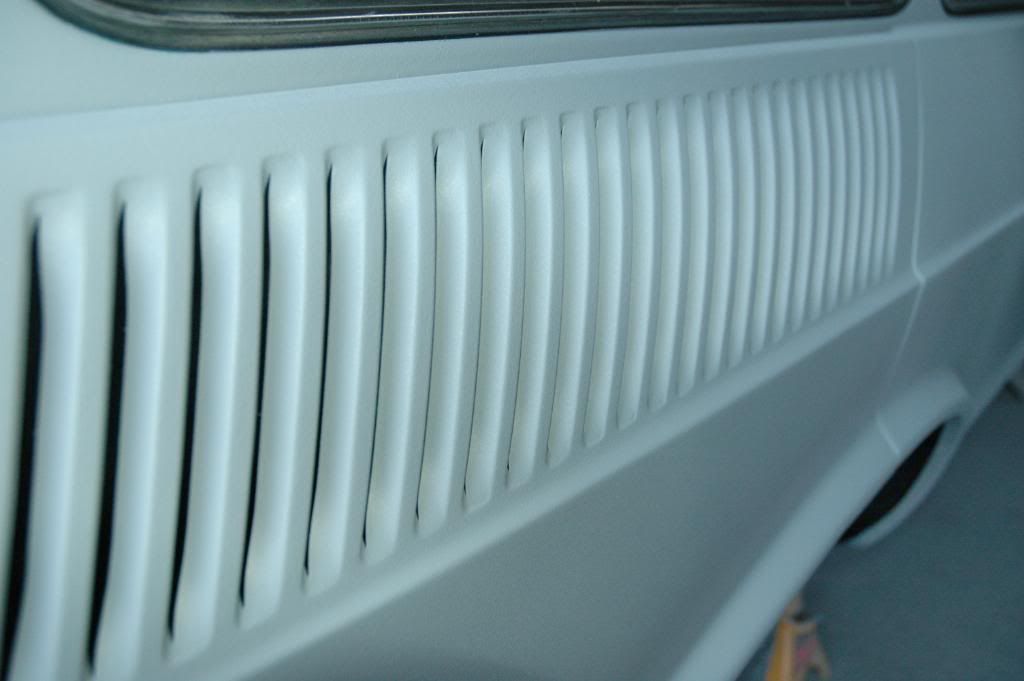
Phew. Lots of work still being done, mostly detail paint removing. It takes a long while to strip paint around the window seals and all the vents at the rear. Next time I will sandblast. And now, because of all the bare metal, I plan on epoxy priming before the urethane high build primer. Also, it appears the drivers side rear quarter is made of bondo I didnt do it.
Heres how I am detailing around the seals and chrome...
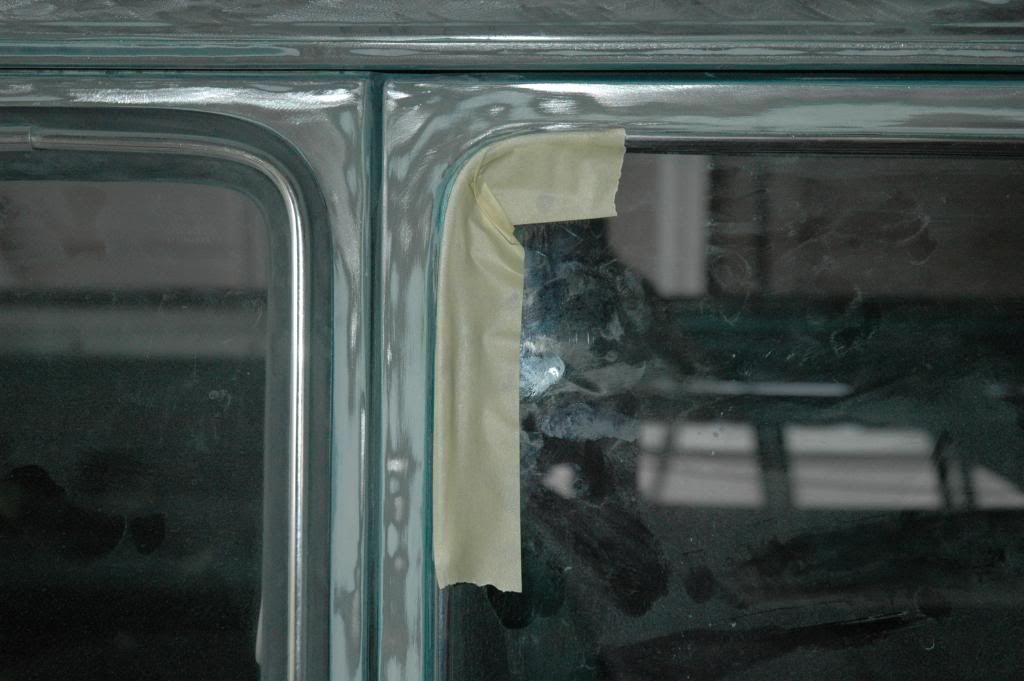
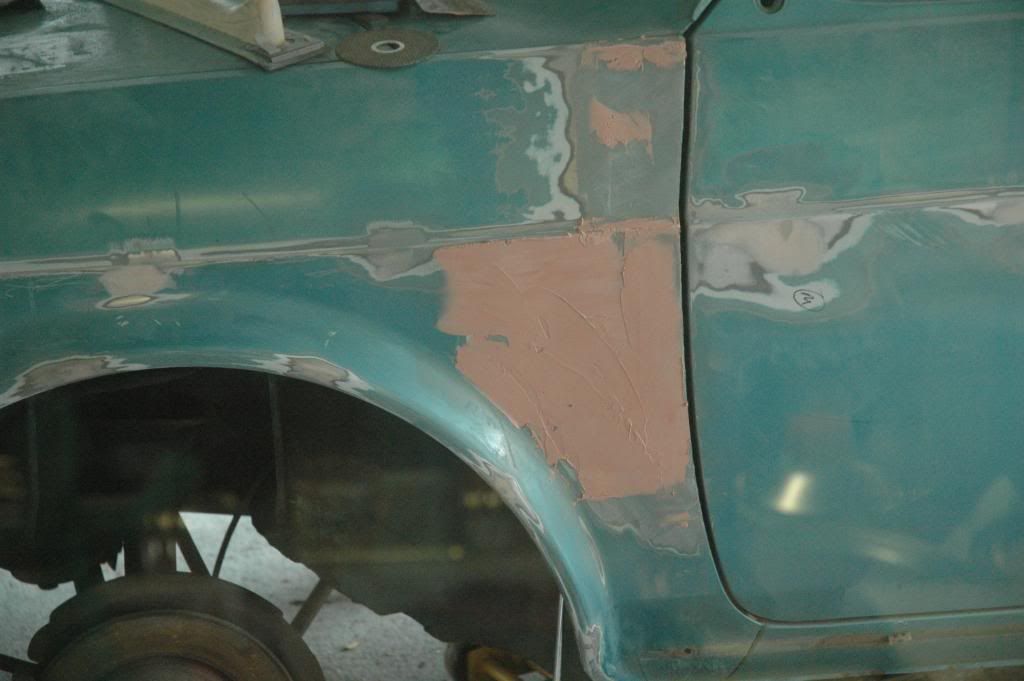
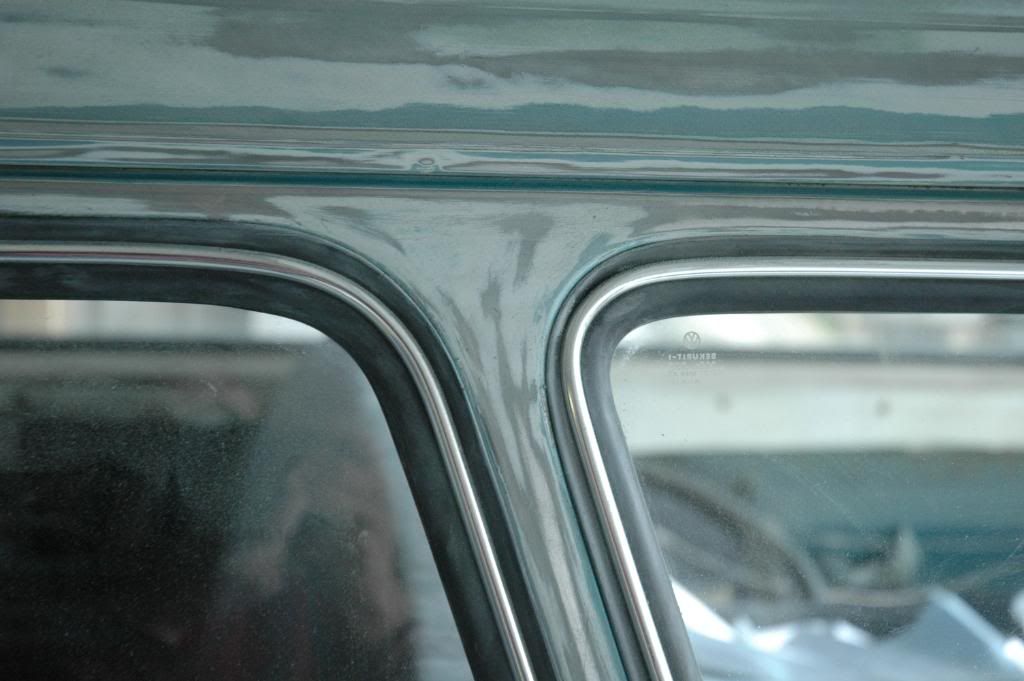
the results (its not quite done yet, but you get the idea)
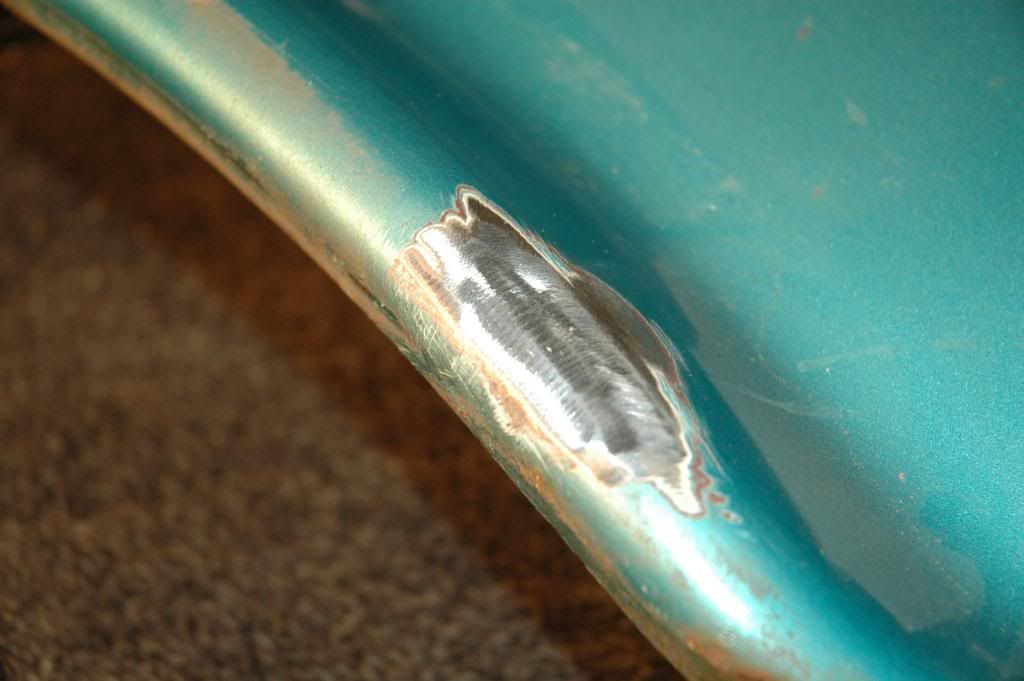
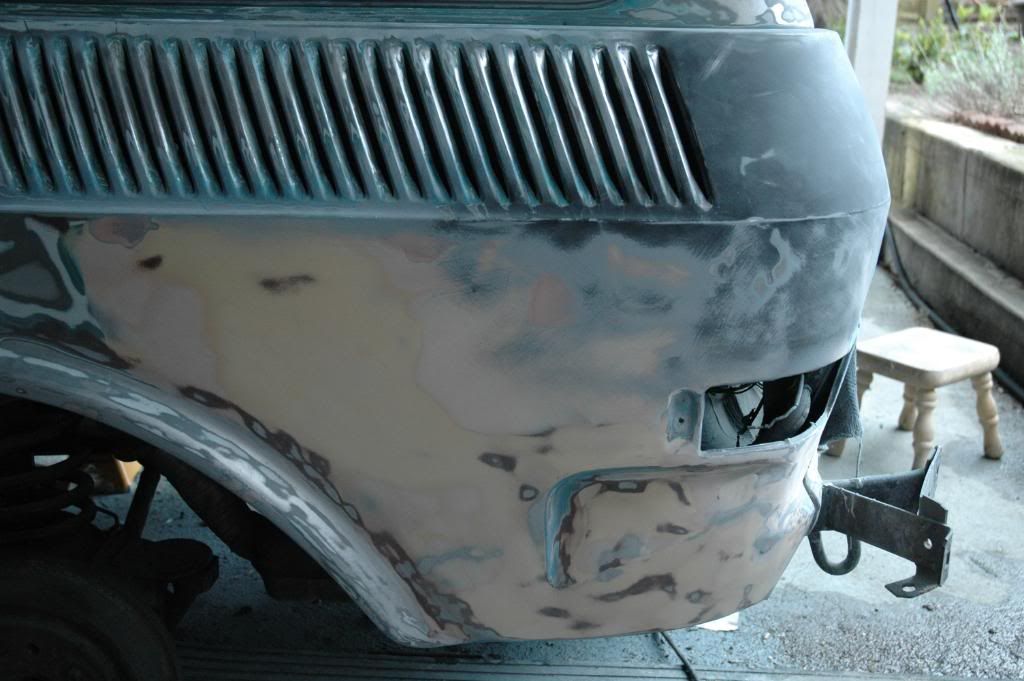
and a rather large spread of filler (not very thick tho, just a long dent)
Braden
Heres how I am detailing around the seals and chrome...
the results (its not quite done yet, but you get the idea)
and a rather large spread of filler (not very thick tho, just a long dent)
Braden
-
bradey bunch
- Posts: 189
- Joined: Tue Aug 04, 2009 9:13 pm
Re: Bodywork started
I primed today 
It feels like this is my first real advancement, even though all the work is easy from here on in. All i have to do is block the car to 400 grit, and spray the color and clear Oh, and I will replicate the fender beading sometime between now and the color coat.
So I started with an epoxy primer:
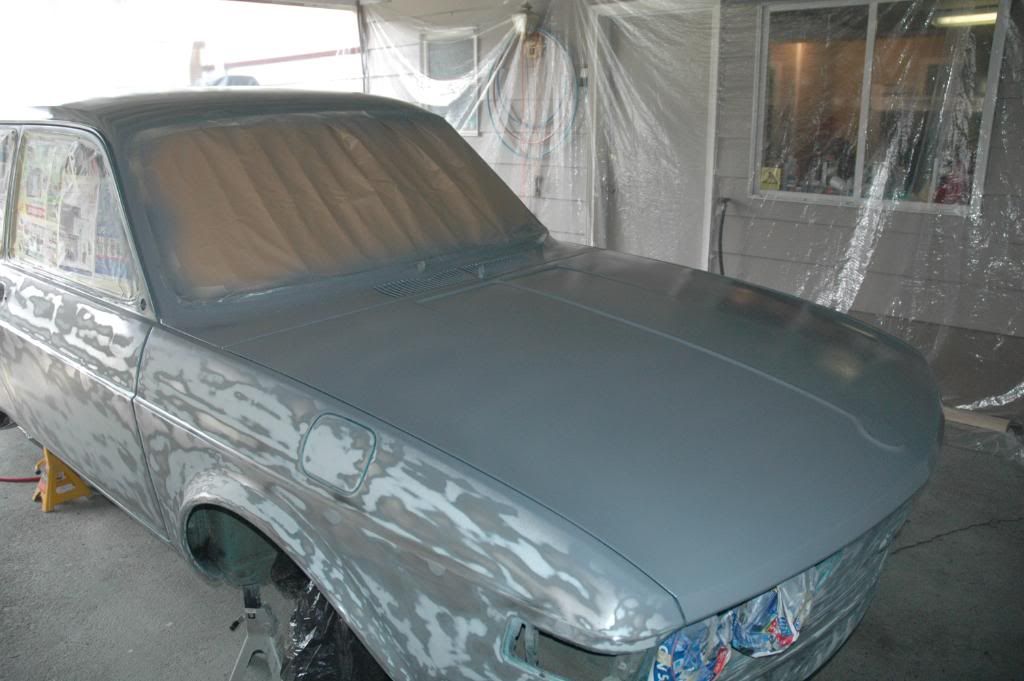
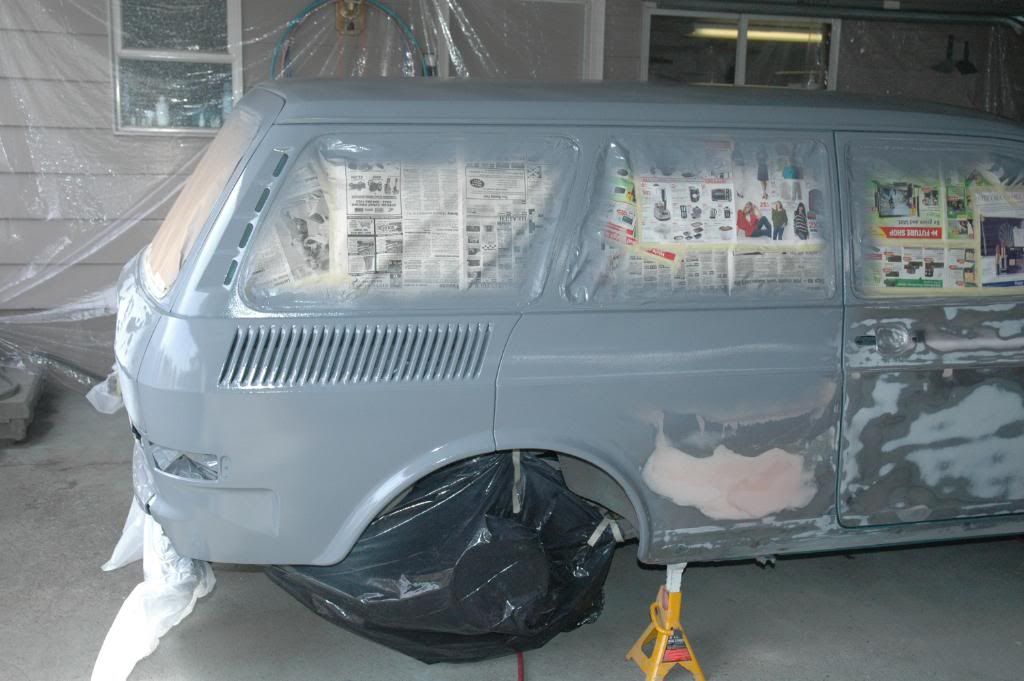
Then a high build urethane, heres me stirring it.
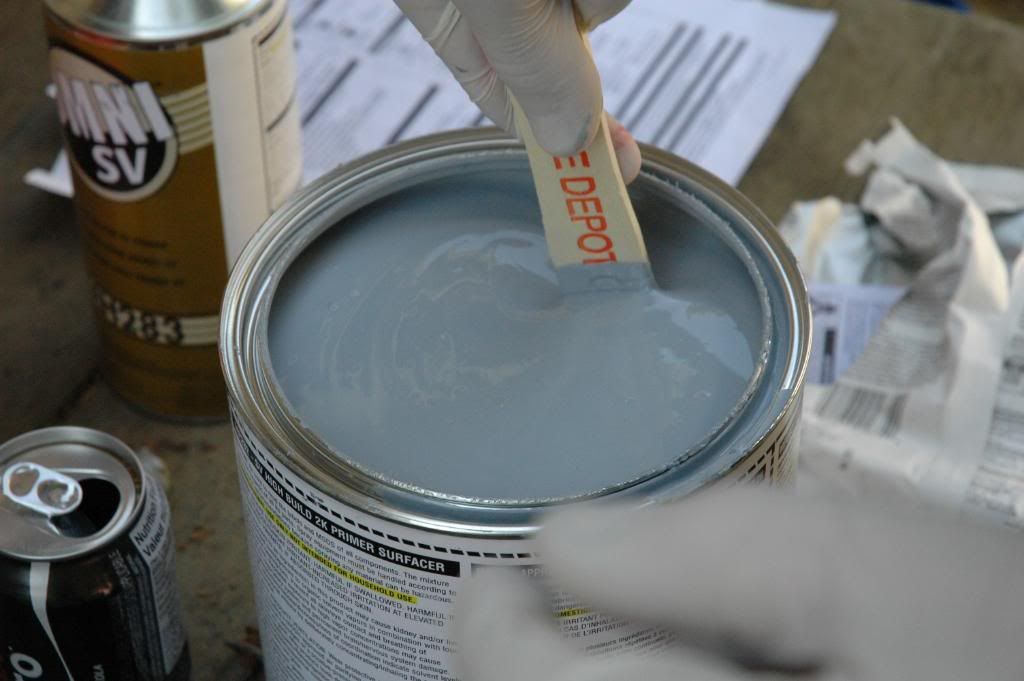
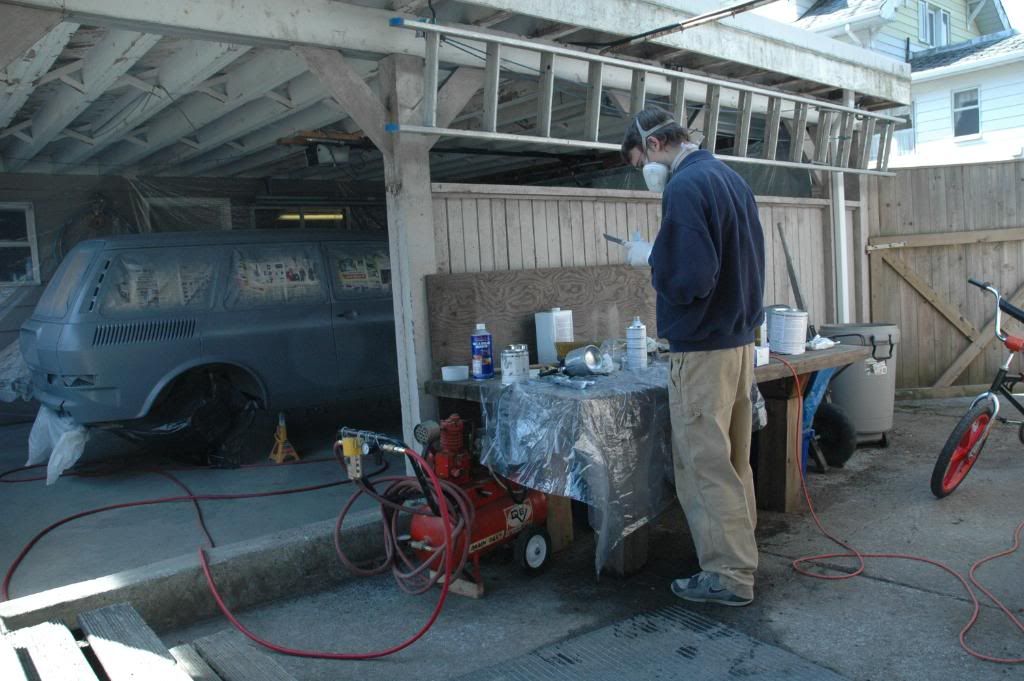
The final result
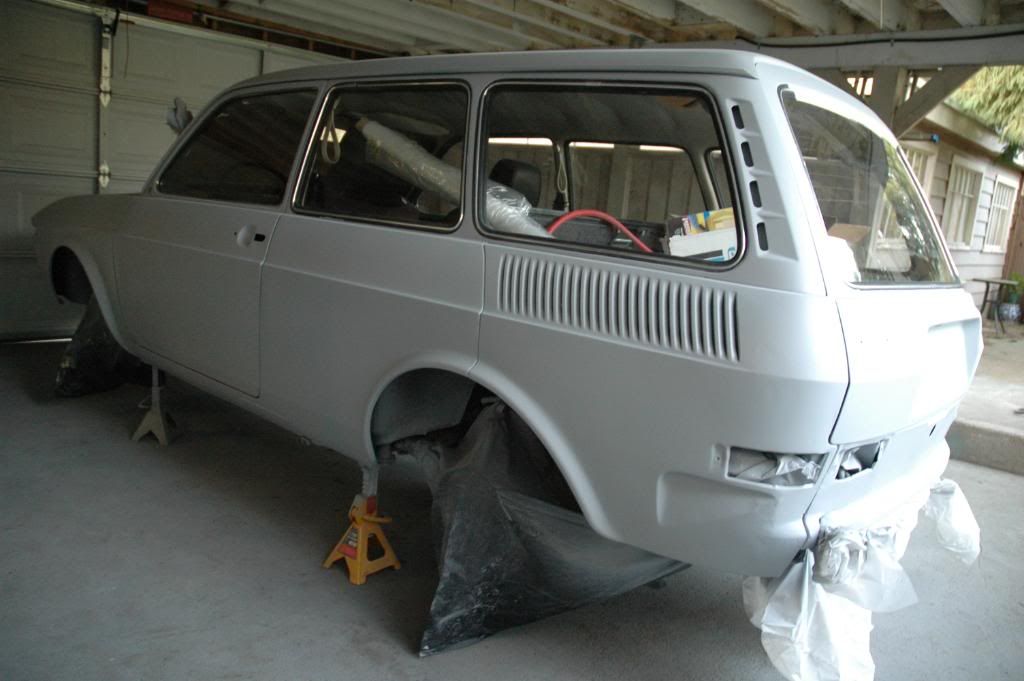
I hope to be painted by this wednesday, and back together by friday. Then on to suspension improvements, as well as a new brake MC and intake gaskets. The list goes on...
It feels like this is my first real advancement, even though all the work is easy from here on in. All i have to do is block the car to 400 grit, and spray the color and clear
So I started with an epoxy primer:
Then a high build urethane, heres me stirring it.
The final result
I hope to be painted by this wednesday, and back together by friday. Then on to suspension improvements, as well as a new brake MC and intake gaskets. The list goes on...
-
vwbill
- Posts: 970
- Joined: Sat Feb 15, 2003 12:01 am
Re: Bodywork started
Great work man!!! She's lookin great! Can't wait to see the color and final coats!! I'm sure the rest of the work will be at the same greatness!! Thanks for the post!! Bill,jr.
-
bradey bunch
- Posts: 189
- Joined: Tue Aug 04, 2009 9:13 pm
Re: Bodywork started
Its been done for a while, I have just been too busy to post pics. So here they are.
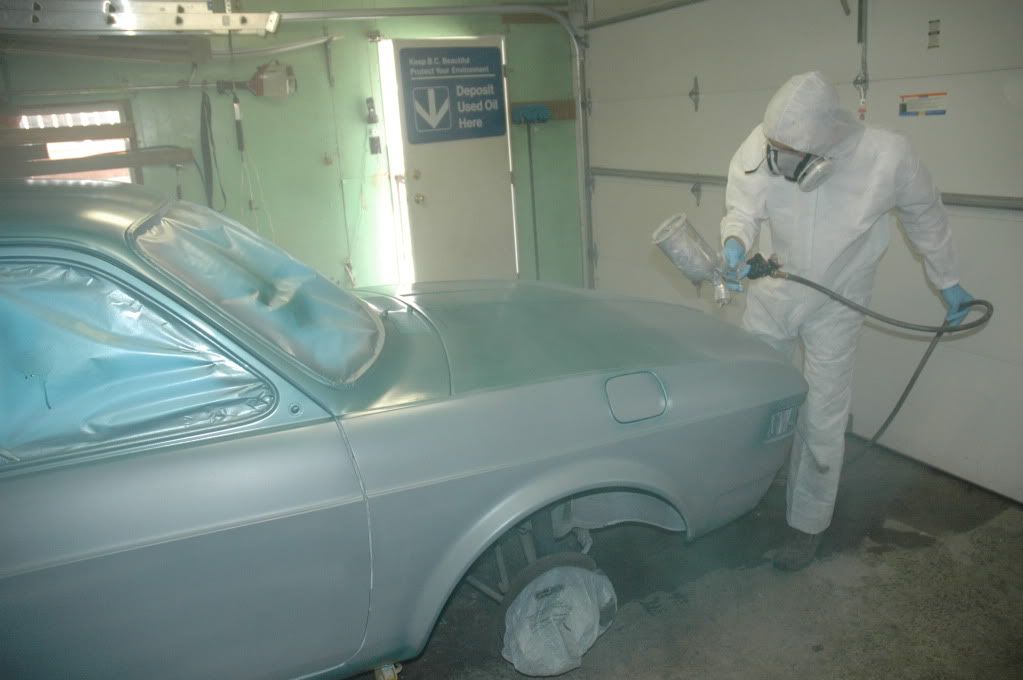
spraying the car, first with epoxy, then the base, and the clear.
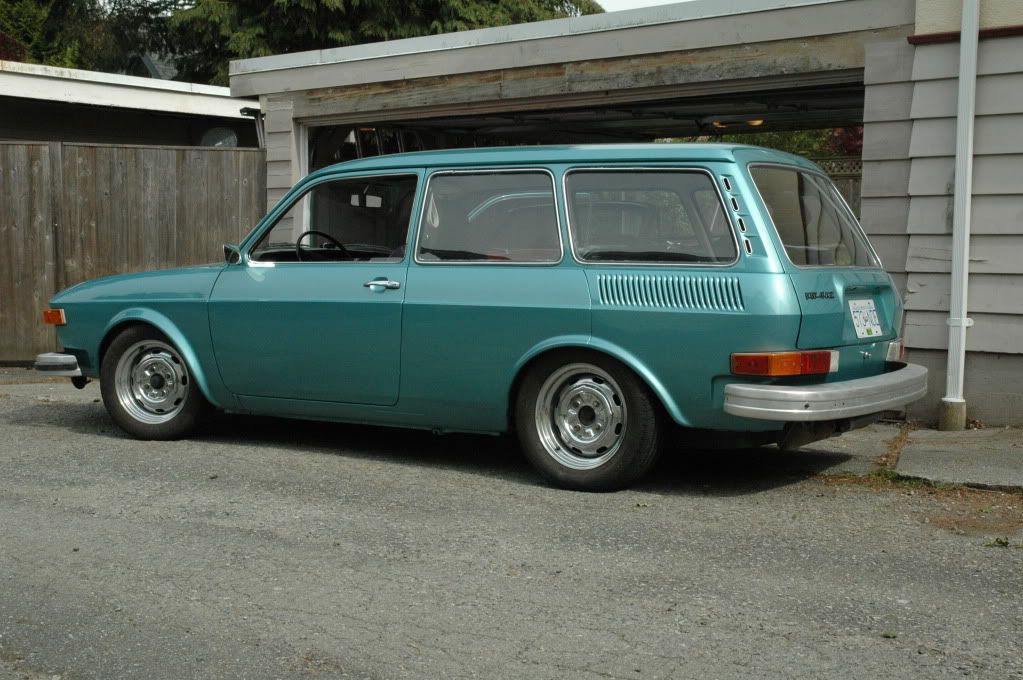
overall
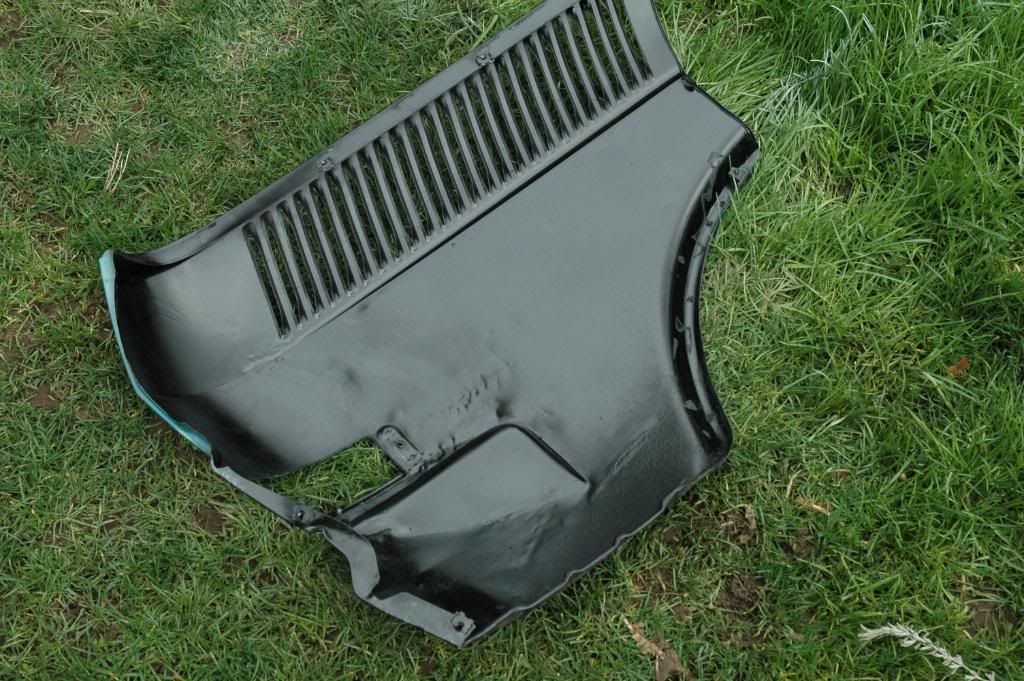
the large rear dent that I ended up rock gaurding after getting it close (unfourtunatley I dont have any pics of before. it was nasty).
There was rust here. and an antenna.
Overall I am happy with the way it turned out. There is some dust in it, but I think I want to get the top half of the car sprayed with a metallic purple at a later date, so that will take care of that, because the roof and the hood had the most. Also, I plan on leaving the rear fender beading off of the car, and not sealing it. Any issues with this?
If i were to do it all again, I would spray a light black guide coat over the high build primer, to make it easier to see where needed more sanding.
Braden
PS. after looking at the pics, the lens got some weird flaring going on. I might take some better ones later.
spraying the car, first with epoxy, then the base, and the clear.
overall
the large rear dent that I ended up rock gaurding after getting it close (unfourtunatley I dont have any pics of before. it was nasty).
There was rust here. and an antenna.
Overall I am happy with the way it turned out. There is some dust in it, but I think I want to get the top half of the car sprayed with a metallic purple at a later date, so that will take care of that, because the roof and the hood had the most. Also, I plan on leaving the rear fender beading off of the car, and not sealing it. Any issues with this?
If i were to do it all again, I would spray a light black guide coat over the high build primer, to make it easier to see where needed more sanding.
Braden
PS. after looking at the pics, the lens got some weird flaring going on. I might take some better ones later.
Last edited by bradey bunch on Mon May 10, 2010 9:29 pm, edited 1 time in total.