Page 1 of 9

'89 Blue Star Vanagon Project

Posted: Sun Jan 17, 2016 9:41 am
by turbobaja
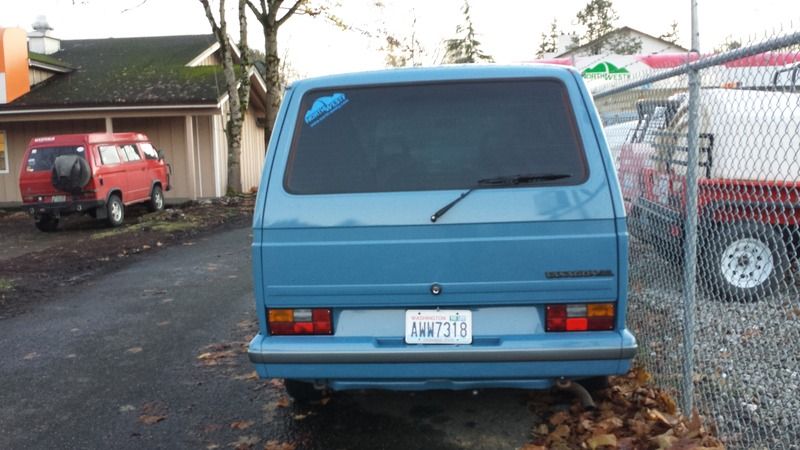
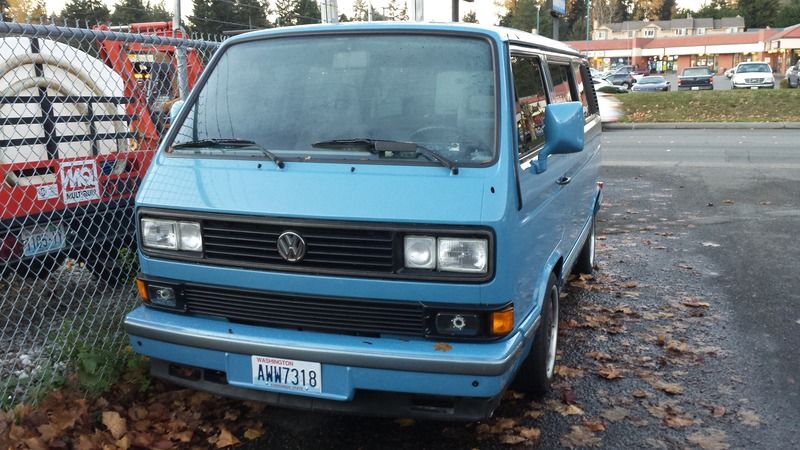
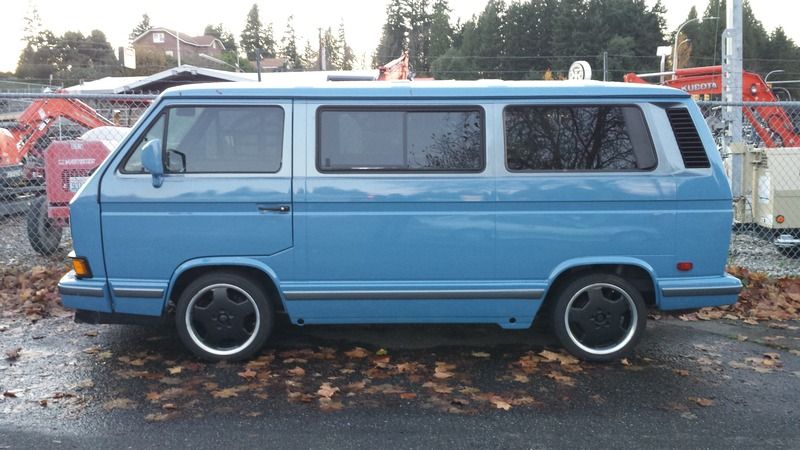
Hi folks. I'm a life long air-cooled VW nut and recently found myself in the water-cooled Van world for the first time. I've been mostly a "Baja guy" for the last 20 years and like to go camping and road tripping up here in the Pacific North West. With the limited room inside a baja I have to tow a small trailer to bring all the necessities (and luxuries) to enjoy a weekend tent camping trip with my wife and our dog. Buses have always been more visually appealing than Vanagons to me, but this vehicle is more about function than form. These Vanagons are so much more spacious inside than any other VW, it's amazing! And they seem to be built fairly well , structurally. Mine is missing most of the original "Blue Star" interior, which doesn't bother me. Being a tin top w/out any camping/weekender interior components, this Van is like a blank slate to do whatever we want with. It had been previously lowered to an excessive degree by some shop that actually cut out parts of the front radius arm support brackets and (poorly) welded them back together. I bought it from a shop up here called North Westy who just did a full paint job on it and did a few improvements like upgrading the brake hoses and replacing ALL the fuel hoses, as well as the fuel tank that had been damaged from being so low. It's running the stock 2.1L and 4 speed 094 trans currently. Right now it's way too low in my opinion and the 17" wheels/tires aren't going to cut it where I want to take this vehicle :wink: . So the plan is to raise it back up while repairing the front suspension correctly, get the trans rebuilt and re-geared and swap in a Suby 2.5L, re-work the interior to be functional for our camping needs and have an all-in-one adventure vehicle! I'm in the process of creating some space to start the "build" on the Van. I'll do my best to post up here as progress moves forward.
Image

Image

Image

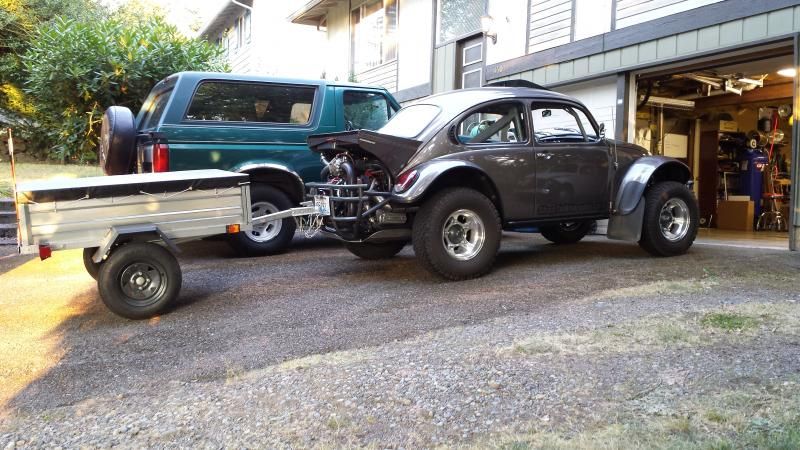
The baja and trailer...there's a couple of very lengthy build threads in the Off-Road Forum and Forced Induction Forum here @ STF that cover this baja build for anyone interested. That's my wife's daily driven '74 Super in the reflection on the side of the Baja :lol: . Both rigs are EFI running Mega Squirt systems from Mario @ TheDubShop. I daily drive an '84 GTI also, we love our Dubs :mrgreen:

Image

Re: '89 Blue Star Vanagon Project

Posted: Sun Jan 17, 2016 6:04 pm
by ajdenette
Glad you started a thread to introduce your van and share your build with us.

Re: '89 Blue Star Vanagon Project

Posted: Wed Feb 17, 2016 6:18 pm
by Jadewombat
I love that nose style of the later vanagons.

Re: '89 Blue Star Vanagon Project

Posted: Sun Apr 10, 2016 7:59 am
by turbobaja
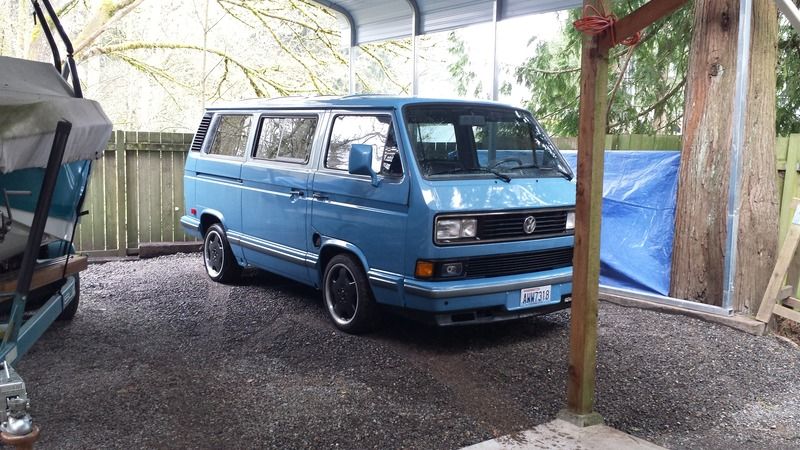
I finally brought the Van home after building a new home for it with some cover. Now I can get serious about making it my own (...and my wife's).

Image

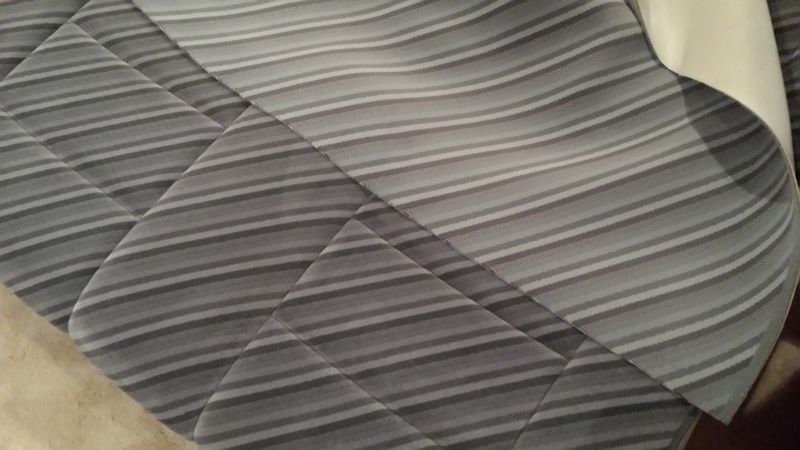
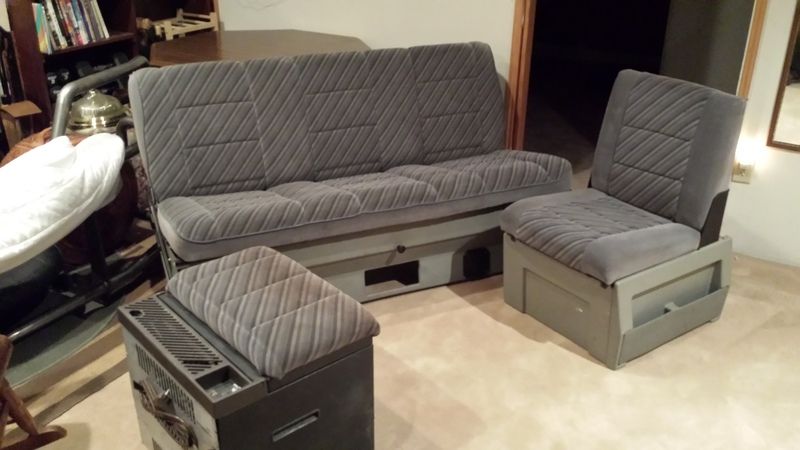
I was able to get an almost complete, and petty unique original Blue Star interior. We've got a couple yards of matching material to do some upholstery repairs on the front seats, everything else just needs a good cleaning.

Image

Image

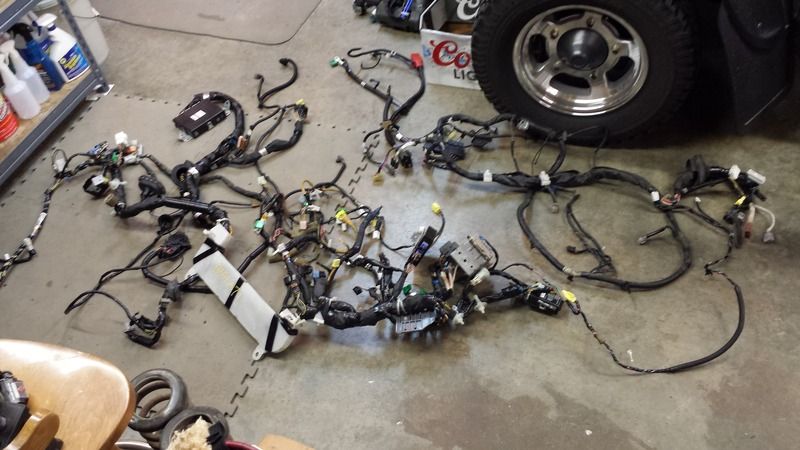
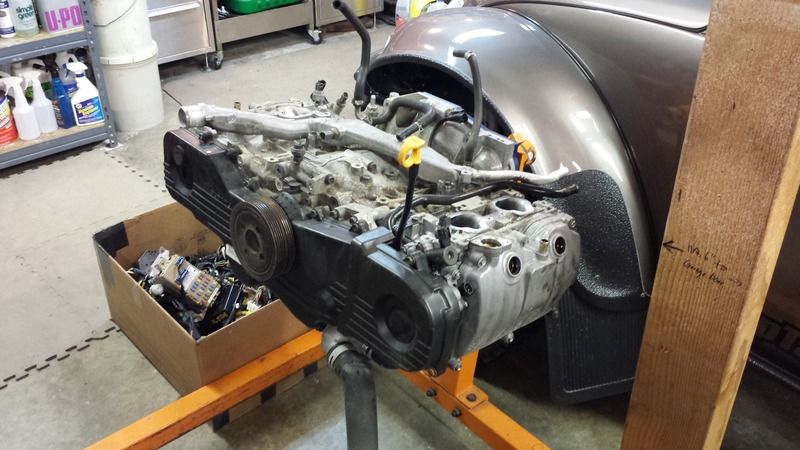
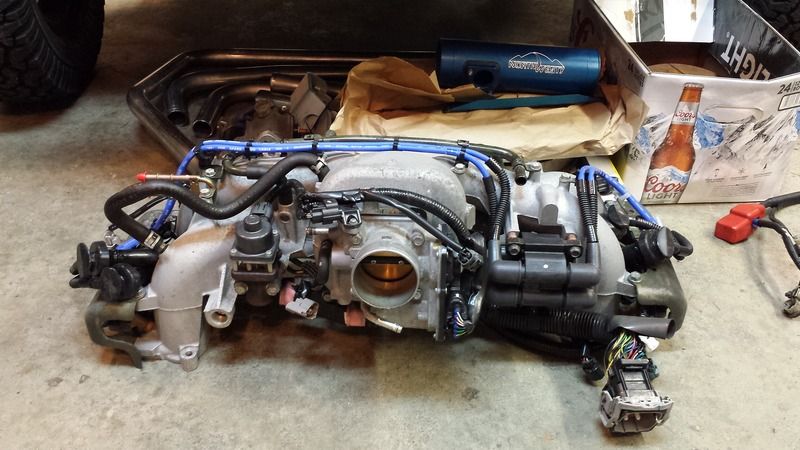
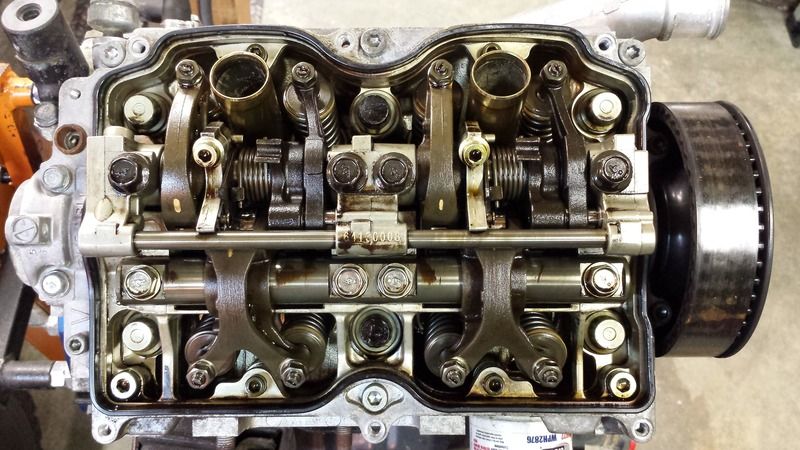
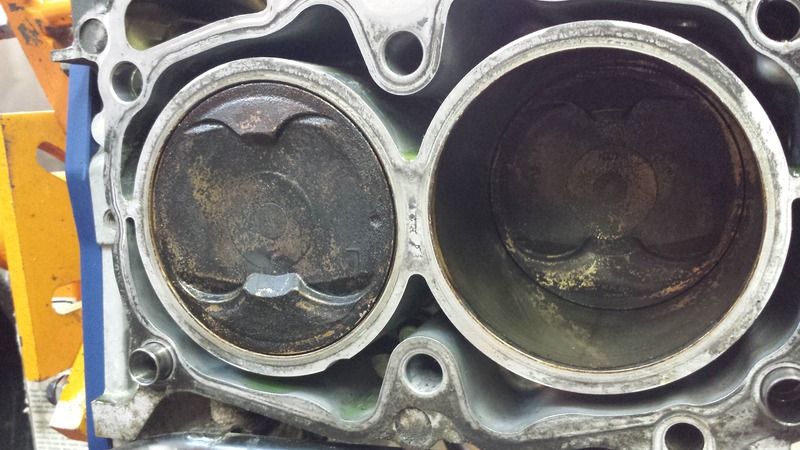
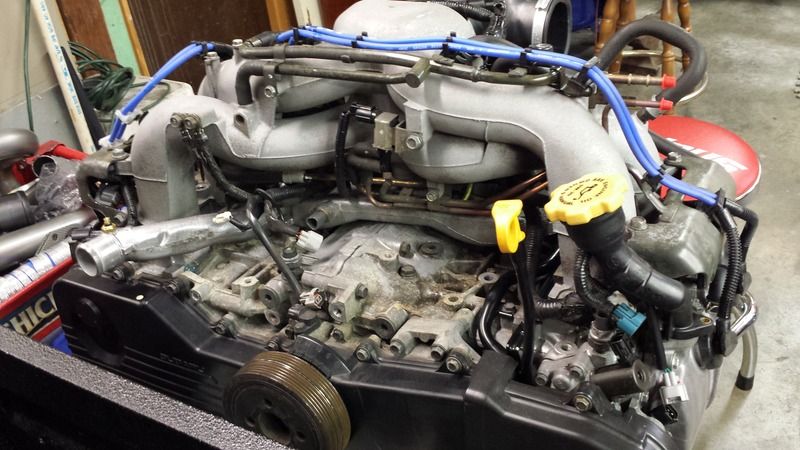
I've also got a good start on the 2.5L Suby swap. Got everything I need from an '06 Impreza. 96K miles on the clock, full harness, fly-by-wire pedal and ECU. This is one of the early versions of the variable valve lift setups. Has original T-belt, water pump, head gaskets, etc. Seeping oil from both head gaskets in the common oil drain back passages. I'm doing a little preventative maintenance to it before it goes to work in the Van.

Image

Image

Image

Image

Image

Image

This is good example of what it'll look like.

Image

Re: '89 Blue Star Vanagon Project

Posted: Mon Apr 11, 2016 1:03 pm
by Steve Arndt
Subscribed

Re: '89 Blue Star Vanagon Project

Posted: Mon Apr 18, 2016 9:34 pm
by turbobaja
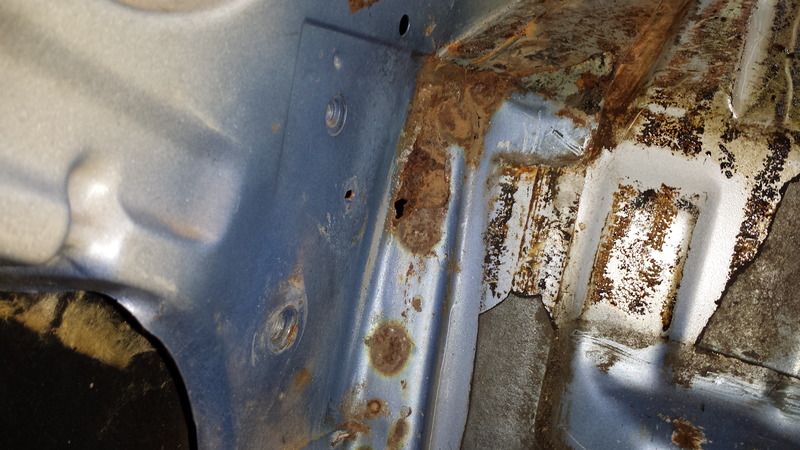
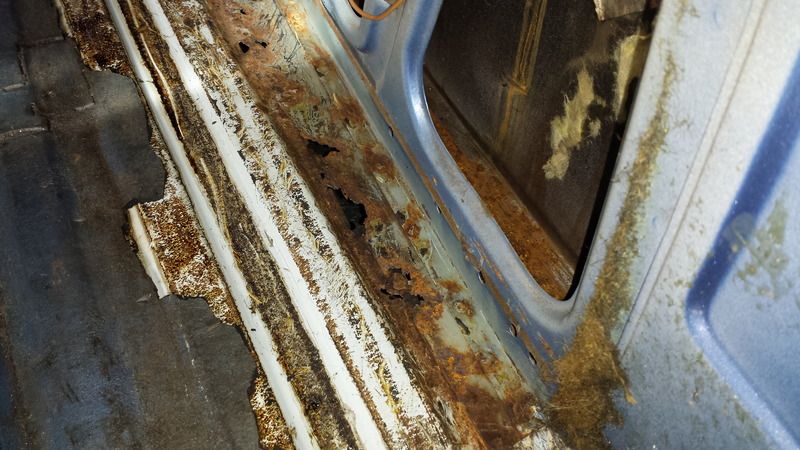
Found a little rust I'm gonna have to fix before this thing hits the road again. Looks like a poorly executed previous repair. Replacement upper rear quarter on the right side and now the inner wheel well is rotted out...
Image

Image

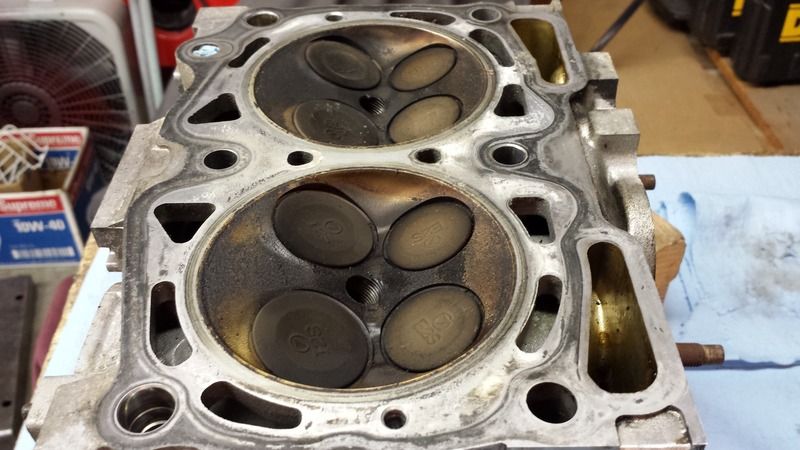
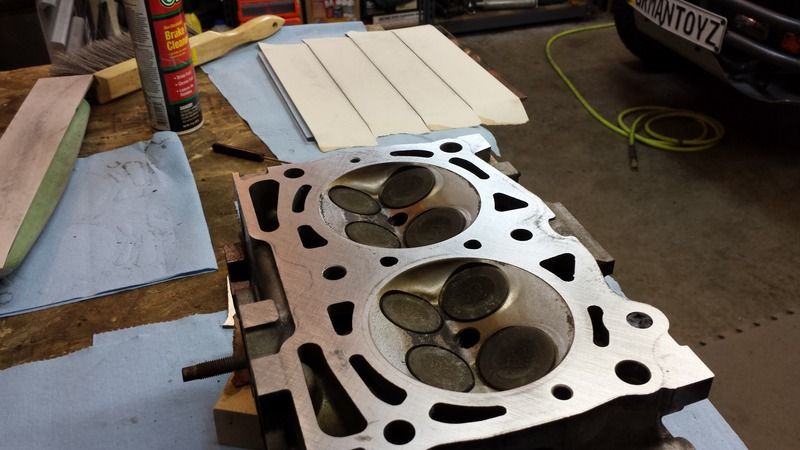
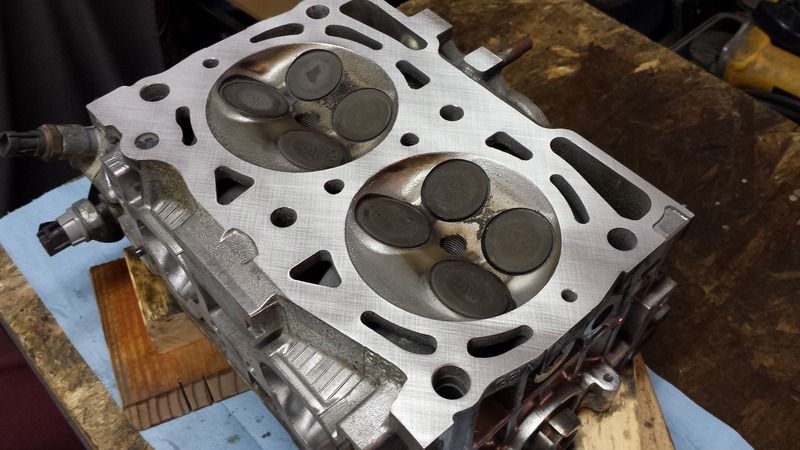
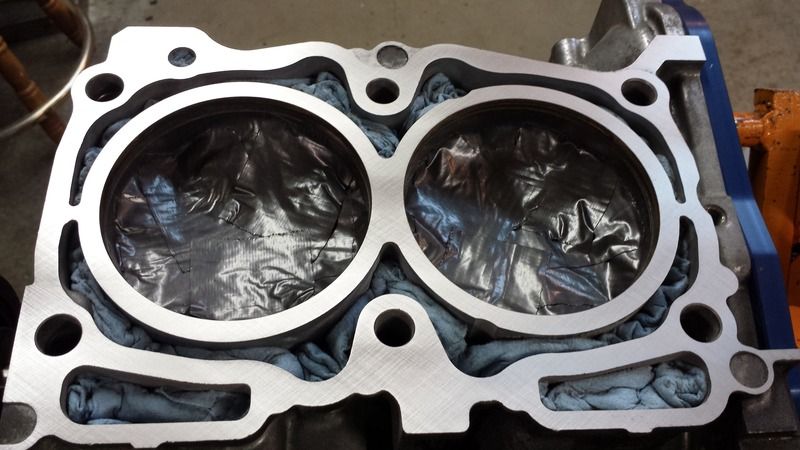
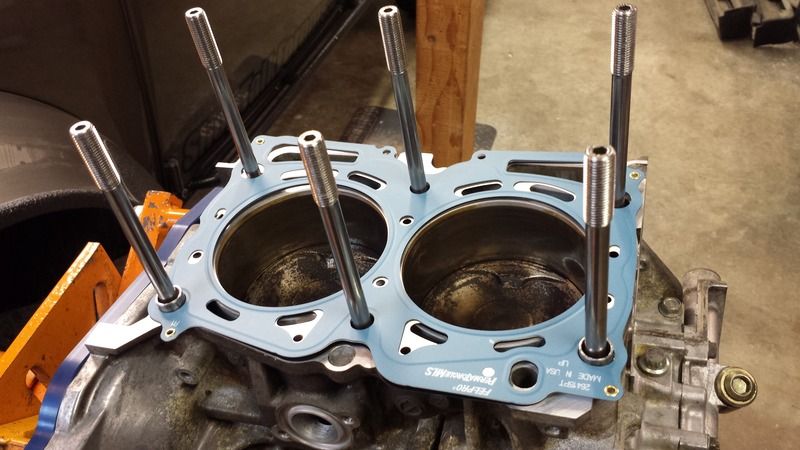
On the brighter side, I managed to resurface both heads and the block deck surfaces with some 320 grit paper stuck to a sheet of Pyrex. I just worked the sheet of glass diagonally untill the surfaces cleaned up. I've got a set of ARP head studs and Fel-pro MLS head gaskets to bolt everything back together with.

Image

Image

Image

Image

Re: '89 Blue Star Vanagon Project

Posted: Thu May 05, 2016 11:15 am
by Vee Dub Nut
Nice.. just found this thread.. Subscribed!

Re: '89 Blue Star Vanagon Project

Posted: Sat May 07, 2016 7:24 am
by turbobaja
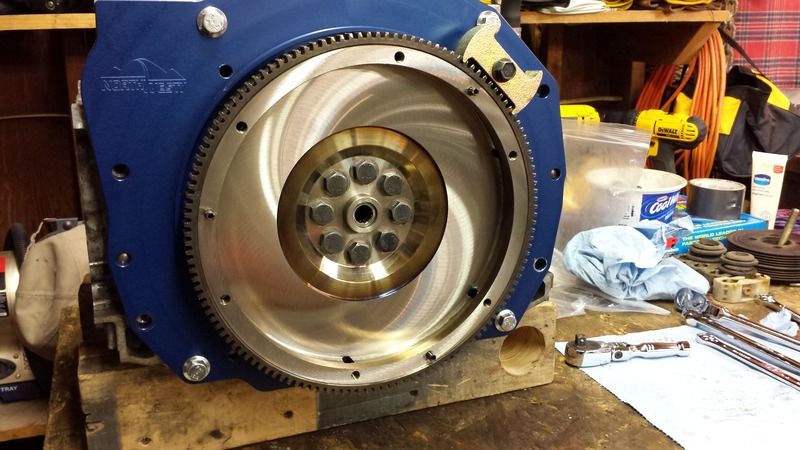
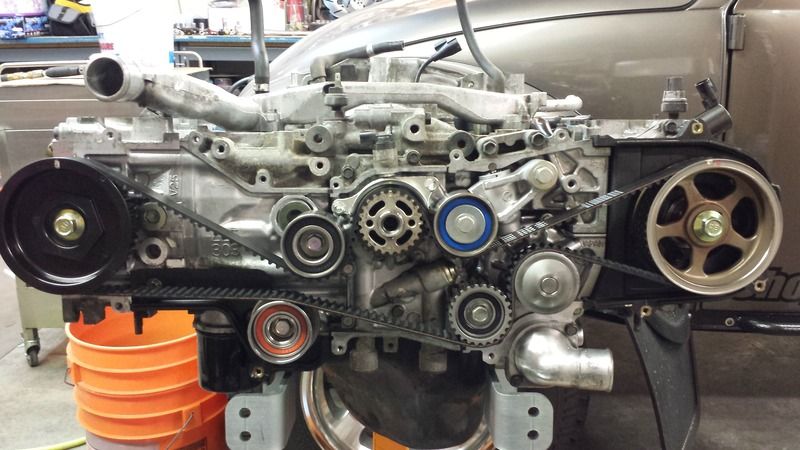
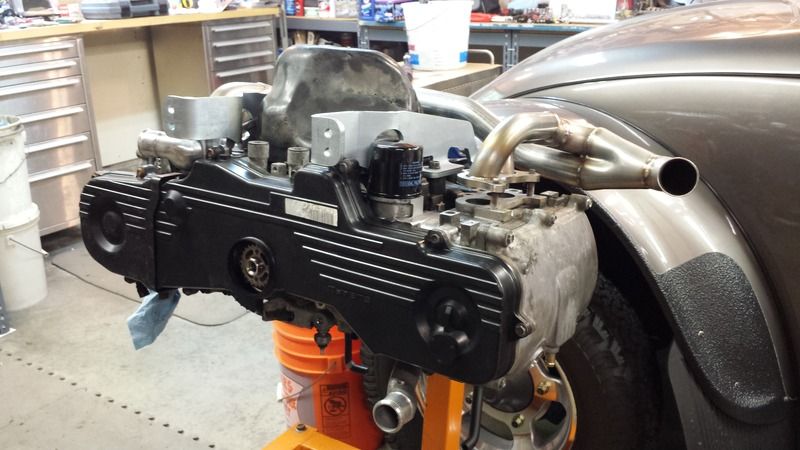
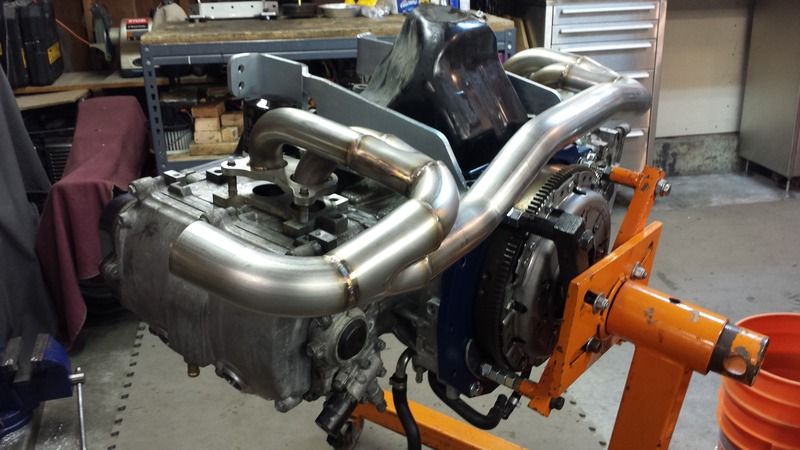
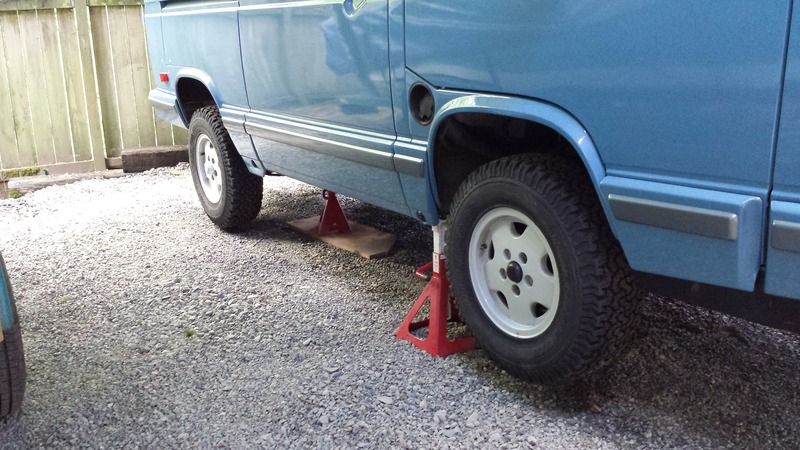
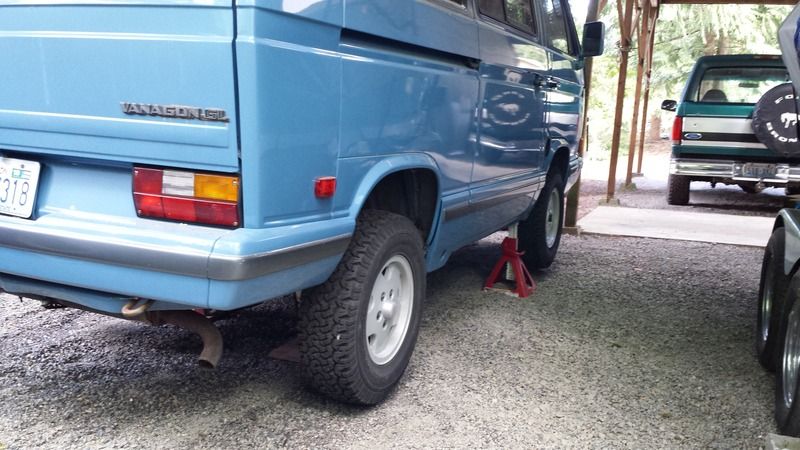
The engine is coming together slowly. I resealed the wrist pin access plugs and replaced the cam and crank seals. Got the billet adapter plate mounted up onto the case, torqued on the flywheel, installed the clutch and hung the shortblock back on the stand. The head bolt threads got chased, ARP studs bottomed out finger tight and the heads went on nicely. New water pump and timing components in place, made a minor adjustment to 3 of the 16 valves (.002" out or less :roll: ) and bolted on the timing and valve covers. Quick mock up with engine mounts and exhaust manifold in place, looking to modify the oil pan for better ground clearance and increased capacity next. The Van has been placed in "build mode" which is basically jack stands on gravel under a carport :lol: . It won't fit in the little garage I built my baja in...So this is an outside build. I ditched the 17" Mercedes wheels and bolted up the 27" BFGs I'll be running so I can decide what springs/spacers I'll need.

Image

Image

Image

Image

Image

Image

Image

Re: '89 Blue Star Vanagon Project

Posted: Sun May 22, 2016 9:18 am
by turbobaja
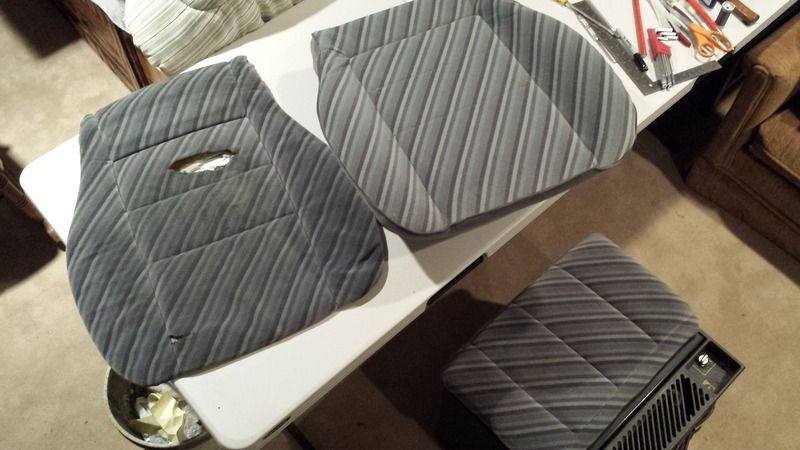
My wife reupholstered the worst of the seat bases and both front seats got new water proof back and bottom heaters. We've got one small hole to patch on a seat back and some arm rest covers to find or make, then ALL the seats will be ready to go into the van. The OG 12/220 volt cooler with matching top cushion served as a work stool for the little project.

Image

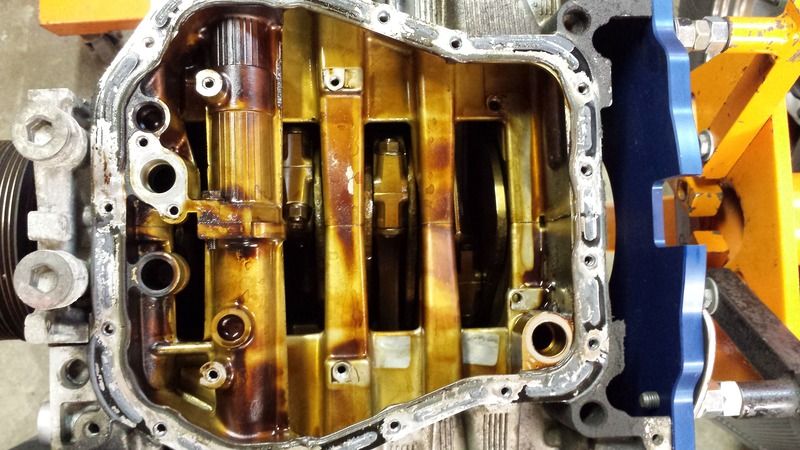
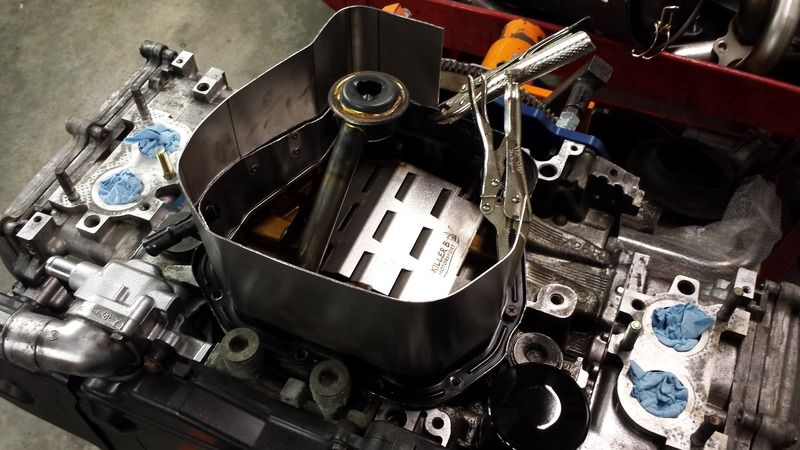
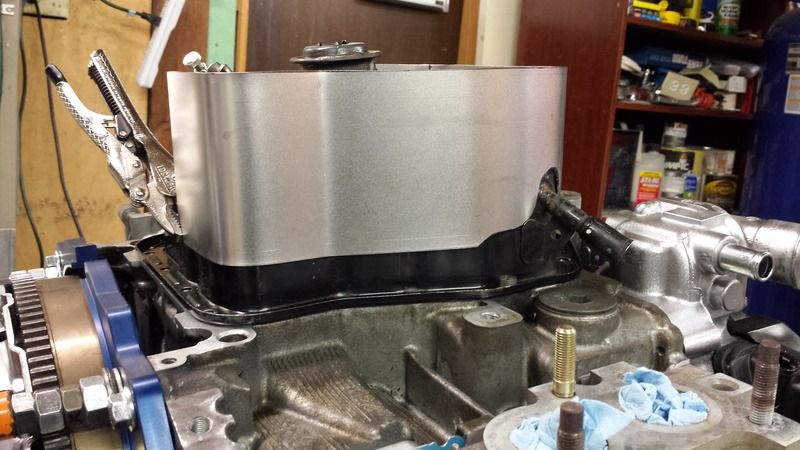
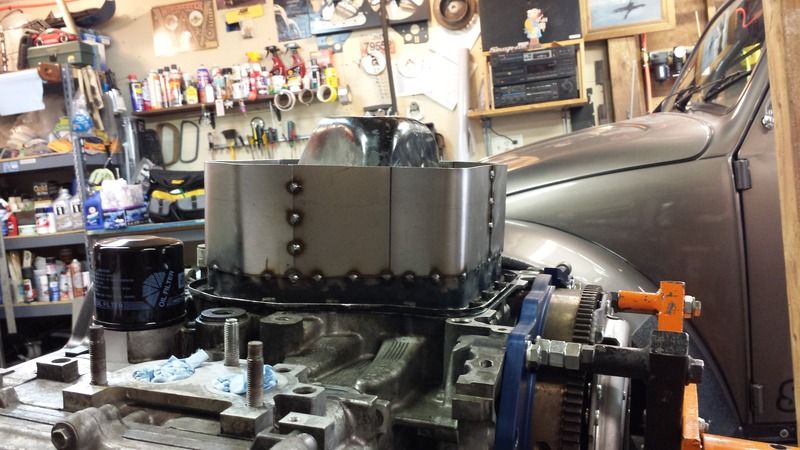
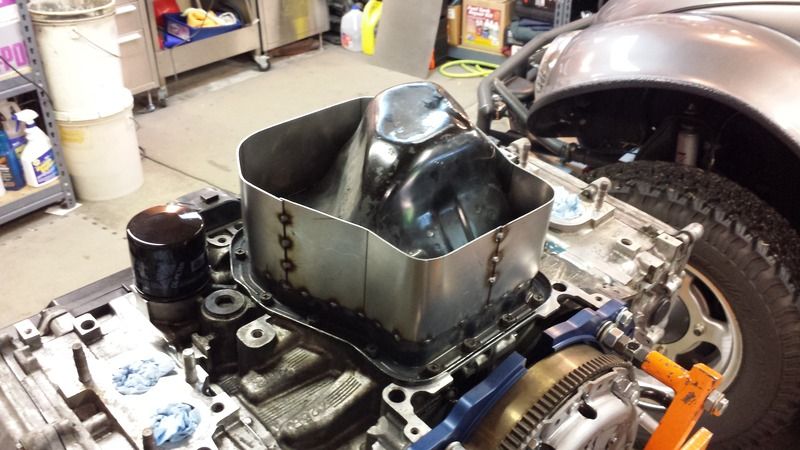
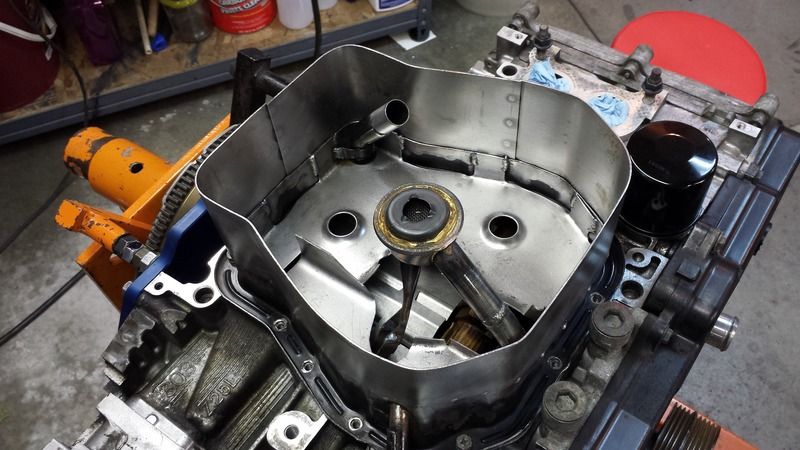
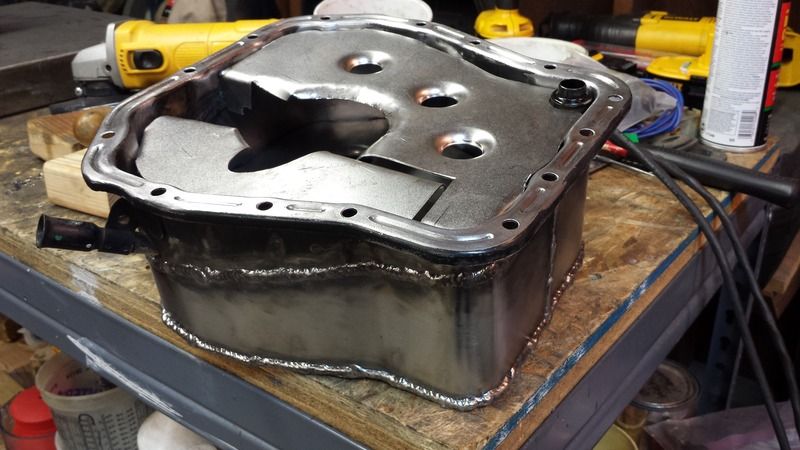
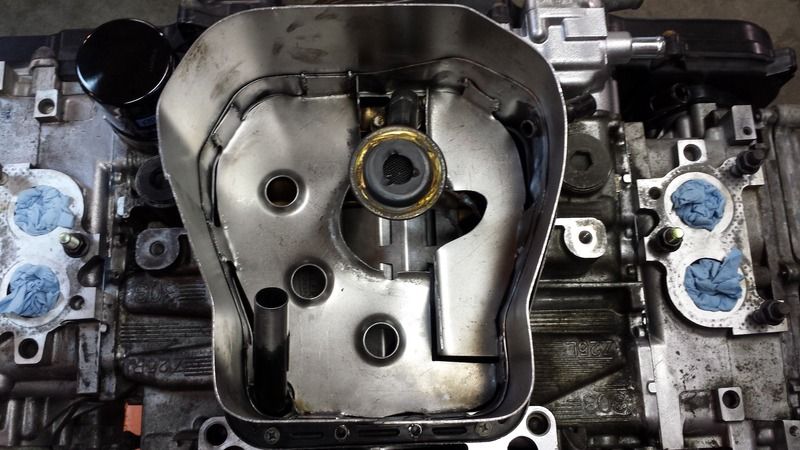
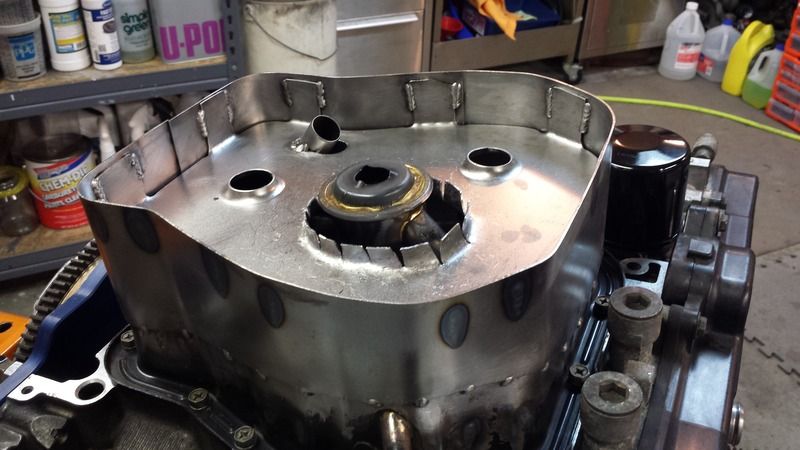
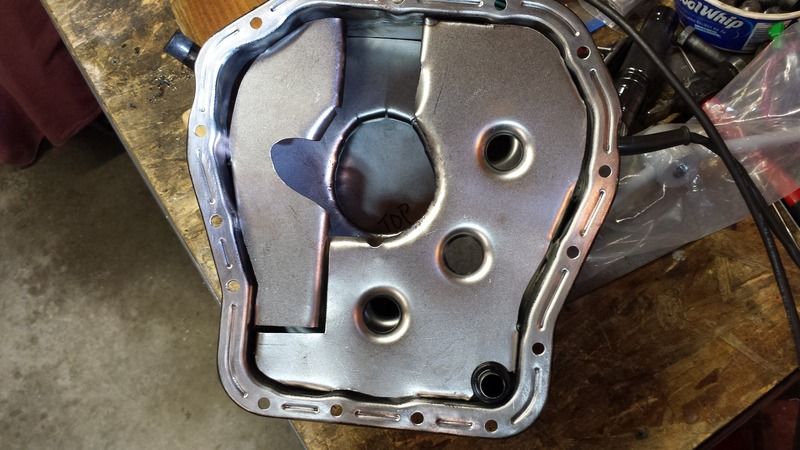
Also making progress on the bigger, shorter oil pan. Decided to modify the stock pan rather than gamble on an aftermarket one. It will be shorter than this once it's done. Shooting for 4-4.5" depth from the mating surface. It'll get a few simple baffles and some type of sump area around the shortened pickup. Plan is to put an oil temp sensor in the pan and possibly add an external filter/cooler setup if temps are a problem on extended freeway driving. Also plan on running a trans gear oil temp gauge and possibly add a pump and cooler if there's a problem. I really should be working on the rusty body panel problem, but this is more fun :mrgreen: .

Image

Image

Re: '89 Blue Star Vanagon Project

Posted: Mon May 23, 2016 4:10 pm
by ajdenette
Turbo,
Why did you start with the late model oil pan instead of an earlier on that I think would have required less work to modify as it has roughly the same shape you are trying to build?

Re: '89 Blue Star Vanagon Project

Posted: Wed May 25, 2016 9:23 pm
by panel
Who's primaries are those and are you building the exhaust yourself ? Nice work .

Re: '89 Blue Star Vanagon Project

Posted: Thu May 26, 2016 9:34 pm
by turbobaja
You're right, this oil pan is probably not the best one to start with, but it came on the engine so I figured it was worth a try :lol: . Dorman reproduces the more common pan style for around $30 now even, but you still have to cut and modify the pan quite a bit to add volume and shorten it, plus clear the shortened pickup tube foot within the remaining stock baffling. I kinda wanted to start with a blank slate and use the profile of the bolt pattern and stock dipstick tube to work from, just fab the rest and see where it ends up :D .

Most of the engine swap parts including the stainless header and J pipe with cat, adapter plate, flywheel, engine mounts, billet MAF tube, pedal mount, etc. are all from a local shop called North Westy, where I've been building Vans for the last 6 months. They're a lot like the small car stainless headers, except they don't crack :wink:

Re: '89 Blue Star Vanagon Project

Posted: Thu May 26, 2016 9:51 pm
by turbobaja
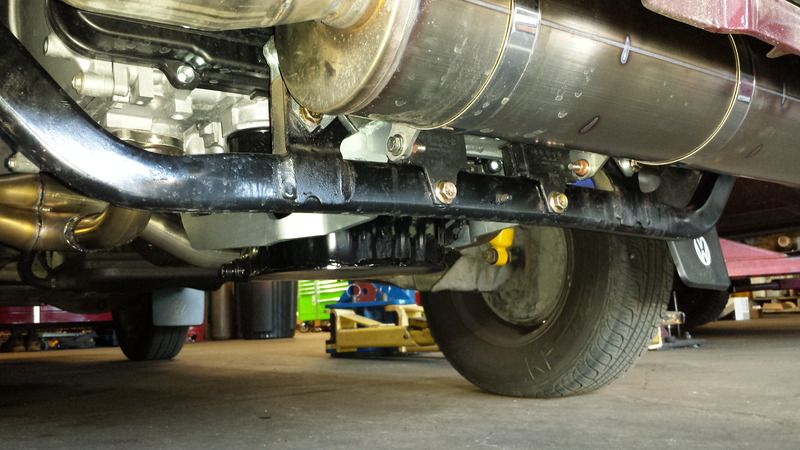
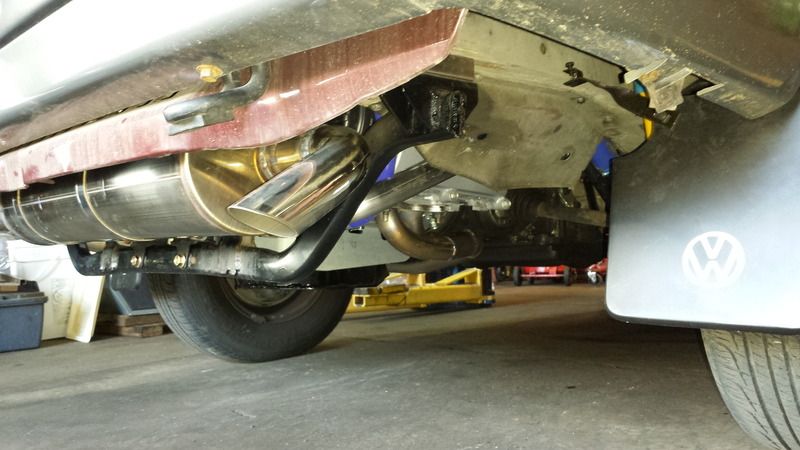
Large Magna Flow muffler mounts up much like stock with SS straps onto relocated mustache bar. (Customer's Van in these pics)

Image

Image

Re: '89 Blue Star Vanagon Project

Posted: Sat Jul 02, 2016 7:40 am
by turbobaja
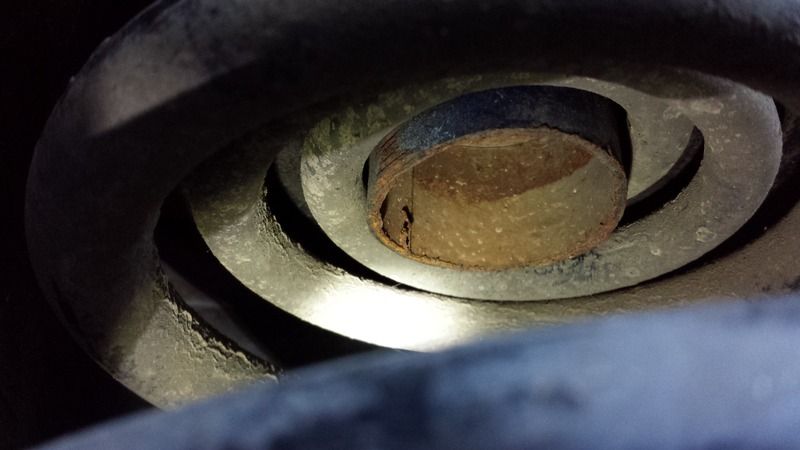
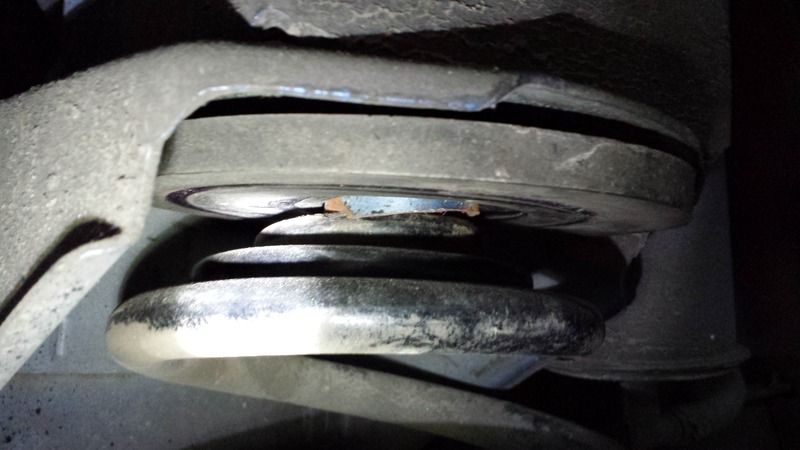
Every time I look close at my Van I find something else that needs attention or repair, or has simply been abused. This thing has had a rough life. It was extremely lowered at some point. I just realized the rear springs are barely hanging onto the chassis. The upper perch and bump stops have been cut off, and one of the springs was not even on it's left over post.

Image

Image

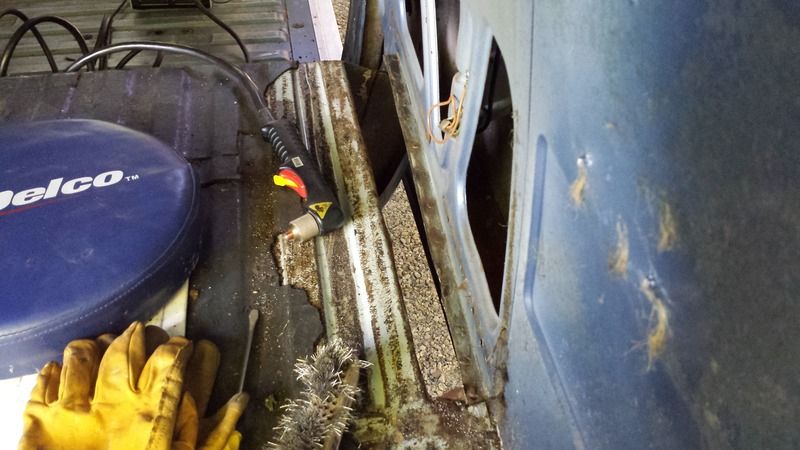
I finally started cutting out the badly rusted areas....I really hate rust.

Image

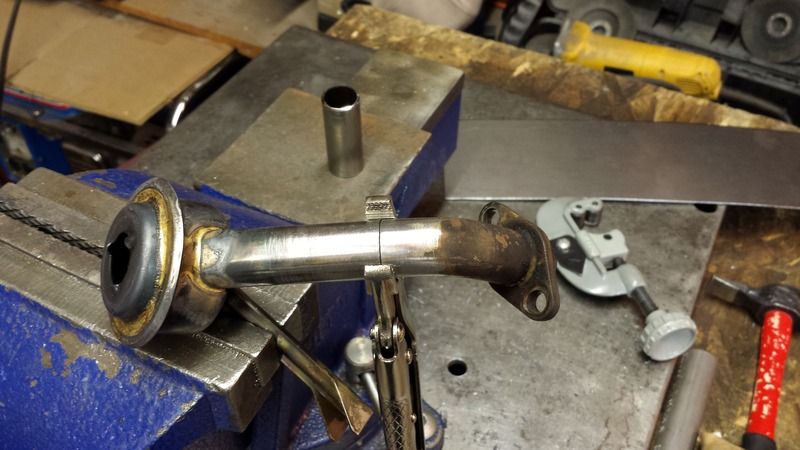
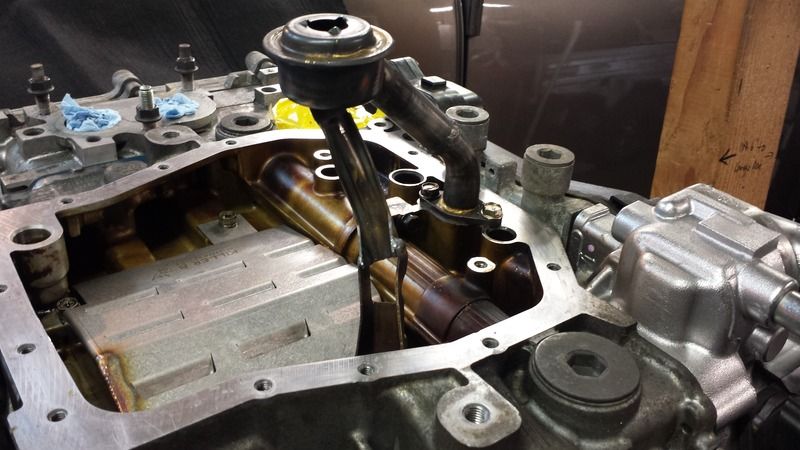
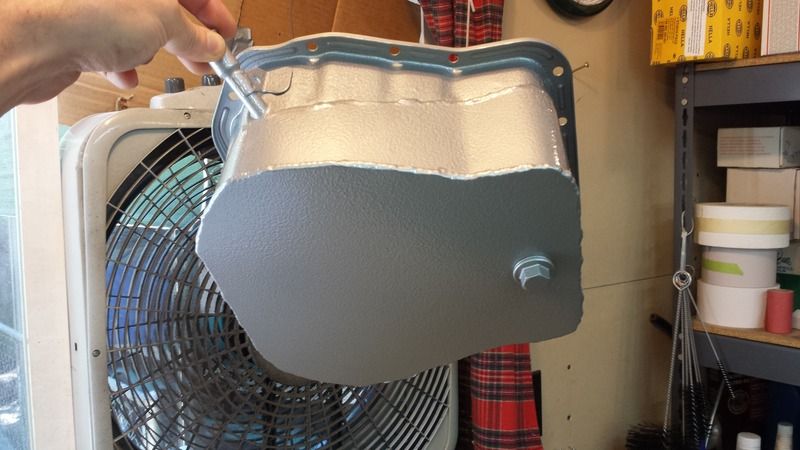
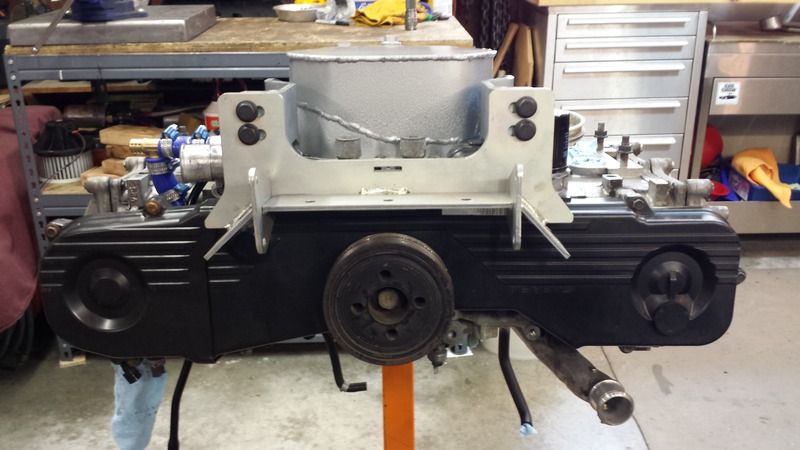
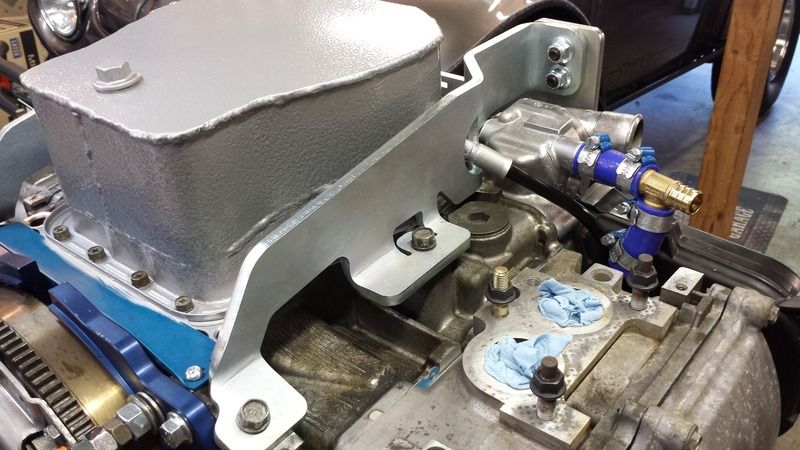
The oil pan is also finished and currently holding a little over 5qts without a leak :mrgreen: . It ended up about 2" shorter than the stock pan. I made a couple baffle layers inside to try and control the majority of the oil volume and create a lower sump area. The pickup tube and it's support bracket got shortened as well. The stock Subaru drain plug and bung got reused and I'll be building a skid plate between the mustache bar and the front trans mount when I do the swap. I'm not real proud of the welds on this pan....but there were only 3 small pin holes that needed additional welding to seal it up tight. I was trying to get as much weld material on the seams as possible without overheating the metal to avoid leaks. It'll be mostly hidden anyways :lol:

Image

Image

Image

Image

Image

Image

Image

Image

Image

Image

Image

Image

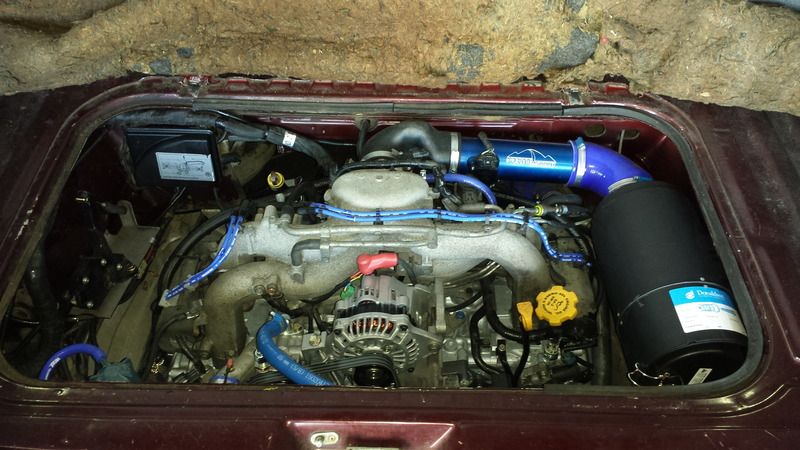
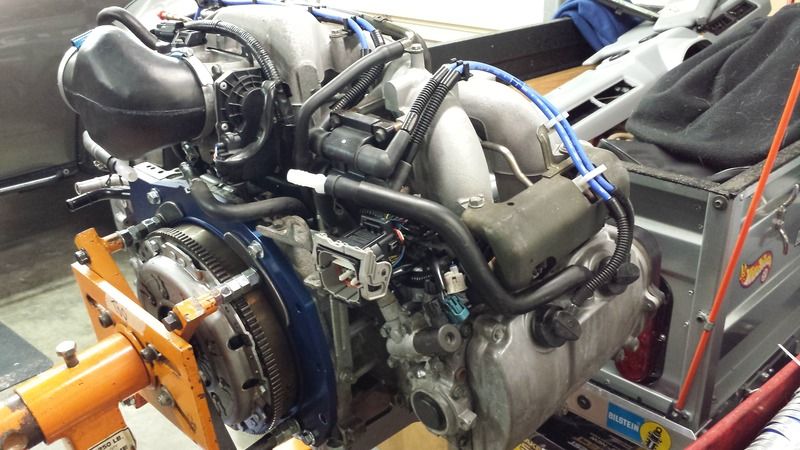
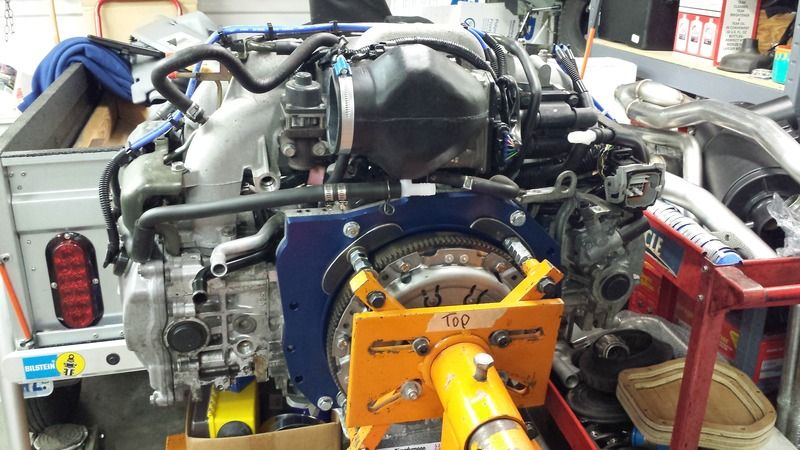
Mocked up the intake a little, fitting the breather hoses to the cobra head intake elbow, etc. Oil filler neck gets rotated inward to clear the large Donaldson air cleaner assembly. Stock Vanagon Coolant temp sensor (gauge) gets mounted in the coolant crossover housing.

Image

Image

Image

Re: '89 Blue Star Vanagon Project

Posted: Sun Jul 03, 2016 7:15 pm
by panel
Are you leaving the coolant cross over water manifold alone or relocating the end so it faces forwards?