Home Built Tools. Lets See 'Em!

General tips/tricks/tools that could be utilized on any platform.
User avatar
Daniel G
Moderator
Posts: 646
Joined: Thu Apr 22, 2004 8:38 pm

Home Built Tools. Lets See 'Em!

Post by Daniel G »

Here's the place for you to show off the tools you have built yourself. Preferably VW related, but feel free to post anything you built yourself. I will start...

5 Lug Brake Drum Puller

I had a bus front beam that was buried in the dirt for years and I needed to get the brake drums off. So I built a puller. I need to add something to hold the jack up besides this block of wood and hammer....But it will do for now :D

Drum Puller 1

Drum Puller 2

Bus Beam Holder

I built this to hold a Bus Front Beam so I can remove or install one with my floor jack by myself.

Bus Beam Holder

Larger Pad for a Floor Jack

I built this to make engine removals/installations a little bit easier. Pics coming as soon as I take them :lol:
Ol'fogasaurus
Posts: 17881
Joined: Mon Nov 13, 2006 10:17 pm

Re: Home Built Tools. Lets See 'Em!

Post by Ol'fogasaurus »

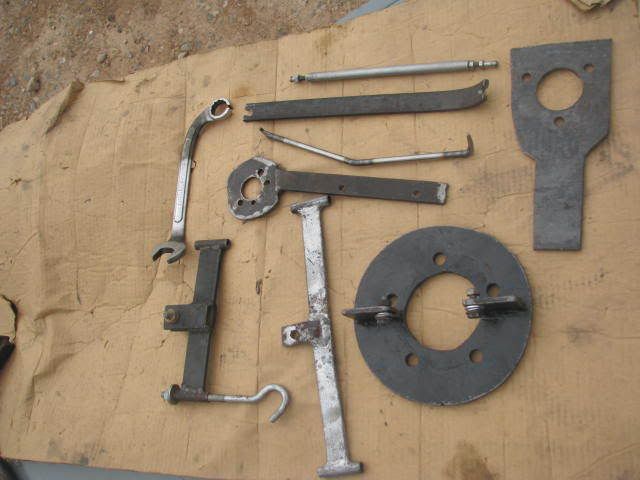
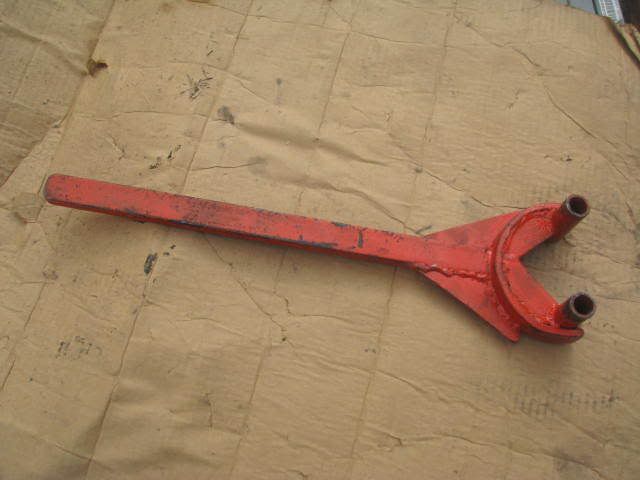
Its too cold out to fiberglass so I am trying to get the pan back down on the ground after many years on the rotisserie; part of the process is to paint then reassemble the rear trailing arms, the brake components, and the spring plates. I usually have hung the parts to dry on the cabinet handles and the track for the garage door but I decided to make a tool to hand the parts to paint and dry. I had some old material lying around so this is what I did.

Image

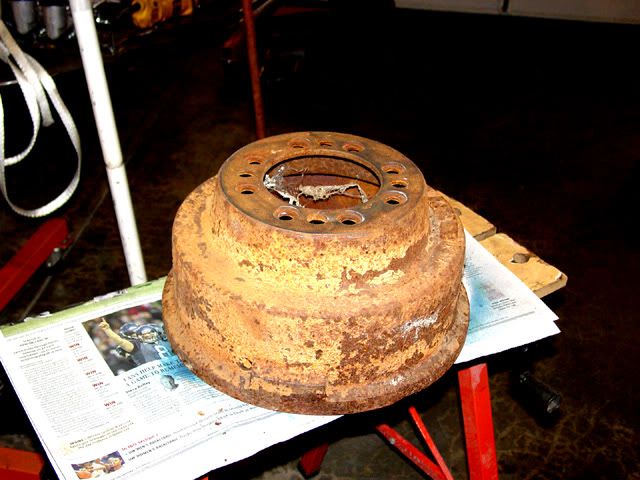
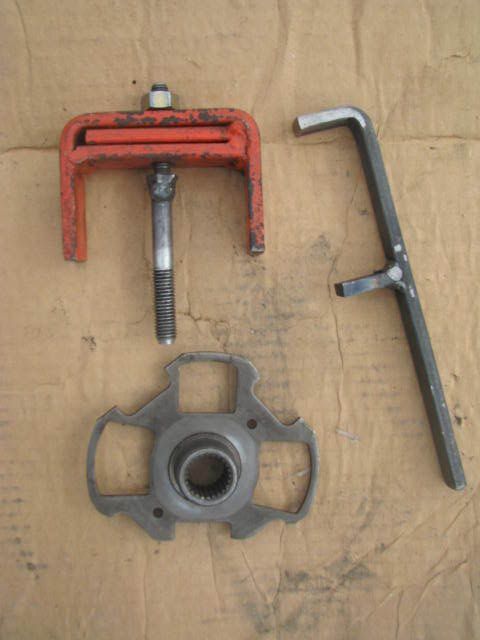
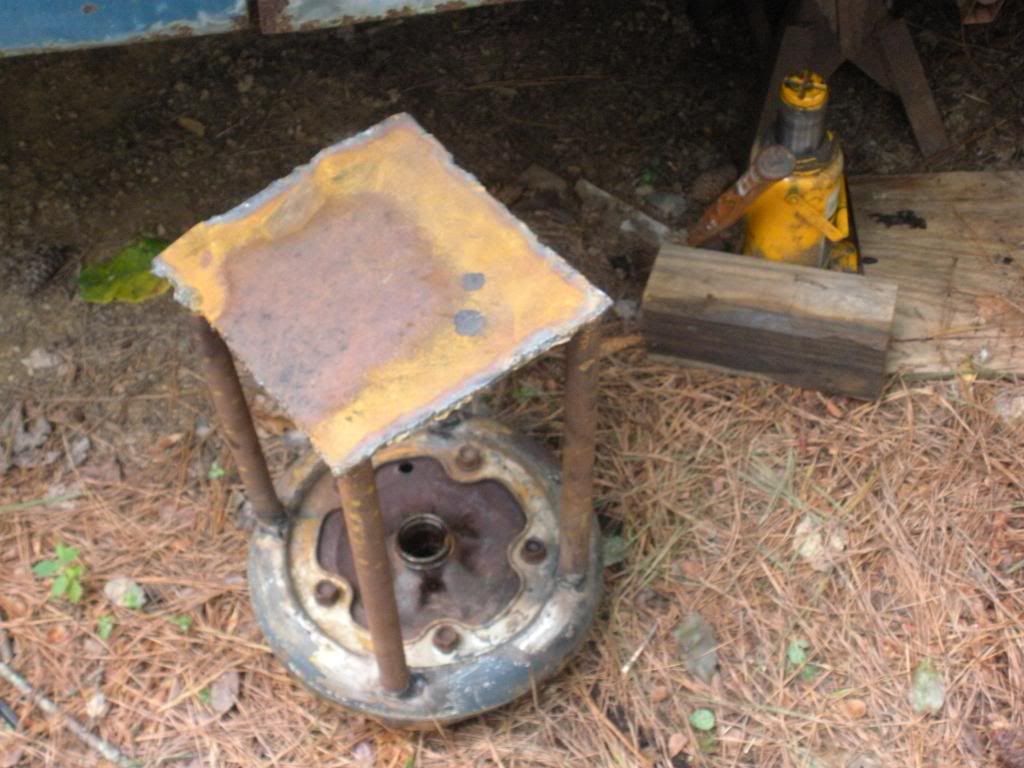
I have had an old truck brake drum laying outside under the eves for over 10 years; my wife wanted me to get rid of it or use it; now was the time. I brought it inside and measured out the flat surface and got a 9” dimension.

Image

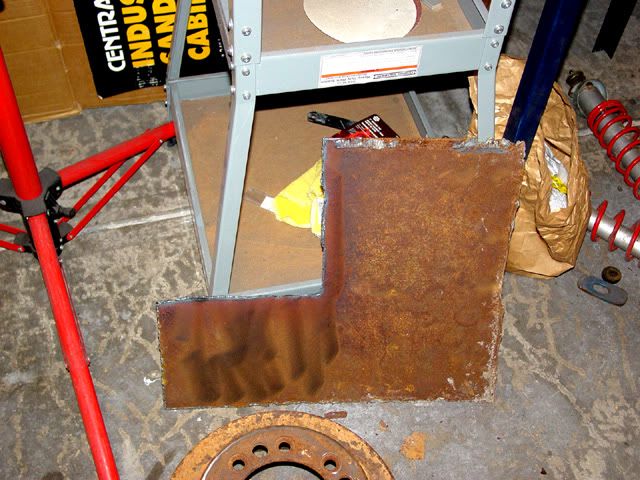
I had been given a piece of 3/16 flat stock probably about the same time as I got the truck drum; it was old when I got it. I think it had been in a fire as it had some really hard spots in it.

Image

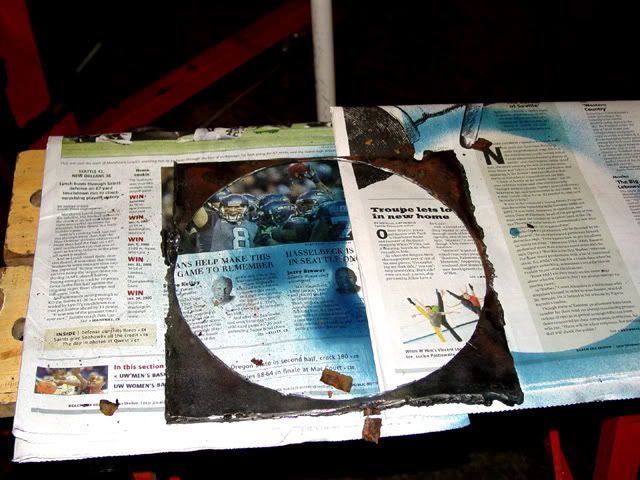
I whacked out a piece that was a little of 9” square, drilled a center hole in it and mounted it on my lathe to cut. It just would cut, for many reasons but the material was though so I finally took it down and finished cutting it with a cut-off disc in my 4 ½ in grinder. I then cleaned it up some and put bluing dye in it to mark the holes to match the drum.

Image

I then tried to drill out the holes to 3/4 inch, what a pain. The smaller pilot holes were not hard to do but the ¾ drill just would go so far then stop cutting. I also cut from both sides but it would not finish.

Image

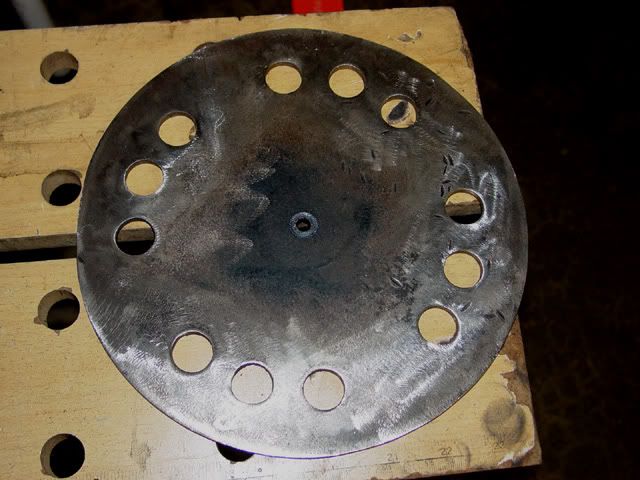
I finally put it on my mill/drill and with some effort, I got it done.

Image

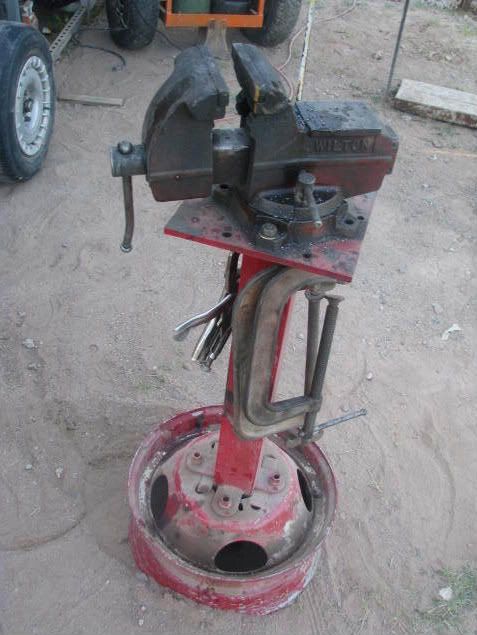
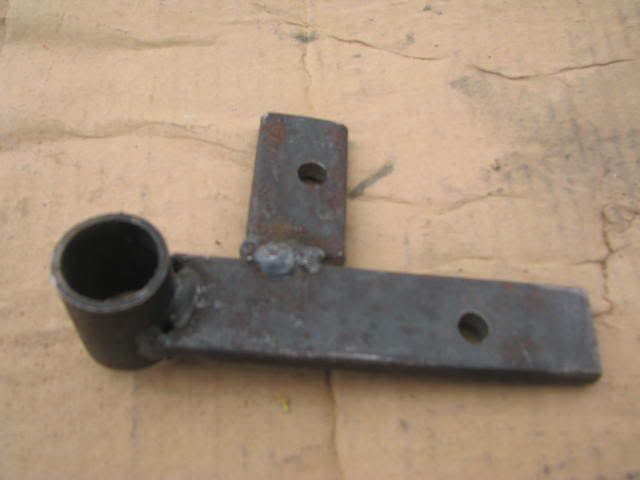
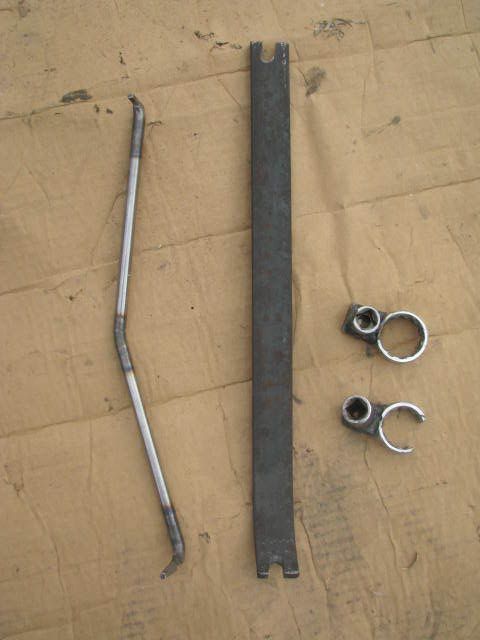
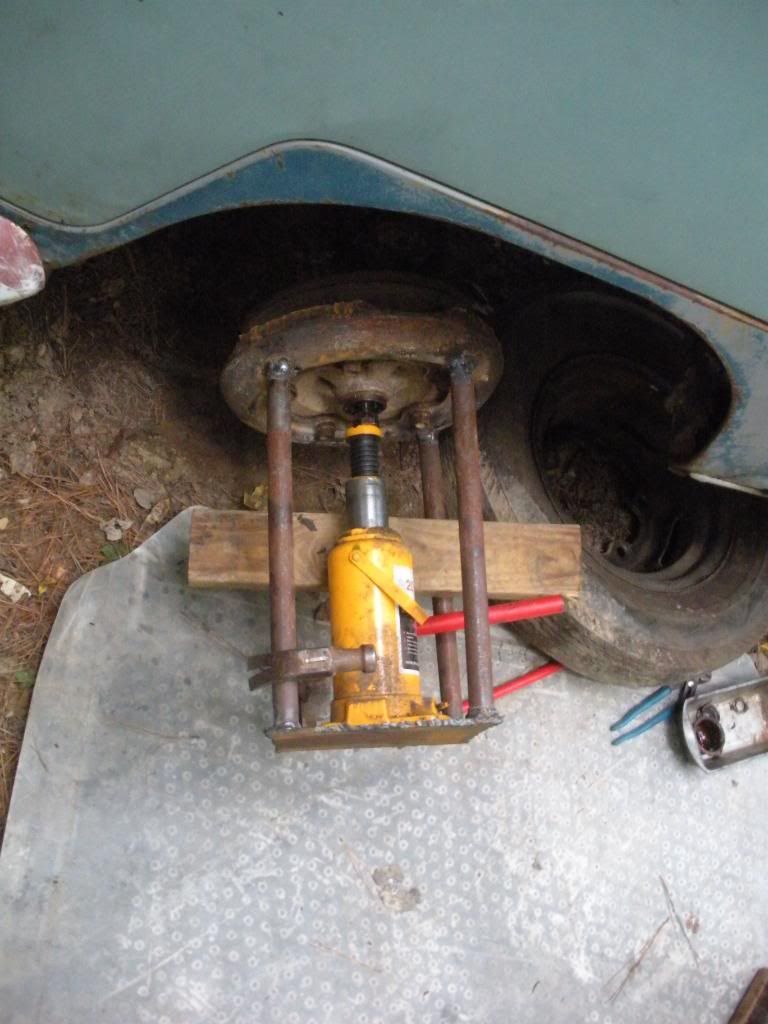
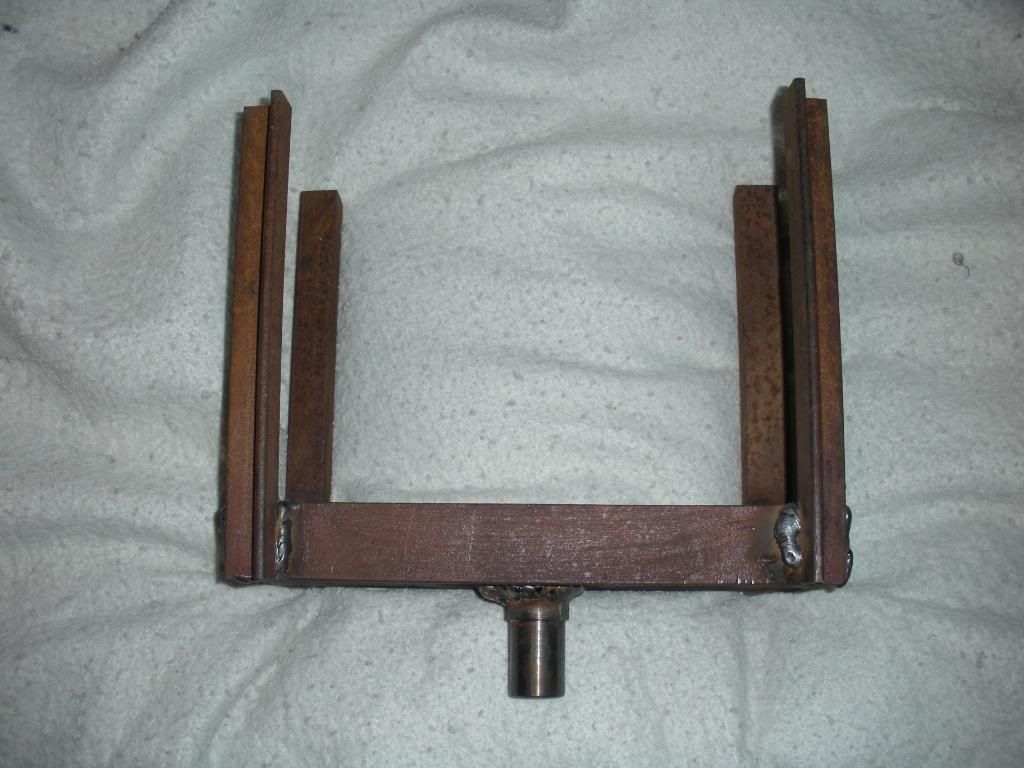
This morning I went out and got some 1 ½ square stock that I had been given over 5 years ago that was laying under my buggy, which I had been tripping over and cut off a 5’ piece. I squared both ends and then “V”-notched one end with my 4 ½ inch grinder using a cut-off wheel to accommodate a 31” piece of the same material for the “Tee” piece. Using some arrow head shaped welding magnets; I stood the 5’ tube on the mounting plate while it was sitting on a portable work bench (not a really good idea but I watched it quite carefully and had it clamped down. and squared it up, tacked it, then welded the tube to the bottom (I have not make and gussets… yet. I will wait to see what happens when it is bolted down and some weight is put on it).

Image

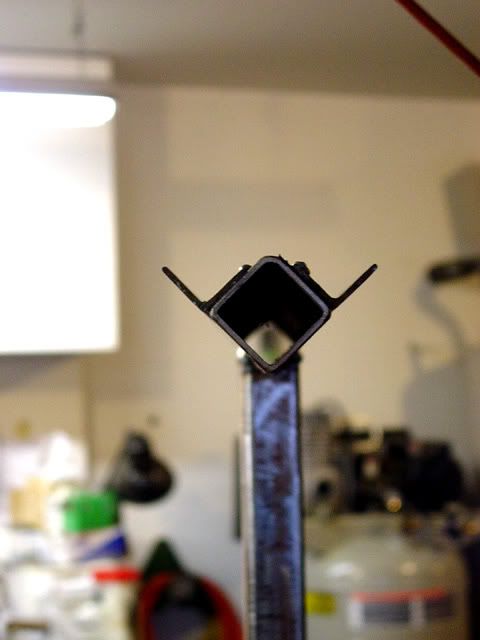
I then proceeded to center, square up and then weld the “Tee” piece in place. After it was welded on two sides (not all the way around… yet; it depends on how it works before I decide if I will do the extra welding. I then took some rusty ol’ bed frame (gasp) and cut it to fit both sides of the tube, cleaned the pieces up up in my new blast cabinet (giggle) and welded them in (never try to weld something that is bouncy, you never know where you are starting your weld at). It has holes in it to hang stuff from and if I need more they can be added. I think it is strong enough to support the weight of a couple of trailing arms but if not, I can put some hooks in for them.

Image

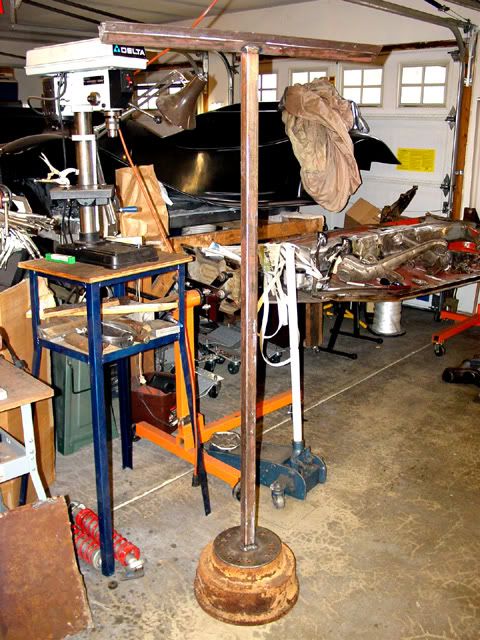
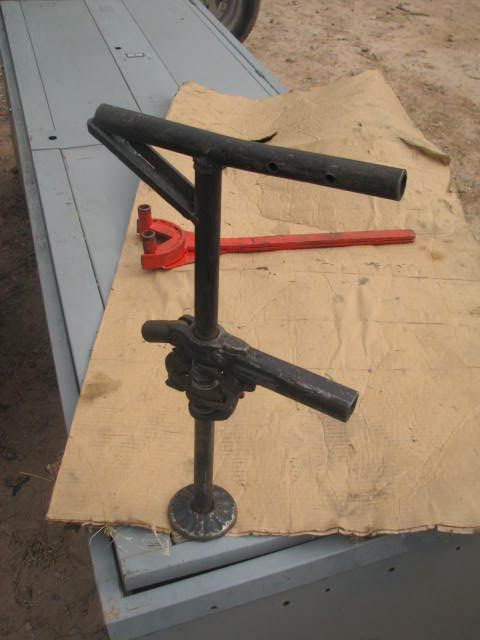
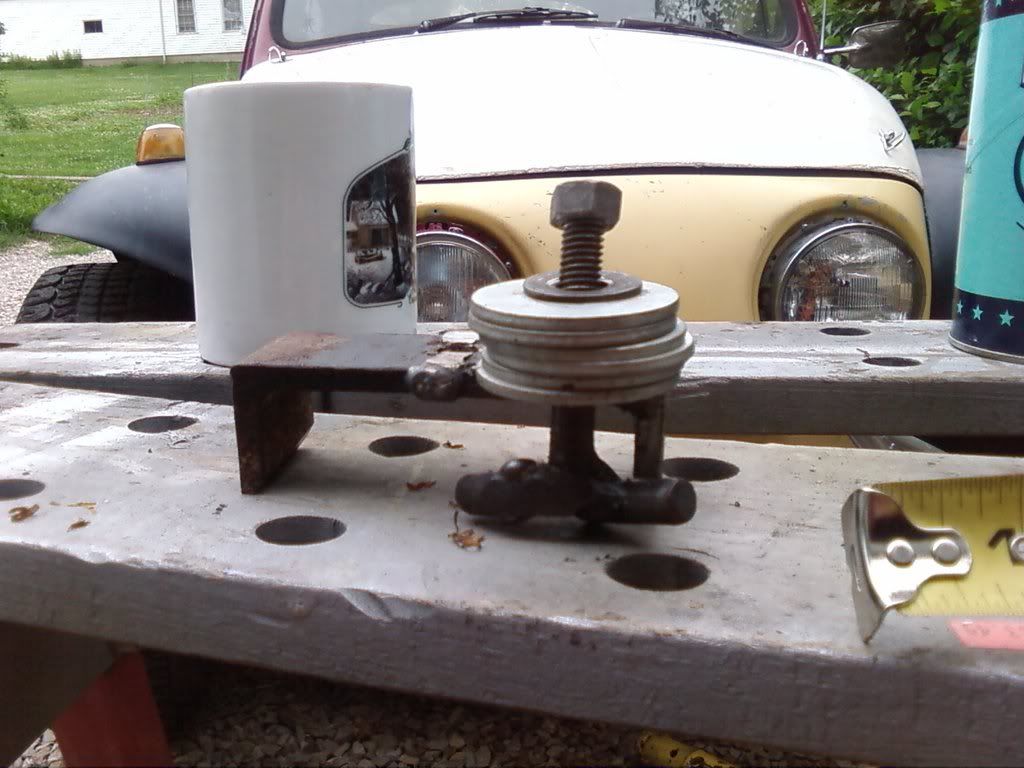
The finished project. I still have some bolts to get but you get the idea.

Lee
Ol'fogasaurus
Posts: 17881
Joined: Mon Nov 13, 2006 10:17 pm

Re: Home Built Tools. Lets See 'Em!

Post by Ol'fogasaurus »

The weather warmed up just enough for me to try the paint stand in doors with two doors open for ventilation, and it works better than I though it would. I still think there could be some changes made but the basic concept works and it was almost free to make. The up turned mounting flange is much easier to hang things on than a cabinet door handle and I can slide the hooks back and forth along the flange or mount stuff in a staggered manner along the two flanges. The only thing I worry about now is poking my eye out on it as it is slightly higher than eye level.

Lee
User avatar
Max Welton
Posts: 3025
Joined: Mon Jun 03, 2002 12:01 am

Re: Home Built Tools. Lets See 'Em!

Post by Max Welton »

Wrenches for getting that inside oil-sump nut.

Image

Image

Max
User avatar
perrib
Posts: 1891
Joined: Wed Oct 03, 2007 1:00 pm

Re: Home Built Tools. Lets See 'Em!

Post by perrib »

Off road welding cart:
Image
Off road torch cart:
Image
Moveable grinder pedestal:
Image
Moveable vice stand:
Image
Moveable extension cord for the welder:
Image
Mics tools.
Image
One day i'll get to post some of these on on the what is it post.
Image

Image

Image

Image

Image

Image
Fender / door table
Image

Image

Image

I have some more I'll have to take pictures of. I hate spending $50-$500 for tools that only need a few dollars of steel for.
GA_Boy
Posts: 112
Joined: Thu Dec 28, 2006 4:28 pm

Re: Home Built Tools. Lets See 'Em!

Post by GA_Boy »

Perrib, Nice bunch of tools. I don't understand the VW Jack thingy. :oops:
Marvin
User avatar
turboblue
Posts: 3969
Joined: Fri Feb 07, 2003 12:01 am

Re: Home Built Tools. Lets See 'Em!

Post by turboblue »

Here is an easy to make crankshaft fixture.
Materials include a piece of bar stock 1-1/4" in diameter x 8" long, one old flywheel gland nut and one old pulley bolt.
Weld the gland nut and pulley bolt to the ends of the bar stock.
Image

When the gland nut is screwed into the end of the crank, you can install the rods, timing gears and so on by clamping the bar stock into a vise.
Image

When the pulley bolts is screwed into the pulley end of the crank, you can work on the flywheel end of the crankshaft.
Check fit of flywheel, dowel pins, inspect threads etc.
Image
Gary

Turbo VW Sand Drag Buggy
2013 Polaris Ranger 4x4
Image
My Website
Shop Facebook Page
User avatar
perrib
Posts: 1891
Joined: Wed Oct 03, 2007 1:00 pm

Re: Home Built Tools. Lets See 'Em!

Post by perrib »

GA_Boy wrote:Perrib, Nice bunch of tools. I don't understand the VW Jack thingy. :oops:
Marvin
Compresses the stock rear torsion bars. Note how 30 mm bars bent the end a bit. Not reccomended for aftermarket bars.
User avatar
birddog1148
Posts: 1444
Joined: Tue Apr 15, 2008 10:42 am

Re: Home Built Tools. Lets See 'Em!

Post by birddog1148 »

Oil pump puller
Image
User avatar
earthquake
Posts: 12
Joined: Sun Aug 01, 2010 2:29 pm

Re: Home Built Tools. Lets See 'Em!

Post by earthquake »

Here's a adapter I made to mount VW engines to std V-8 engine stands.
IMGP0441.JPG
IMGP0439.JPG
In the second pic I had not drilled the holes for the VW side, I now have this in the file when it cuts on the machine, one thing about using these adapters is you can use a second one one the other side once you have the case's assembled so you are not hanging a complete engine off two bolt only. I have these avialable in the classified section if any body want them.

I have a big advantage when it come to making tools and parts because I run a water-jet machine where I work.

Casey
You do not have the required permissions to view the files attached to this post.
69 drag dune buggy [some day]
65 bare pan
74 class 11 look a like
79 International Scout II
05 Scion XB series release II


Las Vegas, NV.
User avatar
Hedrock
Moderator
Posts: 3251
Joined: Sun Mar 04, 2007 7:49 pm

Re: Home Built Tools. Lets See 'Em!

Post by Hedrock »

Could they be made out of aluminum or would that not be a good thing?
Collecting parts again... No I'm not going to say why!
User avatar
earthquake
Posts: 12
Joined: Sun Aug 01, 2010 2:29 pm

Re: Home Built Tools. Lets See 'Em!

Post by earthquake »

Hedrock
I have one I cut out of 1/2" aluminum, I think it would work But I dont think it would be a good Idea. The one in the picture is made from stainless.

Casey
69 drag dune buggy [some day]
65 bare pan
74 class 11 look a like
79 International Scout II
05 Scion XB series release II


Las Vegas, NV.
User avatar
Dale M.
Posts: 1673
Joined: Mon Oct 05, 2009 8:09 am

Re: Home Built Tools. Lets See 'Em!

Post by Dale M. »

Don't have a picture, but a length of dog chain (or any chain) stretched between two poles and some lengths of bailing wire makes excellent drying line for any freshly painted small parts.... Be sure to take down when not in use so you don't "clothes line" your self ....

Dale
.
"Fear The Government That Wants To Take Your Guns" - Thomas Jefferson
1970 "Kellison Sand Piper Roadster"
Ol'fogasaurus
Posts: 17881
Joined: Mon Nov 13, 2006 10:17 pm

Re: Home Built Tools. Lets See 'Em!

Post by Ol'fogasaurus »

:) It is currently in the low 20 and snowing in the PNW. Up here if it isn't raining the fog is out while in the sunny SW I am sure it is chain or wire rope season. While painting small stuff, I used to hang things off any where in the garage I could find; e.g., door handles, the rails for the garage door, my wife when I could get her to stop long enough, etc. Yesterday I was able to get some painting done after the snow, rain, sleet, hail had stopped and while the sun was out ( temp in the low 20's) then bring them back in and hang them on my stand to dry. It is really too cold in the garage (mid 40's) for them to dry correctly so there is a skim coating on them and the under the surface paint is still only partly cooked. :shock: :D

Actually, the stand has turned out better than I thought; it is still light enough to move easily, strong enough for a lot of things hanging, the base is heavy enough to hang some pretty heavy stuff on like a couple of trailing arms and backing plates. The angle pieces I added to hang to worked out better than I thought and without a lot of holes, this allows me to slide the hangers (bent welding rod) around to adjust for air drying room. I still have some holes for the really heavy stuff that I want to keep in a set position so I am very happy with it. A picture to follow. 8)
You do not have the required permissions to view the files attached to this post.
User avatar
VW Pilot
Posts: 2
Joined: Fri Apr 15, 2011 8:15 am

Re: Home Built Tools. Lets See 'Em!

Post by VW Pilot »

turboblue wrote:Here is an easy to make crankshaft fixture.
Materials include a piece of bar stock 1-1/4" in diameter x 8" long, one old flywheel gland nut and one old pulley bolt.
Weld the gland nut and pulley bolt to the ends of the bar stock.
Image

When the gland nut is screwed into the end of the crank, you can install the rods, timing gears and so on by clamping the bar stock into a vise.
Image

When the pulley bolts is screwed into the pulley end of the crank, you can work on the flywheel end of the crankshaft.
Check fit of flywheel, dowel pins, inspect threads etc.
Image
Nice one! Simple and effective. Image
Post Reply