So in that "How to keep ring and pinions in your trans???????" thread..
https://www.shoptalkforums.com/viewtopi ... your+trans
Gears mentions having the ring n pinion "tip relieved".
Anybody got details on this one?
Here on one rebuilt box i took apart you can see all of the edges are broken.
Including the tips of the teeth:
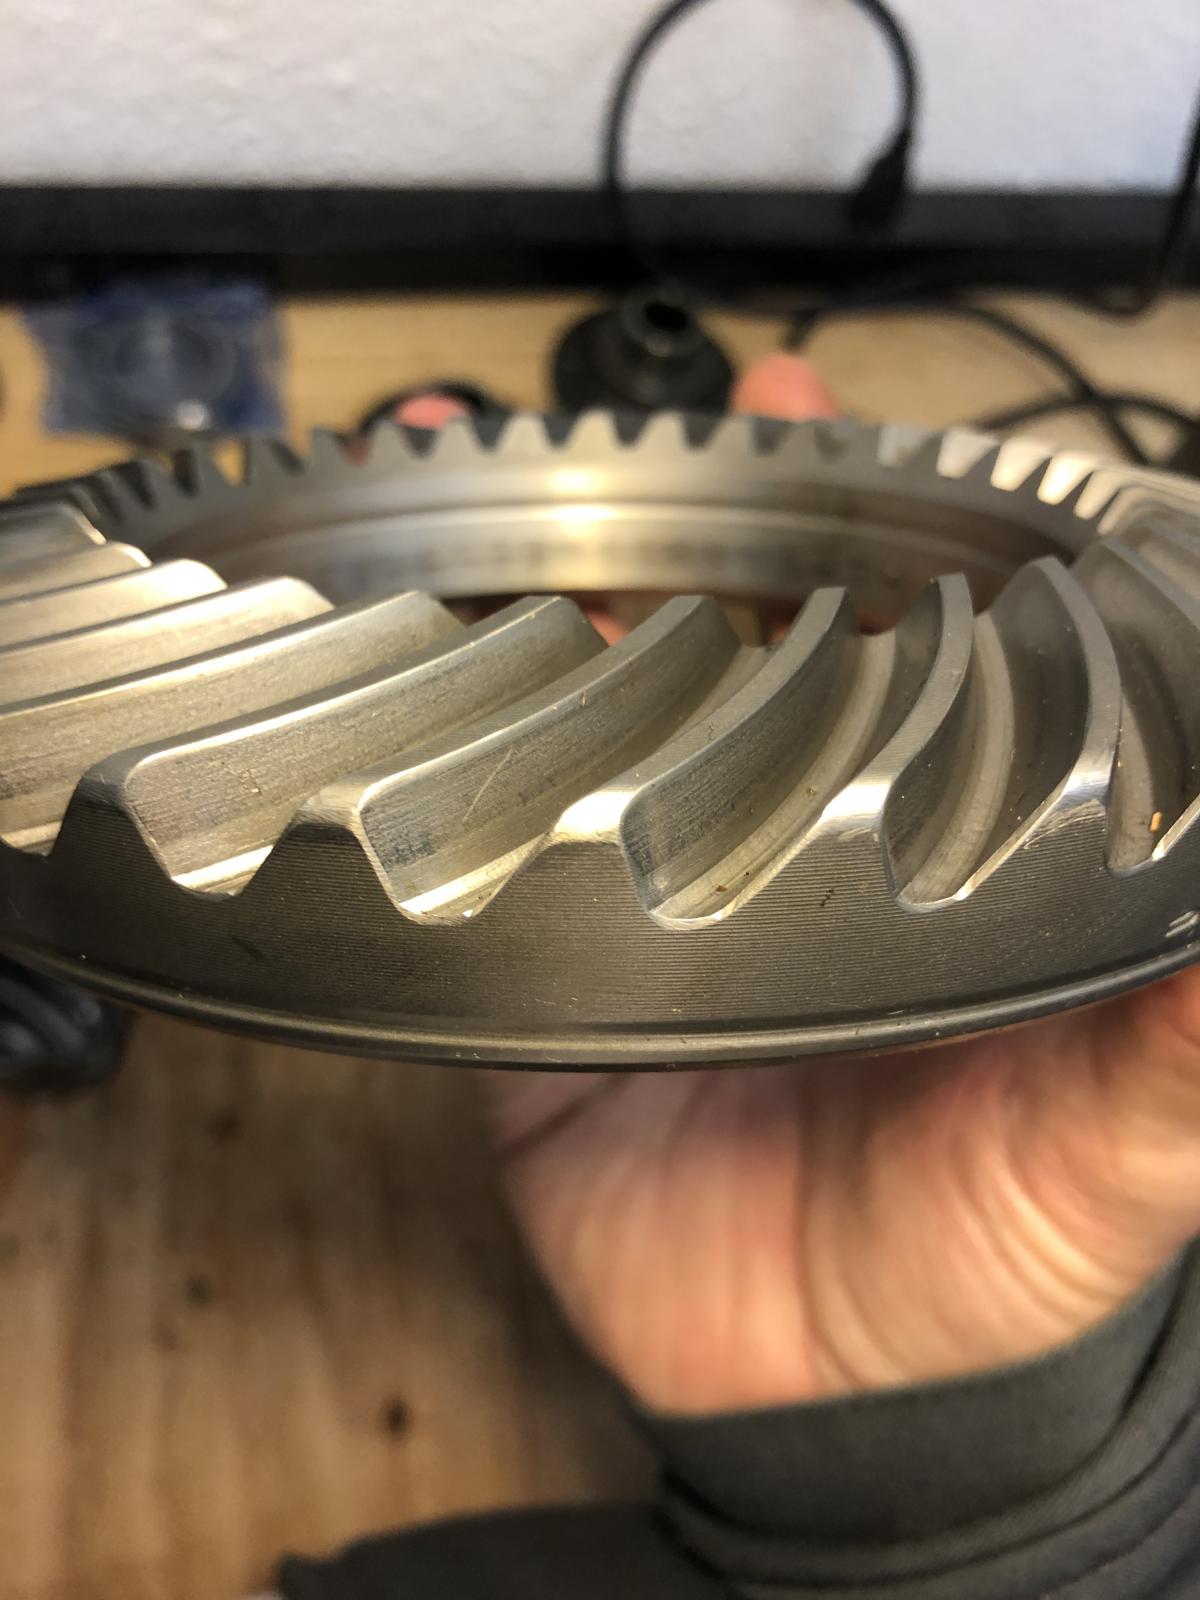
Compared to the same type of R/P stock:
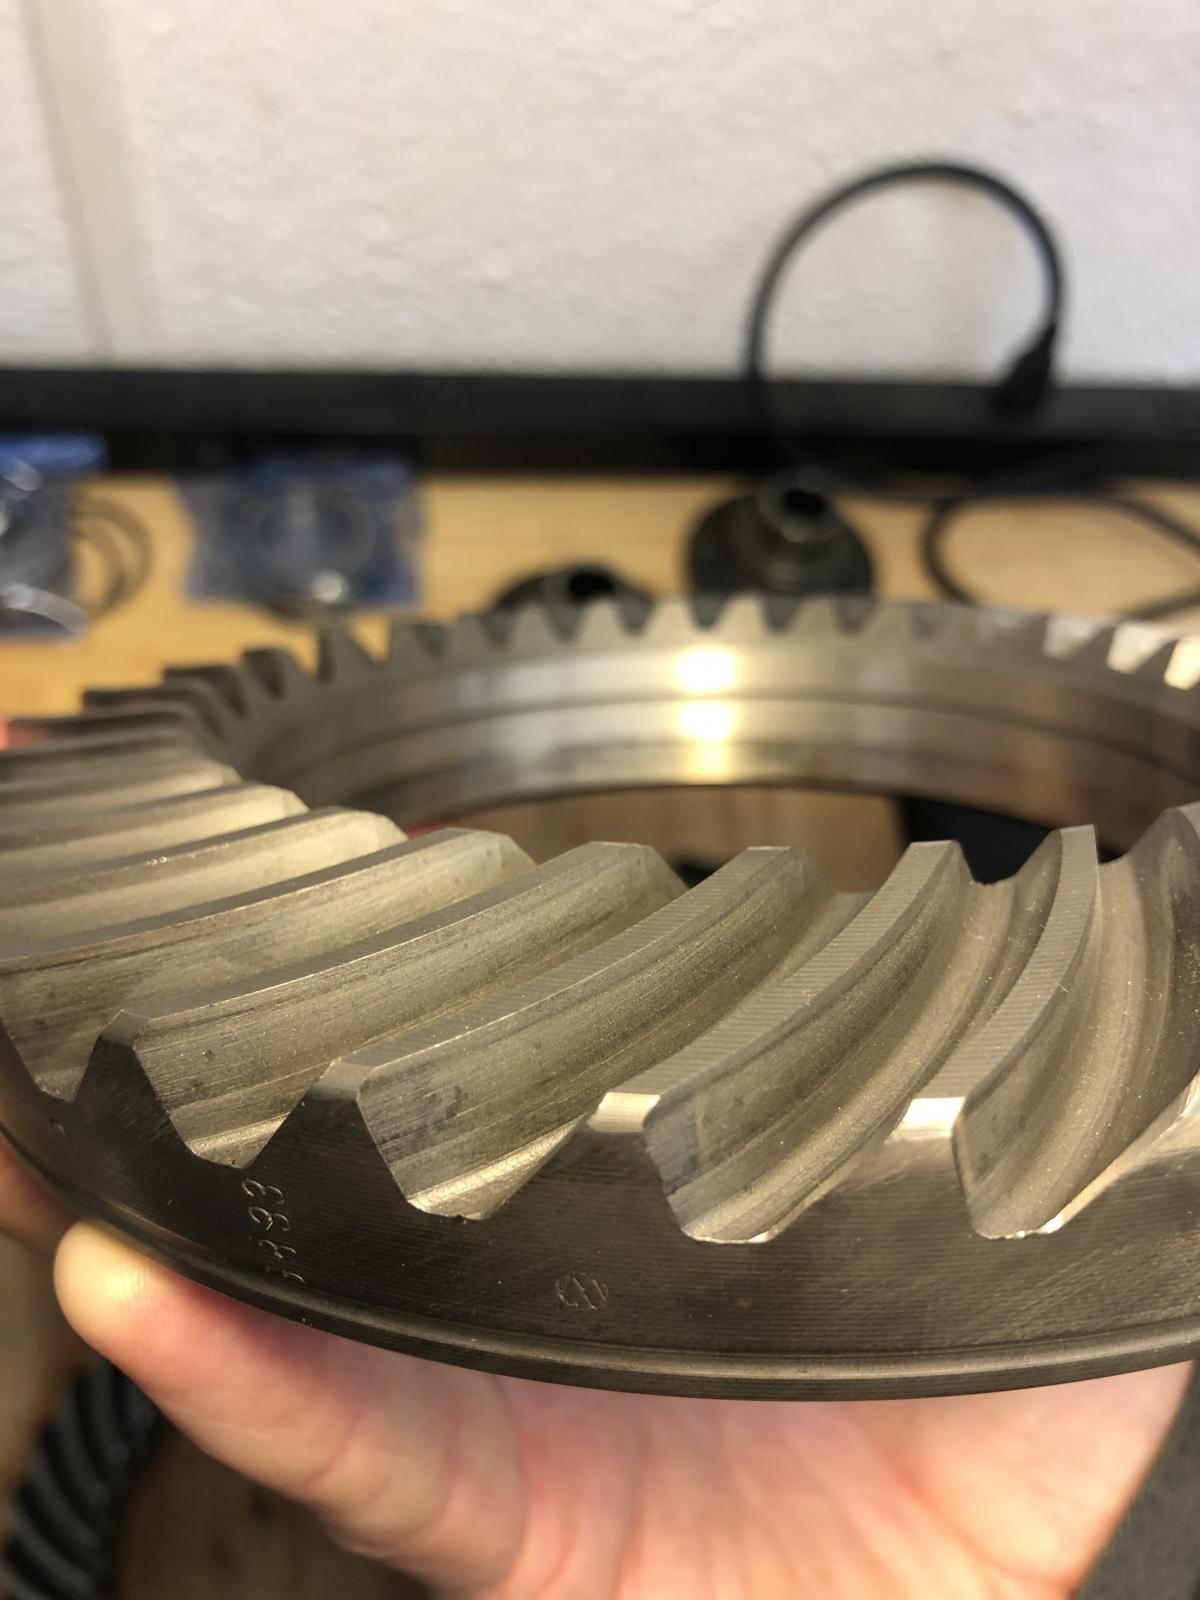
Is this an example of tip relieved?
I remember reading somewhere that this was done to keep burrs out of the oil?
Or maybe to keep things quieter?
How best to do this?
Maybe Roloc disk or small stone in a die grinder?
Maybe a bad idea altogether?
Much thanks as always, gents.
Build Box Better!
Tip Relieved?
- Clatter
- Posts: 2038
- Joined: Sun Apr 28, 2002 1:01 am
Tip Relieved?
Speedier than a Fasting Bullet!
Beginners' how-to Type 4 build thread ---> http://shoptalkforums.com/viewtopic.php?f=1&t=145853
-
- Posts: 7096
- Joined: Sat Oct 13, 2001 1:01 am
Re: Tip Relieved?
I've never thought about it helping keep flakes of steel out of the oil. I don't know how bits of steel would break off once everything's assembled. It can't hurt if you wanted to do it to prevent that.
I think it's more to do with how cracks start on a highly stressed part. If you used a microscope to look at the edges of an unmodified gear, you will be able to see tiny dings in the edges. I bet these happen during handling. Those tiny dings is where the crack will likely start. If you radiused the edges, you will take away that starting point.
More important than the ring gear is to do it to the pinion. That's the one that breaks first. The point where the cracks always start is up close to the pinion bearing, right at the top of the tooth where the ring gear's tooth stops its contact. That is usually about 3-4mm from the end of the tooth. The cracks start at the top of the tooth and go straight down towards the root.
I've smoothed out the edges on a few pinions. It's pretty easy. Wrap the pinion gear with 220-240 grit wet-n-dry sandpaper then wrap your hand around it and start turning the pinion back and forth. It doesn't take very long before you can see the sharp edges go away, maybe 2-3 min. Then follow it with 320 and 400 for less than a minute each. Try to sand more at the bearing end of the teeth.