'57 Oval (SLOW progress)

Post pictures of your pride and joy here!
Turboval
Posts: 37
Joined: Mon May 07, 2007 2:25 am

'57 Oval (SLOW progress)

Post by Turboval »

This is a shot of my oval prior to me buying it (i got it minus the Fuch's and the engine.) I drove it around for a while just enjoying it, which included a trip to EBI1 where i entered it into the show 'n shine :oops:
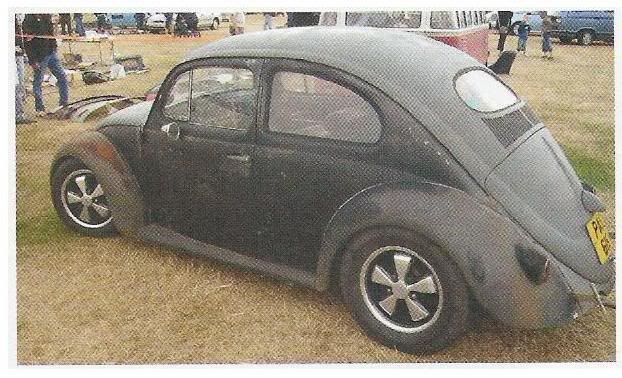
After that, i took it off of the road for some much needed attention.
Image

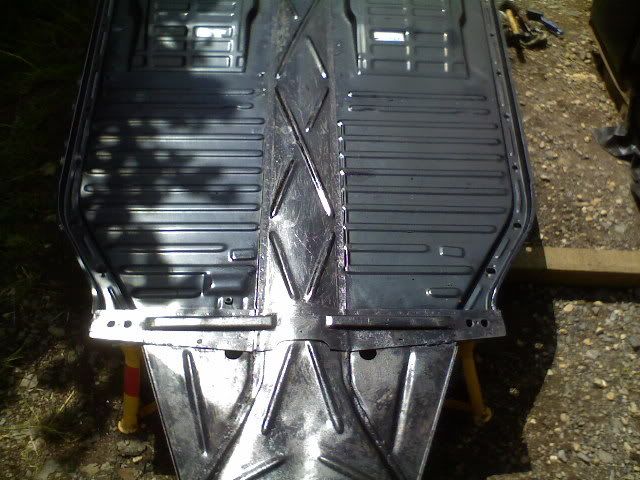
The first thing i did was to clean the floorpan, and replace the halves as these were well past saving :(
Image
Image
Image

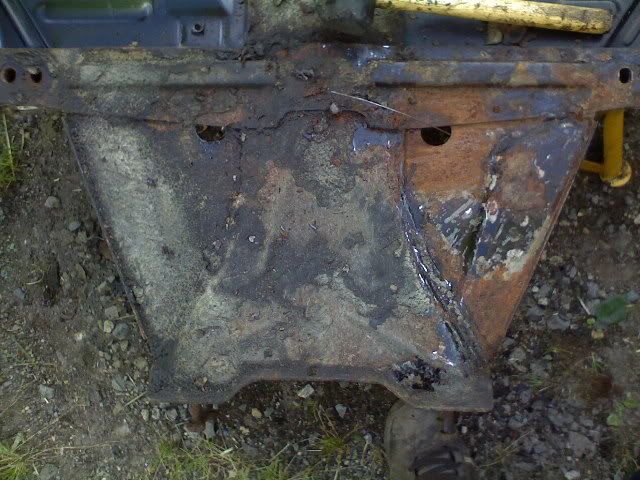
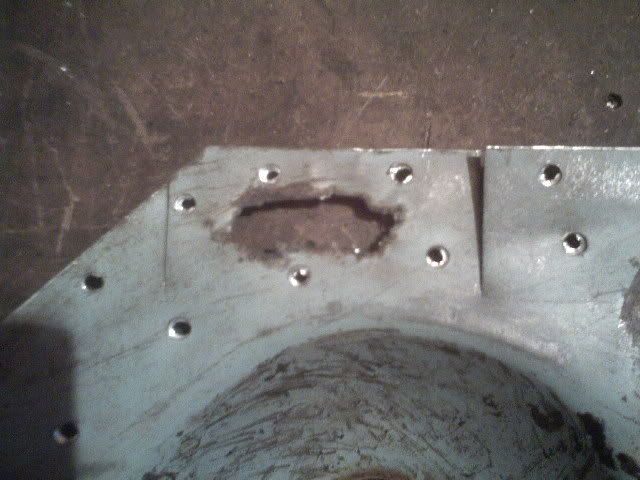
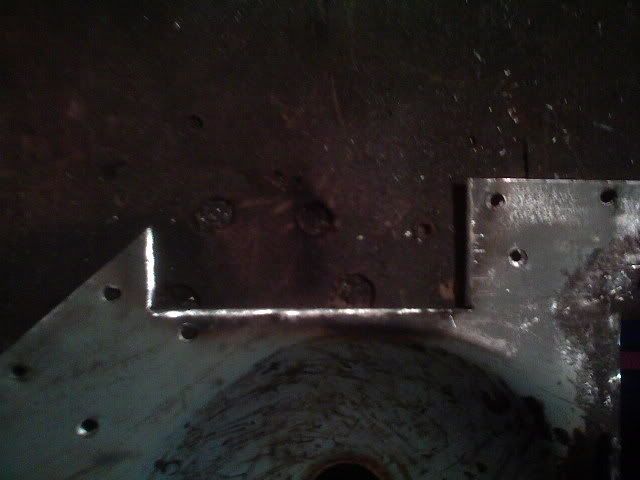
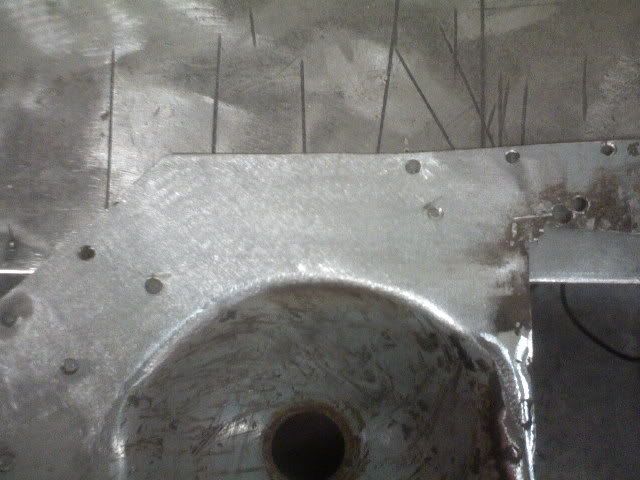
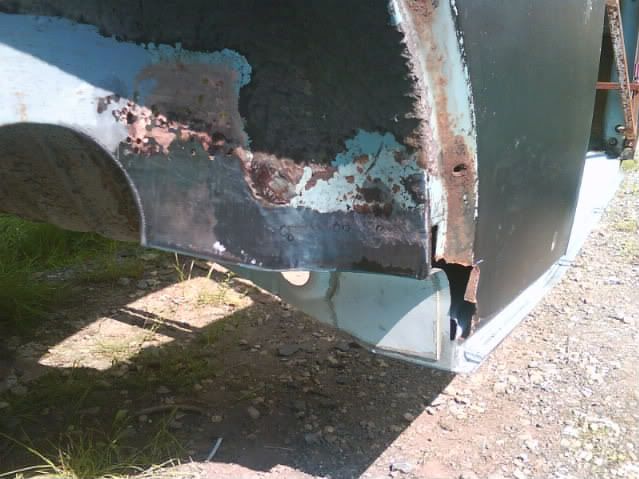
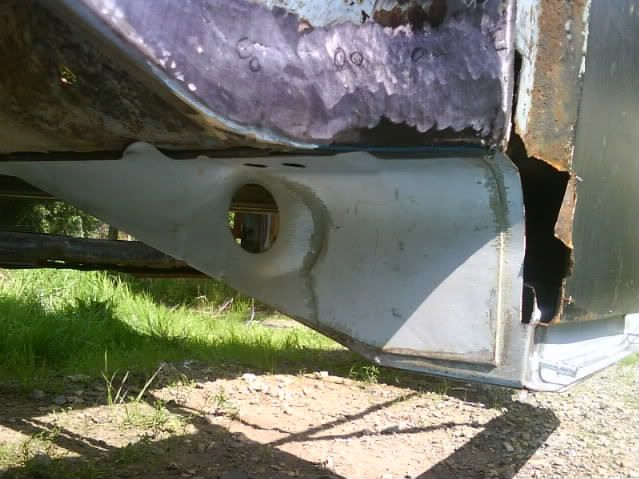
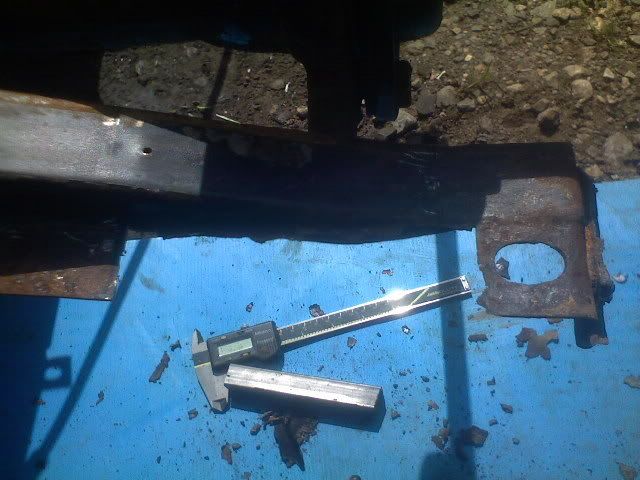
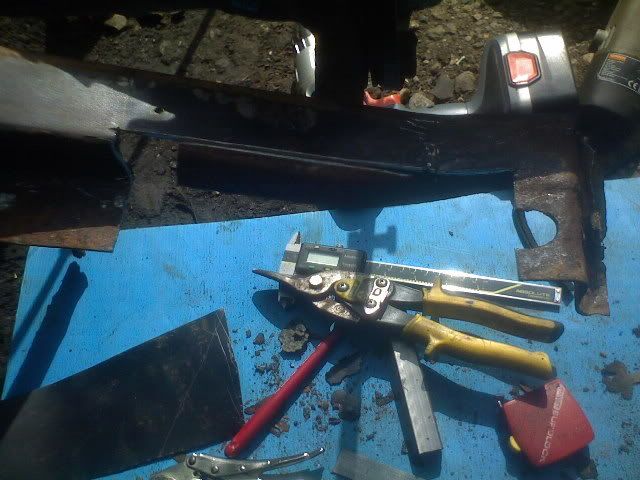
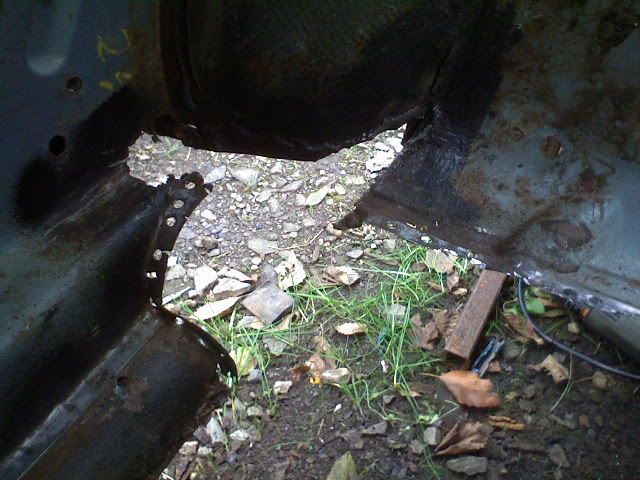
The only other repair needed to the floorpan was to the rear support area for the drivers side panhalf.
Image
Image
Image

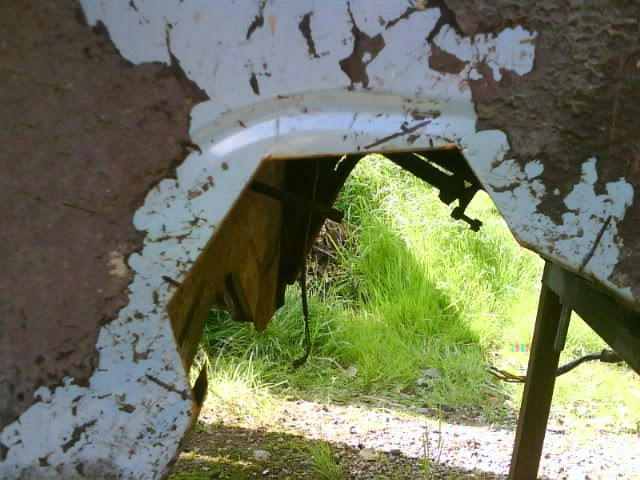
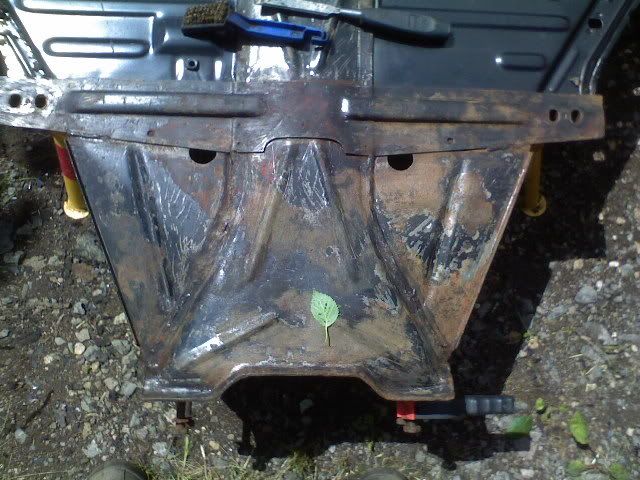
I've now turned my attention to the shell. :shock: :( This is going to require new heater channels, reworking of the cross members, along with other odds and sods. But these are the areas which are going to be the most challenging. :shock:

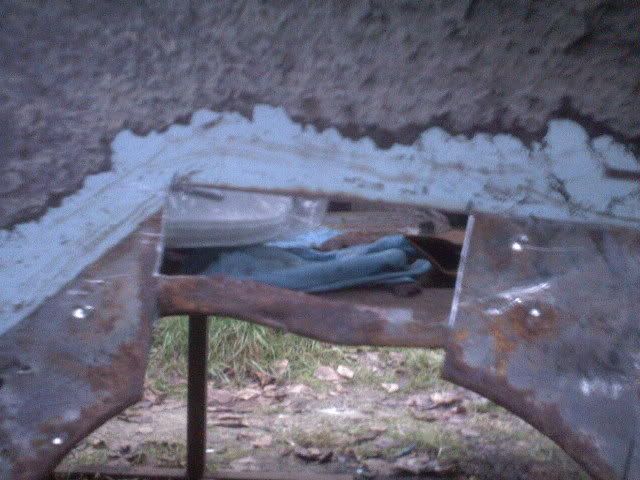
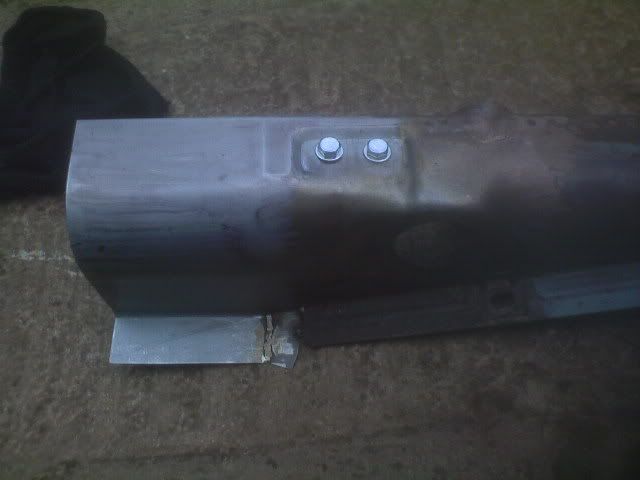
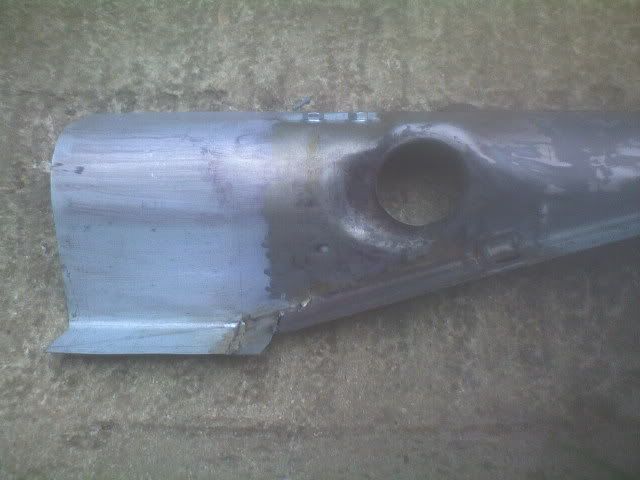
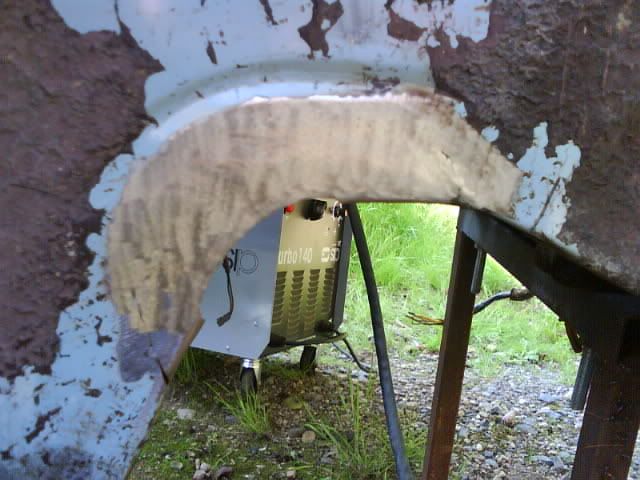
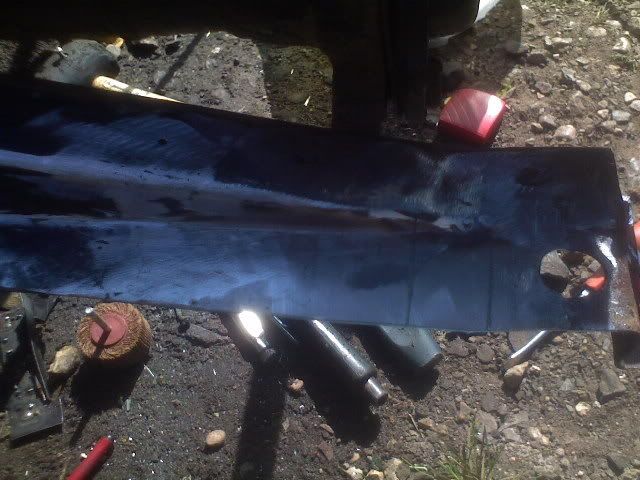
I'm starting with the Crossmembers as i see these as the most difficult. This is mine at the moment... :(
Image
Image
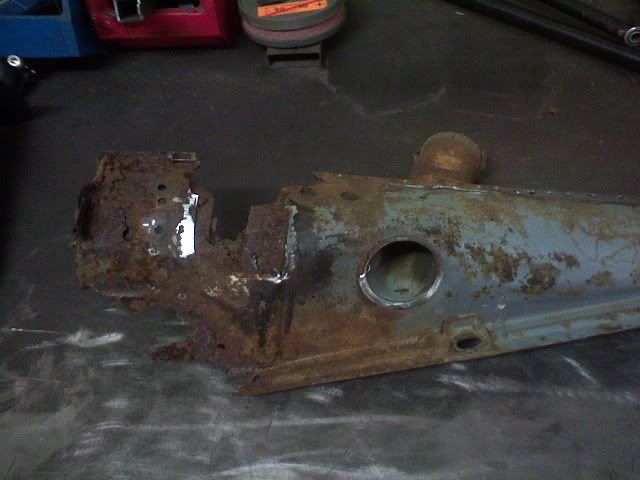
This is pretty much as far as i've got so far. More pics will be added as i progress.
Last edited by Turboval on Thu May 28, 2009 2:43 pm, edited 1 time in total.
User avatar
doc
Site Admin
Posts: 3584
Joined: Thu Mar 31, 2005 2:38 pm

Post by doc »

Very interesting! Instructive pics for those interested in what the inside looks like. Thanks.

doc
OvalMinded
Posts: 30
Joined: Sun Aug 05, 2007 1:04 pm

Post by OvalMinded »

Yea, I like all the details. Keep it up and keep us updated.
User avatar
nybug
Posts: 174
Joined: Tue Sep 28, 2004 5:16 pm

Post by nybug »

Nice work. :D
Turboval
Posts: 37
Joined: Mon May 07, 2007 2:25 am

Post by Turboval »

Thanks for the kind words.

A LITTLE more progress from today...
Image
Image
Image
Image
Image
Image
Image
User avatar
nybug
Posts: 174
Joined: Tue Sep 28, 2004 5:16 pm

Post by nybug »

doc wrote:Very interesting! Instructive pics for those interested in what the inside looks like. Thanks.

doc
Hey Doc, Did you ever check out this web site. This guy show what everything looks like once it's cut open. http://www.vwdcqinc.org.au/insideabug.html
Turboval
Posts: 37
Joined: Mon May 07, 2007 2:25 am

Post by Turboval »

A little more progress, from this....

Image

And thanks to some Andy Parrott repair sections, to this.....
http://www.thesamba.com/vw/classifieds/ ... name=Eng33


Image

Image

Passenger crossmember nearly finished :)

And i also reworked the passenger heater channel to make it look a bit more original.

Image


Image
keirnbug
Posts: 24
Joined: Sat Jul 18, 2009 3:59 pm

Post by keirnbug »

Hey !
Your metalworks looks great!
Keep up the good work and keep us updated.
User avatar
doc
Site Admin
Posts: 3584
Joined: Thu Mar 31, 2005 2:38 pm

Post by doc »

nybug - great reference site. I bookmarked it! Thanks.

turbooval - if I pay the airfare, will you pop over and do the welding and finishing on my '57? You're repairs look great. We'll see how my junior gi welding skills fair as i proceed with a lot of similar work.

Please post progress.

doc
Turboval
Posts: 37
Joined: Mon May 07, 2007 2:25 am

Post by Turboval »

doc wrote: turbooval - if I pay the airfare, will you pop over and do the welding and finishing on my '57? You're repairs look great.
doc
:o :lol: :lol:

Hi Doc

I'm on my way :wink:

Thanks for the kind words, and sorry for the of lack updates, just been busy with family life lately.

Anyway, a little more from today....
Image
Image

The passenger heater channel is now in along with the finished crossmember. And the rear inner arch is almost complete :D

Image
Image

I also removed part of the front inner wing and the small bracing part which sits over it, as this was rotten through, and made a new one (in this shot the bracing part that sits on top is still missing)

I'll try and pull my finger out a bit more with the progress over the next few weeks.
Last edited by Turboval on Mon Aug 10, 2009 1:27 pm, edited 1 time in total.
User avatar
doc
Site Admin
Posts: 3584
Joined: Thu Mar 31, 2005 2:38 pm

Post by doc »

How about some little explanations and comments with the pics. Couldn't be more interested!! :D

doc
User avatar
MexBug
Posts: 156
Joined: Wed Aug 05, 2009 12:50 pm

Post by MexBug »

I agree!
Explain more please! Whats with all those holes you´ve drilled. (As I assume you did those)
Is that for welding or measuring or something else?
Ok, did some work on my old cars(Not VW) but I "cheated" and bought whole bodyparts and welded them in place.
What weld are you using? MIG I presume?
Roger
Mexican Bug
Puerto Vallarta
"The purpose of life is to enjoy it before it ends".
Turboval
Posts: 37
Joined: Mon May 07, 2007 2:25 am

Post by Turboval »

MexBug wrote:I agree!
Explain more please! Whats with all those holes you´ve drilled. (As I assume you did those)
Is that for welding or measuring or something else?
Ok, did some work on my old cars(Not VW) but I "cheated" and bought whole bodyparts and welded them in place.
What weld are you using? MIG I presume?
Hi MexBug

Sorry for the lack of info :oops:

Any holes you see in panels or the shell itself, are from where i've removed that particular panel etc. They will either be filled in at a later date or reused when that panel is replaced.

To date, the only panels i've "cheated" with, are the the heater channels(but were modified to look abit more original), and the ends of the crossmembers which i bought. But this still involved me cutting the ends off of them, and then grafting the repair section on.

Yep, only MIG so far.
User avatar
MexBug
Posts: 156
Joined: Wed Aug 05, 2009 12:50 pm

Post by MexBug »

Turboval wrote:
MexBug wrote:I agree!
Explain more please! Whats with all those holes you´ve drilled. (As I assume you did those)
Is that for welding or measuring or something else?
Ok, did some work on my old cars(Not VW) but I "cheated" and bought whole bodyparts and welded them in place.
What weld are you using? MIG I presume?
Hi MexBug

Sorry for the lack of info :oops:

Any holes you see in panels or the shell itself, are from where i've removed that particular panel etc. They will either be filled in at a later date or reused when that panel is replaced.

To date, the only panels i've "cheated" with, are the the heater channels(but were modified to look abit more original), and the ends of the crossmembers which i bought. But this still involved me cutting the ends off of them, and then grafting the repair section on.


Yep, only MIG so far.


Im just impressed. I KNOW the work it takes to fix rust.
Several old Volvos and Ford MK2:s have passed by. The Fords being the absolute worse with two or THREE layers of sheet. Not rustprotected from factory ofcourse... :shock:
And all that dust and dirt that sticks everywhere... You sneeze out old carparts for days afterwards... Hahaha :lol:

Sorry, Im just going on here...

Keep up the good work!
Dont be shy with the camera! ;)
Roger
Mexican Bug
Puerto Vallarta
"The purpose of life is to enjoy it before it ends".
Post Reply