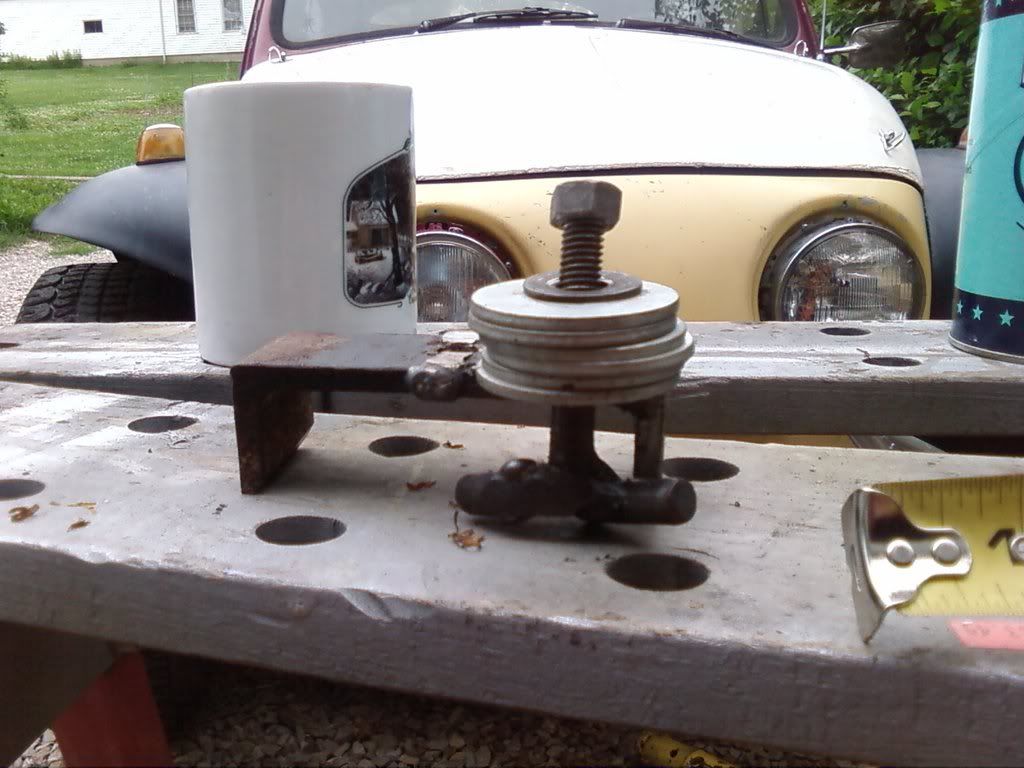
Its too cold out to fiberglass so I am trying to get the pan back down on the ground after many years on the rotisserie; part of the process is to paint then reassemble the rear trailing arms, the brake components, and the spring plates. I usually have hung the parts to dry on the cabinet handles and the track for the garage door but I decided to make a tool to hand the parts to paint and dry. I had some old material lying around so this is what I did.
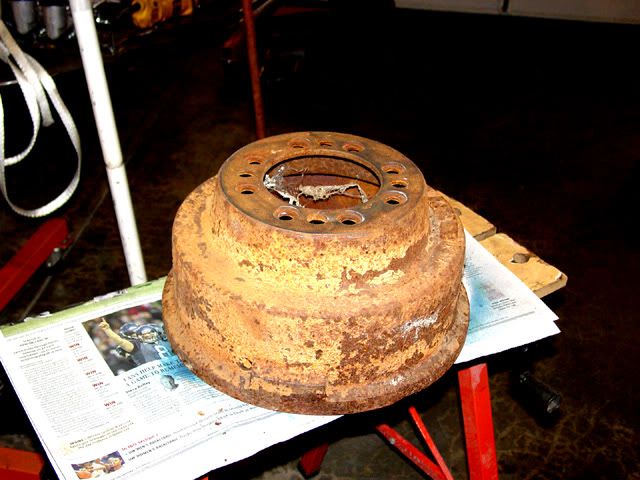
I have had an old truck brake drum laying outside under the eves for over 10 years; my wife wanted me to get rid of it or use it; now was the time. I brought it inside and measured out the flat surface and got a 9” dimension.
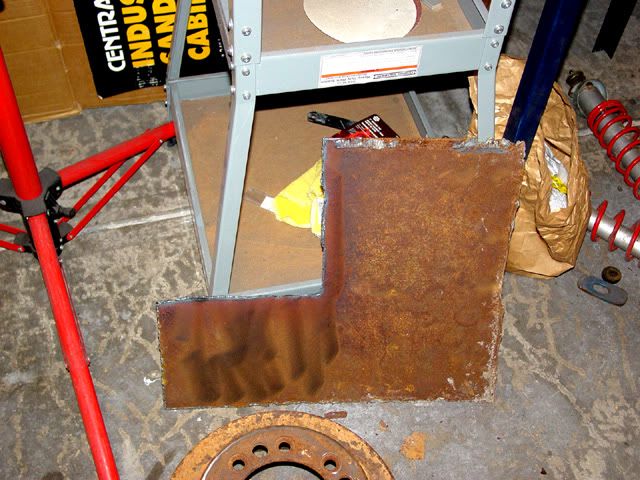
I had been given a piece of 3/16 flat stock probably about the same time as I got the truck drum; it was old when I got it. I think it had been in a fire as it had some really hard spots in it.
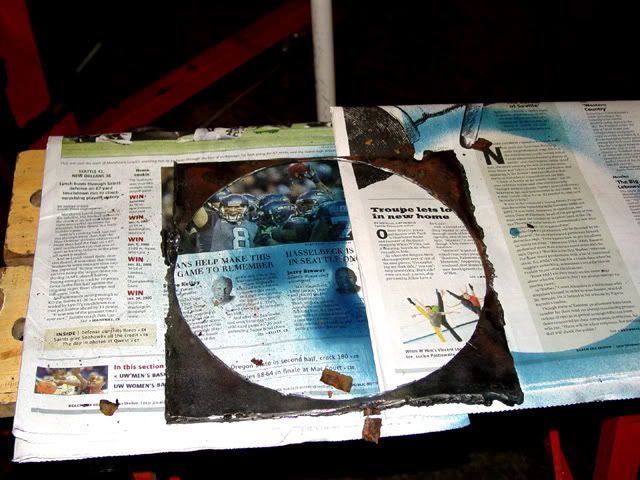
I whacked out a piece that was a little of 9” square, drilled a center hole in it and mounted it on my lathe to cut. It just would cut, for many reasons but the material was though so I finally took it down and finished cutting it with a cut-off disc in my 4 ½ in grinder. I then cleaned it up some and put bluing dye in it to mark the holes to match the drum.
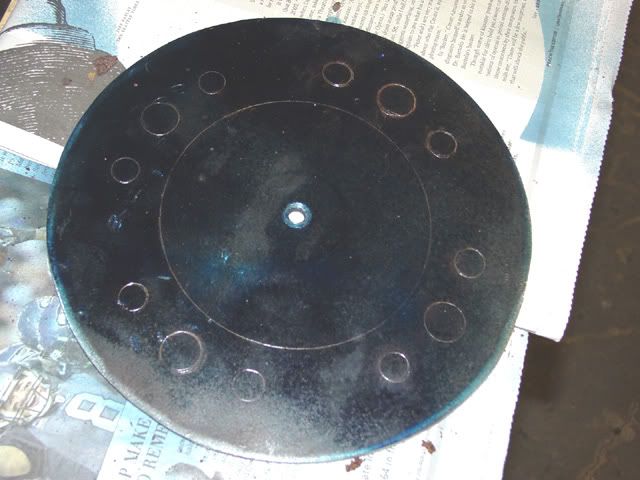
I then tried to drill out the holes to 3/4 inch, what a pain. The smaller pilot holes were not hard to do but the ¾ drill just would go so far then stop cutting. I also cut from both sides but it would not finish.
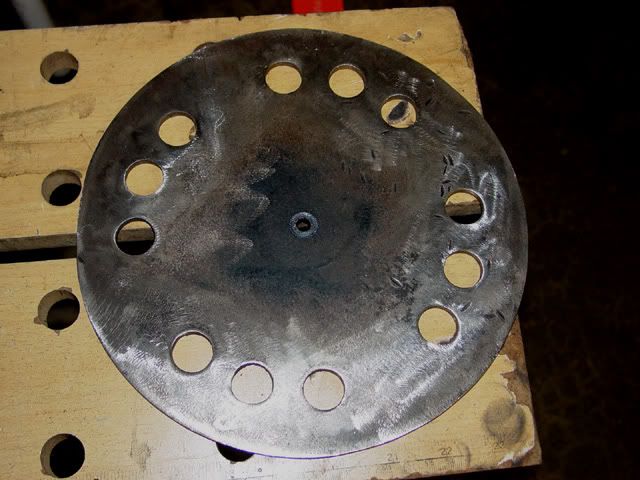
I finally put it on my mill/drill and with some effort, I got it done.
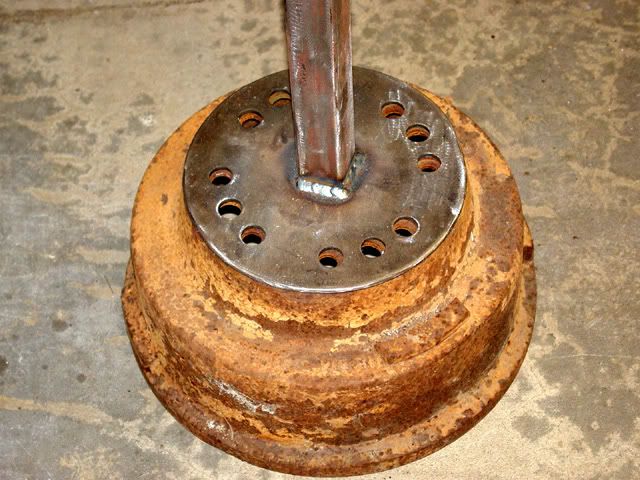
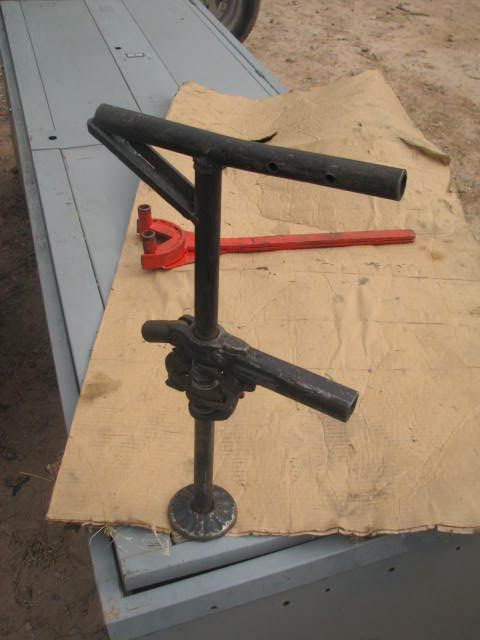
This morning I went out and got some 1 ½ square stock that I had been given over 5 years ago that was laying under my buggy, which I had been tripping over and cut off a 5’ piece. I squared both ends and then “V”-notched one end with my 4 ½ inch grinder using a cut-off wheel to accommodate a 31” piece of the same material for the “Tee” piece. Using some arrow head shaped welding magnets; I stood the 5’ tube on the mounting plate while it was sitting on a portable work bench (not a really good idea but I watched it quite carefully and had it clamped down. and squared it up, tacked it, then welded the tube to the bottom (I have not make and gussets… yet. I will wait to see what happens when it is bolted down and some weight is put on it).
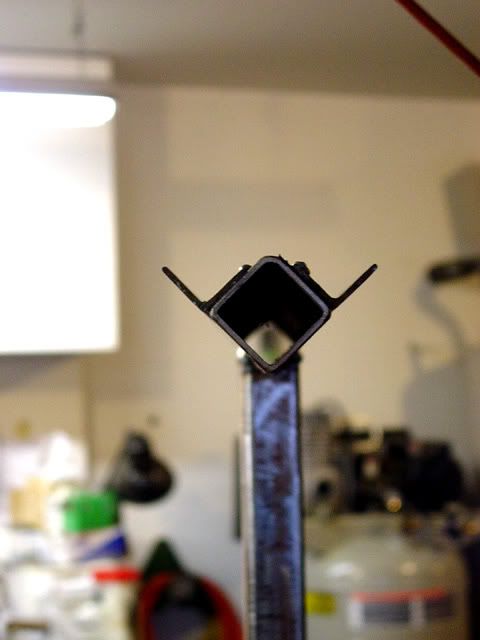
I then proceeded to center, square up and then weld the “Tee” piece in place. After it was welded on two sides (not all the way around… yet; it depends on how it works before I decide if I will do the extra welding. I then took some rusty ol’ bed frame (gasp) and cut it to fit both sides of the tube, cleaned the pieces up up in my new blast cabinet (giggle) and welded them in (never try to weld something that is bouncy, you never know where you are starting your weld at). It has holes in it to hang stuff from and if I need more they can be added. I think it is strong enough to support the weight of a couple of trailing arms but if not, I can put some hooks in for them.
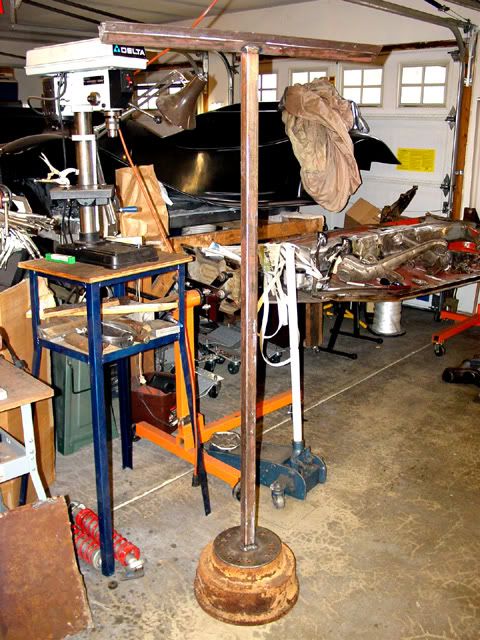
The finished project. I still have some bolts to get but you get the idea.
Lee


