Tucking metal on the edge/Wheel well test piece
- theKbStockpiler
- Posts: 599
- Joined: Sun Jul 15, 2012 10:25 am
Tucking metal on the edge/Wheel well test piece
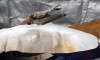
This is a test piece after I failed several times to produce decent results on a wheel well patch piece for a Cherokee. This piece was cut off from a larger piece that was too fatigued to go on and that is why the center is lumpy.
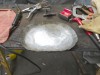
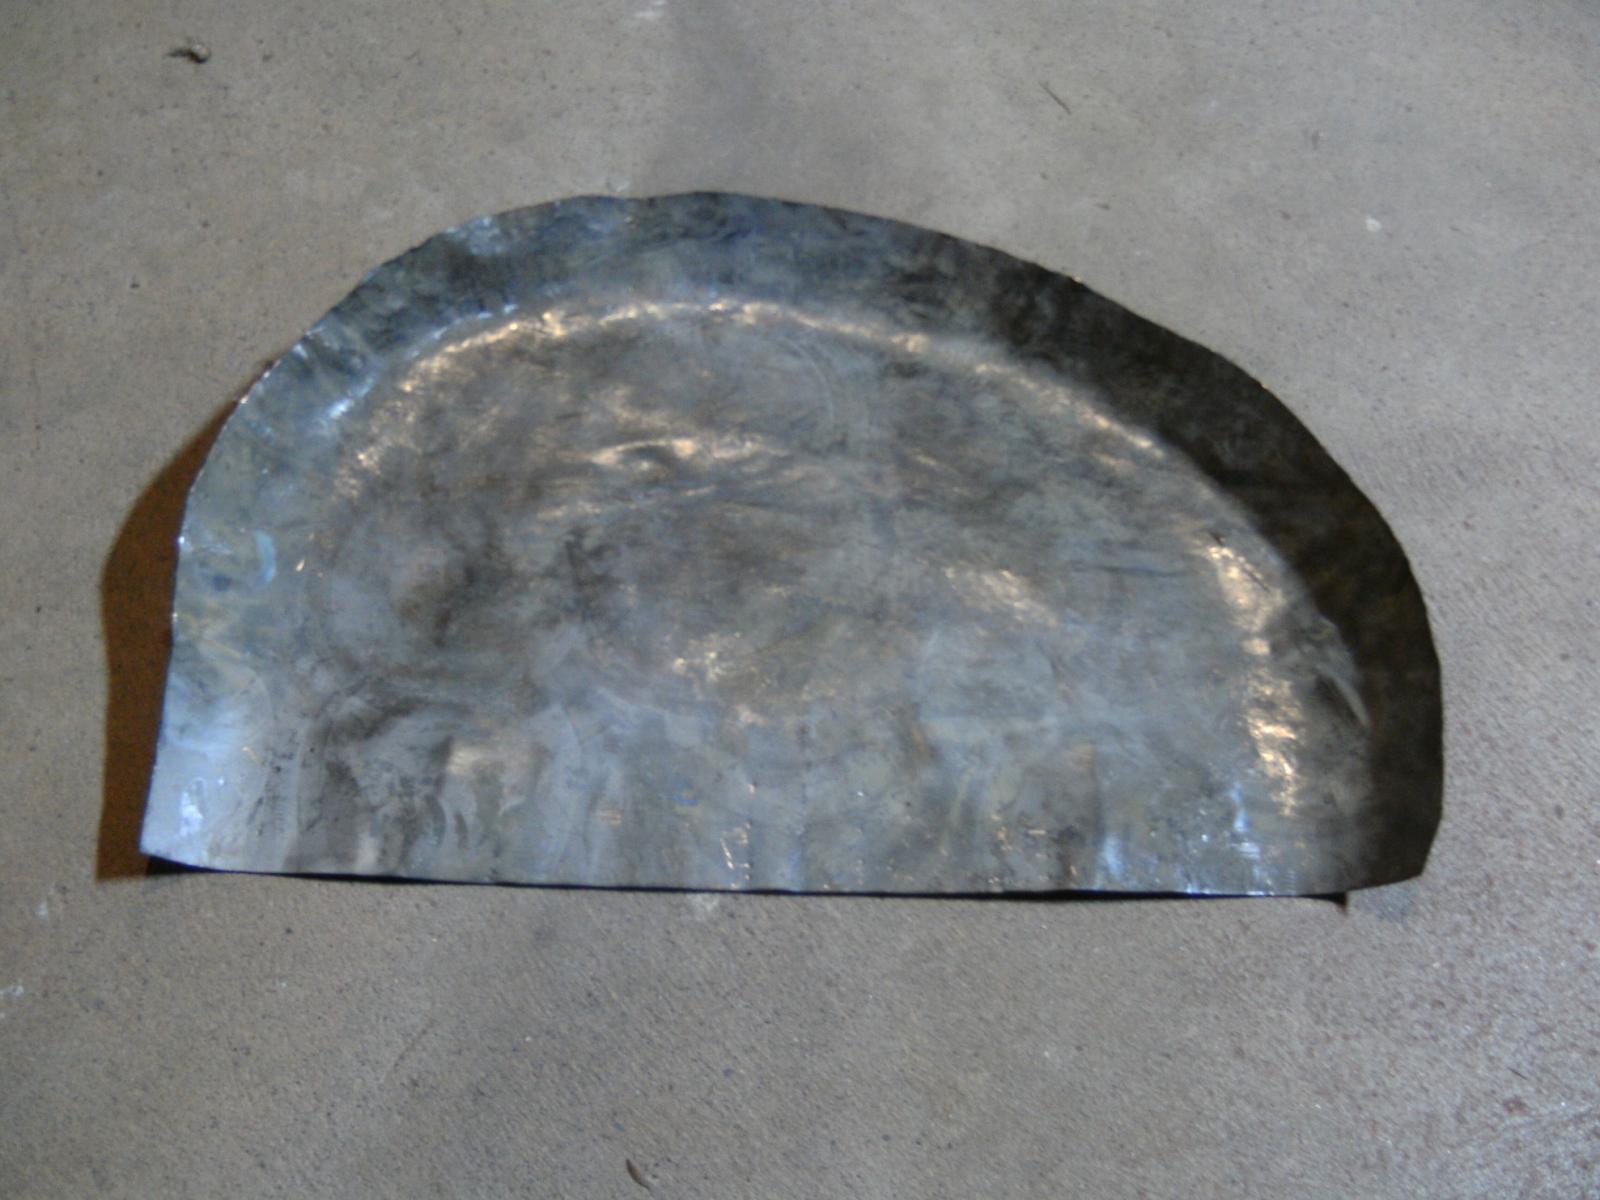
I got the outside curve by heating up the edge,up to the curve ,and then using a hammer and dolly to bend it down. Doing it this way as the metal was forced down ,it was also shrunk in the same motion. It did not shrink as much as needed but a lot more then I thought it would. A little extra shrinking was needed.
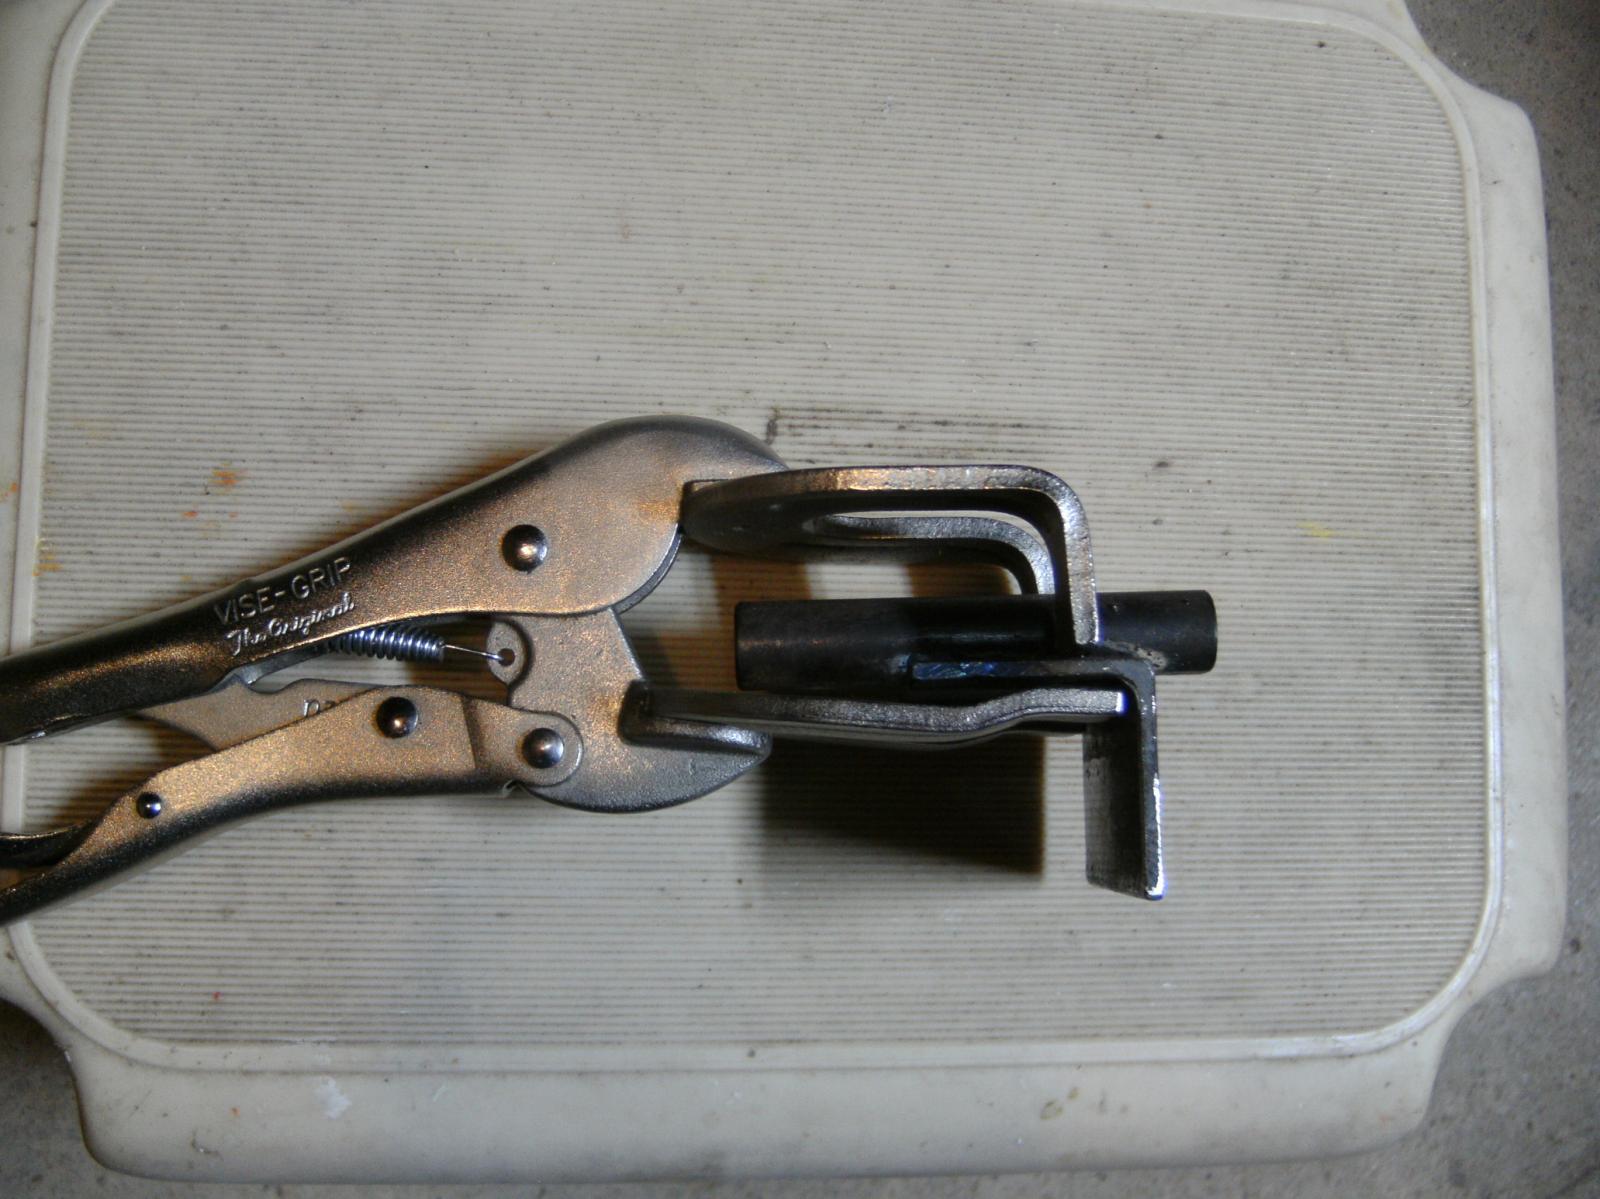
This is a Hand Tucking Tool I made that is not perfect but worked okay. It's like a jig that fits sheet metal clamps. I went with this design because it was fast to make and I wanted a longer shallow curve to work down.
and
Shrinking in the middle of a piece is easy because the metal that surrounds the stretched dome keeps it confined. If you try to use a hammer/dolly and heat to shrink near the edge it will NOT shrink but the metal just gets pushed down. If you are putting a curve in at the same time like I did, the bending motion down pushes the area together but if you just try to shrink near the edge it is not possible. First I used a piece of short steel on the edge to try to hold the edge from spreading back out when hammering/dollying and this seemed to work if the clamps were VERY tight. Otherwise they would slip enough so the area was just pushed down instead of shrunk. I was reading a metal forum thread where the poster used a convex shape carved out of a stump to do this which I don't think is practical for what I'm doing. Their logic on why it worked did not seem correct to me but they were partially correct. If I placed the rise I made from the shrinking tool on a small anvil while it was hot, and used a wide faced hammer ,the metal seemed to stay in place with the anvil and shrink instead of just being pushed down. The hammer "Blow" held the area to the anvil.
Well that's my first post on the subject . This is a generalization and I'll get into more of the geometry and other aspects later.
Last edited by theKbStockpiler on Sun Jan 13, 2019 7:08 am, edited 3 times in total.
Super beetle with attitude
- theKbStockpiler
- Posts: 599
- Joined: Sun Jul 15, 2012 10:25 am
Re: Tucking metal on the edge/Wheel well test piece
Here's the rest of the description needed to understand this:
If two bends exist on the same panel and they try to occupy the same area they will conflict because either shrinking or stretching is required. This is what happens when making a dome is attempted. You can try this with just a sheet of paper by bending the opposite sides on both the top/bottom and right/left at the same time. There is excess material created because the edges are getting closer together.
If the outer circumference is shrunk down as the lip is bent all is well and that is the only change of shape the panel will incur. However if the outside is not shrunk the panel will bow along where the bend occurs on the part that we want to be flat. This does not happen with the first part bent down because the extra material is not forced against other (competing) metal build up.Once there are two bends forcing their excess metal against each other ,it will either shrink some, buckle or bow the part we want to stay flat
Super beetle with attitude
- Jadewombat
- Posts: 1447
- Joined: Sat Jun 22, 2002 12:01 am
Re: Tucking metal on the edge/Wheel well test piece
Interesting. Are you doing just a couple of small sections or fold over the whole edge?
Not cheap, but a Pexto (or similar) bead roller with over dies comes to mind. Much respect for what you're doing. I'm a quite observer over on the metalmeet forums quite a bit.
- theKbStockpiler
- Posts: 599
- Joined: Sun Jul 15, 2012 10:25 am
Re: Tucking metal on the edge/Wheel well test piece
I finally got some hopeful looking results after experimenting with paper/modeling clay and wanted to lessen the learning curve for others. I have a heavily rusted Cherokee I want to get more life out of and gain the skills that my 1302 needs for a restoration. I'm primarily interested in making patch panels or otherwise small pieces that may or may not be welded together. For a non professional it's not worth it to get equipment to do this stuff in one piece. Two people at the English/Forming Wheel is not for me. I do have a small homemade EW though.
Super beetle with attitude
-
- Posts: 17881
- Joined: Mon Nov 13, 2006 10:17 pm
Re: Tucking metal on the edge/Wheel well test piece
I think you might want to look into annealing while working the metal. Remembers certain metals harden when working it. People do it w/o the expensive stuff but it is a lot of work too.
Lee
Lee
-
- Posts: 112
- Joined: Wed Nov 12, 2014 10:47 pm
Re: Tucking metal on the edge/Wheel well test piece
How far into your panel do you want to shrink? You’re on the right track making a paper pattern to see how deep your tucks need to be. A tucking fork will form tucks 3-4” in from the edge. Jere Kirkpatrick has a video on building one. If you want to go deeper, make a shrinking stump. There’s lots of videos on how to make one available and you can probably get the wood for free. A Lancaster Shrinker only shrinks about an inch from the edge and isn’t cheap - about $180. Worth it if you’re going to use it a lot.
- theKbStockpiler
- Posts: 599
- Joined: Sun Jul 15, 2012 10:25 am
Re: Tucking metal on the edge/Wheel well test piece
For the first patch piece I'm doing , my present method will work. For the piece that connects to the first piece , I may have to tuck in farther. I'm going to try to use a dull chisel or a chipping hammer on a sandbag to try to form tucks for that.
You can actually stretch the rest of the panel out ;like with and English wheel, instead of shrink it but you do don't want to thin it out too much. I could have stretched just the curve out on a EW and welded that to the back. I'm going to try to stick with the shrinking solution as much as I can get away with. I have not thought out how to transition a EW stretched area with anything else as of yet.
Super beetle with attitude
- theKbStockpiler
- Posts: 599
- Joined: Sun Jul 15, 2012 10:25 am
Re: Tucking metal on the edge/Wheel well test piece
I have been doing tests for my next attempt at a patch panel and here is a few things I have discovered.
-If you are using map gas or propane , I have found that the nozzles for plumpers style torches are only designed to work at one specific setting. If you turn up the gas the air is not increased enough so you are just releasing un burned gas in the atmosphere. I tried this on several torches and they actually work faster and hotter at a lower setting.
-I thought I was having success with the previously stated method of shrinking metal on the edge.Now I'm trying a slightly different approach. Instead of making a small crimp on the edge and trying to smack the whole thing down in one blow while it is red hot, Im doing a long crimp and carefully working the outside edge down first so this outside edge keeps the rest from just being forced flat instead of shrinking. One of the benefits with this method is that it is easy to tell whether the crimp is being just smacked back down or you are actually shrinking it down.
Super beetle with attitude
-
- Posts: 17881
- Joined: Mon Nov 13, 2006 10:17 pm
Re: Tucking metal on the edge/Wheel well test piece
I've never worked metal hot.
Metal shrinking was done spot wise with a torch and a wet rag or with a water. For example: https://www.bing.com/videos/search?q=sh ... &FORM=VIRE This was a learning process video that seemed to work OK.
Hammer's and dollies usually come with a lot of everything; for example: https://www.bing.com/images/search?q=ha ... &FORM=IGRE I have even use several sizes of ballpeen hammers to do certain types of forming. I'm not sure just how much of this I still have (I just went out to the garage and checked and the lighter weight stuff is still with me). I guess you could say I am somewhat of a "schnook" as I lend stuff out and it forgets to come home .
Never played with an English Wheel or shrinker/stretchers' but have seen some work done with them. A lot of my skills was learned (but seldom used) in the old days of using lead before "Bondo" came along... 50+ years ago .
Lee
- theKbStockpiler
- Posts: 599
- Joined: Sun Jul 15, 2012 10:25 am
Re: Tucking metal on the edge/Wheel well test piece
I'm using regular sheet metal which I think is A36. I going to state that any pro panel beater that claims they are not using annealed or softened metal is full of crap. I will not believe the claims unless I supply the steel and can see them work it in person. A36 is very difficult to shrink on the edge. After I'm done with this project I'm going to keep the soft stuff on hand.
From my own experience I think that shrinking with heat/water is only partially good for big panels that need slight shrinking in areas that can't be hammered and dollied out any more. It the area is almost flat , then try heat/water.
Right now I'm working on a similar piece of steel that I have posted already. I'm using a english wheel with a inter tube wrapped around the big die so it will only bend and not stretch. Then I"m trying to shrink the bucklers out. All was going well until I introduced a warp to it that I don't know what caused it. One thing is for sure and that is I'm getting very good at using a hammer/dolly. Lol. It's the same thing with a grinder. Some of the best people at using a grinder are pro welders. Lol
Super beetle with attitude
-
- Posts: 17881
- Joined: Mon Nov 13, 2006 10:17 pm
Re: Tucking metal on the edge/Wheel well test piece
"I going to state that any pro panel beater that claims they are not using annealed or softened metal is full of crap."
I didn't have a welder or torch until late 2000 when I retired then I used my unused sick leave and vacation pay to buy things I had always wanted. I didn't let the 2 years to live medical diagnosis stop me either and that was almost 19 years ago.
I didn't claim I was a great metal worker but when I was young I was told to work the metal slowly and carefully and not knock the crap out of it either... which I did try to do. Did I make mistakes... of course I did and some were loo-loos also. Finis!
Lee
- theKbStockpiler
- Posts: 599
- Joined: Sun Jul 15, 2012 10:25 am
Re: Tucking metal on the edge/Wheel well test piece
The first couple of pieces that I have done were vague as far as observing while doing goes. Presently by using the the tuck shrinking method and just hammering it down hot are not showing results. The biggest problem with using this method is that when the tuck is hammered down against something like a vise, it has all the characteristics of doing the opposite of adding the tuck so you are just in essence removing the tuck and that is it. It could be the curve of the tuck or the curve angle of the bend being worked on as well. I don't know.
I was forcing a bend into another bend and then using the tuck method when the built up material was impeding the bending or causing distortion in another area because of the built up metal. Put in other words, only dealing with the buckling when I had to.These are the issues that creating tucks creates.
-It puts marks in the metal that you have to use hammer on dolling to remove. This in turn can stretch the metal some and we take a step backwards.It also takes time and wastes gas.
-Putting in the tuck can cause some stretch it's self.
-The tucking method is slow and or shows small changes which is difficult to notice if it actually worked or you just flattened the tuck out with no progress.
The best and fastest method I have found is simply using a hammer/dolly on a small area that is heated to at least a dull red. While going around the curve of a piece that you want to shrink on the edge because it is curved ,treat the buckled parts like they are tucks. Then heat them to red and hammer them in WITHOUT directly supporting the back of the buckle/tuck.If the metal is hot enough it will hammer in with out any support but if you have to support it, do it as far from the edge as is possible and NOT under where you are hammering. When the buckle/tuck is not supported, the entire curve has force on it so it will resist popping back out when the hammer blow is on it. The curve will be forced in until the applied force is equalized by the resistance of the curve pushing out.Then when the buckle/tuck is pushed against this it will not be spread back out but shrink.
I think I can shape out one of my needed patch panels at this point so I'll move on to a working example instead of a sacrafical piece. Here's a pic of my last test. It shows decent shrinking and the back is not distorted a lot.
Super beetle with attitude
-
- Posts: 17881
- Joined: Mon Nov 13, 2006 10:17 pm
- theKbStockpiler
- Posts: 599
- Joined: Sun Jul 15, 2012 10:25 am
Re: Tucking metal on the edge/Wheel well test piece
That's just another of many videos that will not get any real results because it's done with smoke and mirrors to build up the actor in the utube presentation. The lip is small so hardly any shrinking is done. I highly doubt that it's non annealed sheet metal. it might even be aluminium. A buck can take as long to make as the finished product so for almost all projects it's not practical. What happens with hard sheet metal is ,when you go to try to knock a high spot in , the area next to it will pop out. The elastic limit of the metal has to be exceeded or the shape will not be changed so the force has to be that or greater.
Lets say we are trying to knock down a bulge in a panel in the center of a panel. If it's pushed in without shrinking it only pushes the bulge, 'stretched area' in so it's concave instead of convex. It does not matter how slow or small the steps that are taken.
Super beetle with attitude
-
- Posts: 17881
- Joined: Mon Nov 13, 2006 10:17 pm
Re: Tucking metal on the edge/Wheel well test piece
KB, I have watched similar bending being done "in person" before plus I have done similar things myself with less that his results. It is the striking that I learned about in the video as I probably wasn't as careful plus going at it faster. His striking method I had seen before but his description of "why" clarified things for me. I am pretty sure that what you saw was what did happen even with the speeding up of the process to shorten up the boring part of the process. He said ~10 minutes of actual bending and I am pretty sure that is all the time it took to do the complete forming.
He referred to shrinking the metal which was what he did but he also stretched the metal on the outside of the bend too while also forming the metal together.
When I said I had never heat formed things before wasn't exactly true: in 8th grad (mid-50s) every boy in Jr. Highschool had to take three shop classes that year; the boys were divided up into three groups then rotated through the shops: wood shop, metal shop and a drafting class combined with leather working. In metal shop we used a forge, hammer and anvil to make a metal cutting chisel with the teacher grinding the finished cutting edge. He then testing the temper (yep, we had to temper the chisel) on a thick sheet of metal... mine passed. Some got to use the metal lathe and others did the metal bending with the teacher watching.
I had see hot bending before but rarely as it is harder to do and you have to keep annealing as I remember.
Lee